How Do You Install Upper Kitchen Cabinets
Imagine a clean, level line stretching across your kitchen wall, marking the perfect height for your upper kitchen cabinets installation. To get your cabinets installed securely and aligned precisely, you’ll need to start with accurate measurements and stud placement.
Each step, from marking the mounting rail to adjusting door gaps, demands careful attention to detail and proper tools. Understanding these critical steps will ensure your cabinets not only fit but function flawlessly.
How to Measure and Mark Your Wall for Upper Cabinets
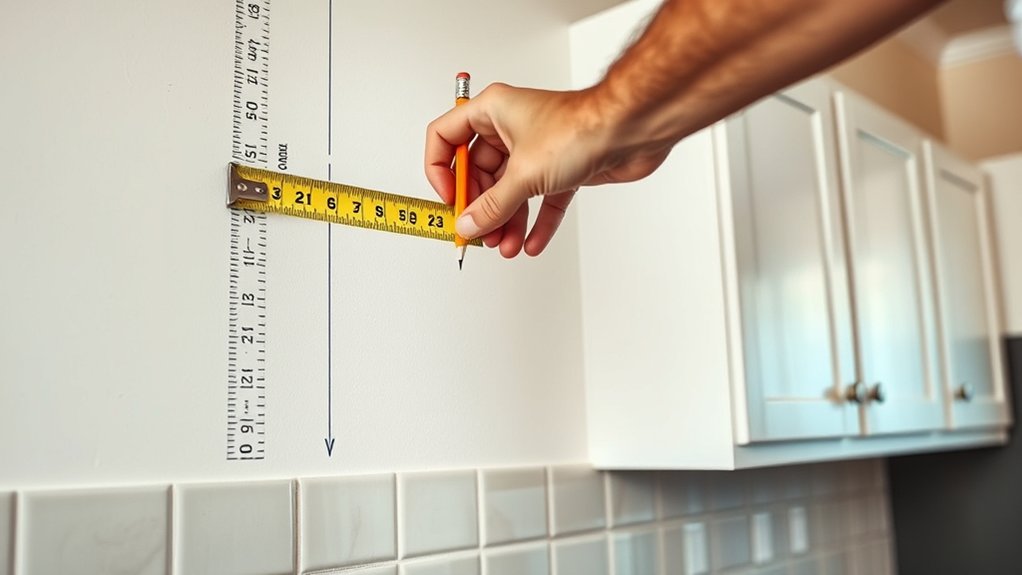
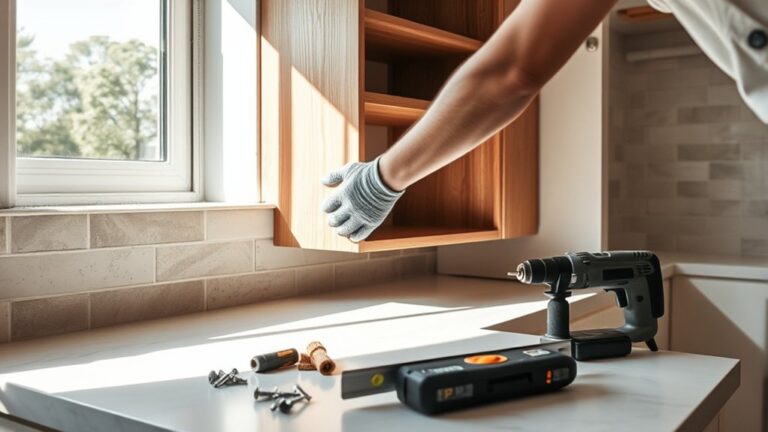
Accurate measurements form the foundation for properly installing upper kitchen cabinets. Begin by determining the desired height for your cabinet bottoms, typically 54 inches from the floor, ensuring consistent shelf practices throughout the kitchen. Use a laser level or chalk line to mark a horizontal guideline on the wall at this height.
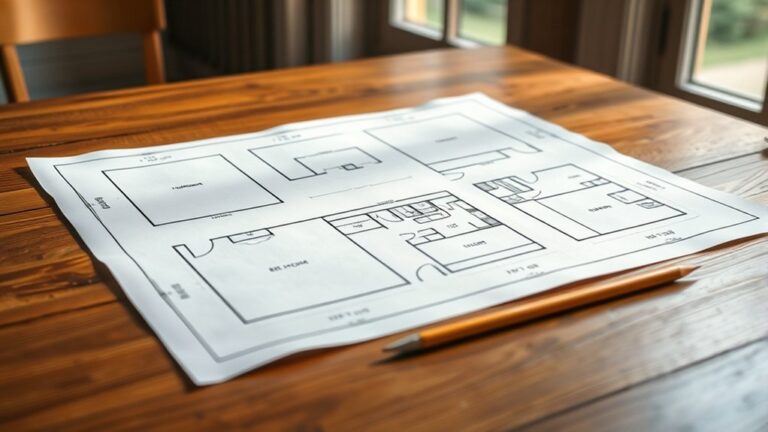
Next, measure the total length where cabinets will be installed, breaking it down into individual cabinet widths. Mark vertical lines to indicate cabinet edges, maintaining precision for seamless alignment.
Consider the cabinet finishes you plan to use; some finishes may require slight adjustments in spacing to accommodate molding or trim. Also, allow space above your cabinets for crown molding or lighting if applicable.
Carefully double-check all measurements before proceeding, as these initial markings guide your entire installation. By meticulously measuring and marking your wall, you’ll ensure your upper cabinets sit level, align perfectly, and integrate smoothly with your kitchen’s design and shelf practices.
How to Find and Mark Wall Studs Correctly
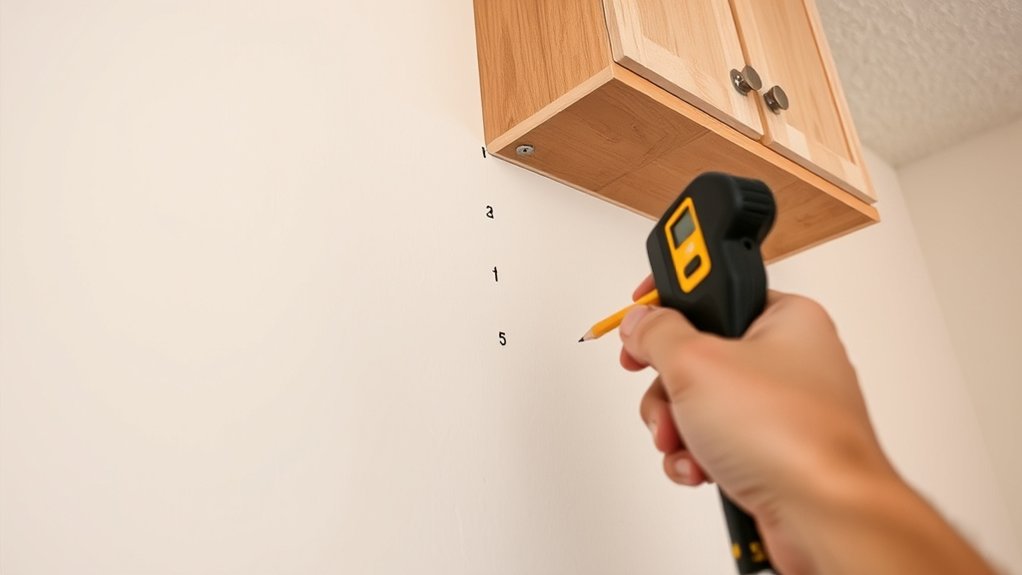
To install upper kitchen cabinets securely, you need to locate wall studs with precision using a reliable stud finder or tapping method. Once identified, mark each stud’s exact center at cabinet height with a pencil for accurate screw placement.
This guarantees your cabinets are anchored firmly to the structural frame behind the drywall.
Locating Studs Accurately
Where exactly should you place the screws to guarantee your upper kitchen cabinets hold securely? You need to locate studs accurately behind your drywall. Proper stud finding ensures the cabinet’s weight rests on solid framing, preventing future sagging or failure.
Use a reliable stud finder to scan the wall horizontally, marking detected studs precisely. A template jig can further assist by aligning your marks consistently, especially over multiple cabinets.
Focus on these key points:
- Verify stud positions at standard intervals (usually 16 or 24 inches on center).
- Confirm stud edges by probing gently with a small nail or awl.
- Use the template jig to transfer stud locations onto your cabinet mounting rail evenly.
This approach guarantees your screws penetrate robust framing, ensuring a secure, durable installation.
Marking Stud Positions
How can you assure your marks precisely align with the wall studs for a flawless cabinet installation? Begin by confirming stud locations using a reliable stud finder, scanning vertically at consistent intervals. Once identified, mark each stud’s edge with a pencil at both the top and bottom of the wall for accuracy.
Use a level to draw a faint horizontal guide line, ensuring your marks align perfectly. This precision is crucial because secure fastening directly into studs maintains the structural integrity necessary to support the weight of upper cabinets.
Properly marked studs prevent misalignment that can compromise cabinets’ aesthetics and damage cabinet finishes during installation. By taking these exact steps, you guarantee your upper cabinets will be securely mounted, preserving the overall visual appeal and longevity of your kitchen cabinetry.
Tools You’ll Need for Installing Upper Cabinets
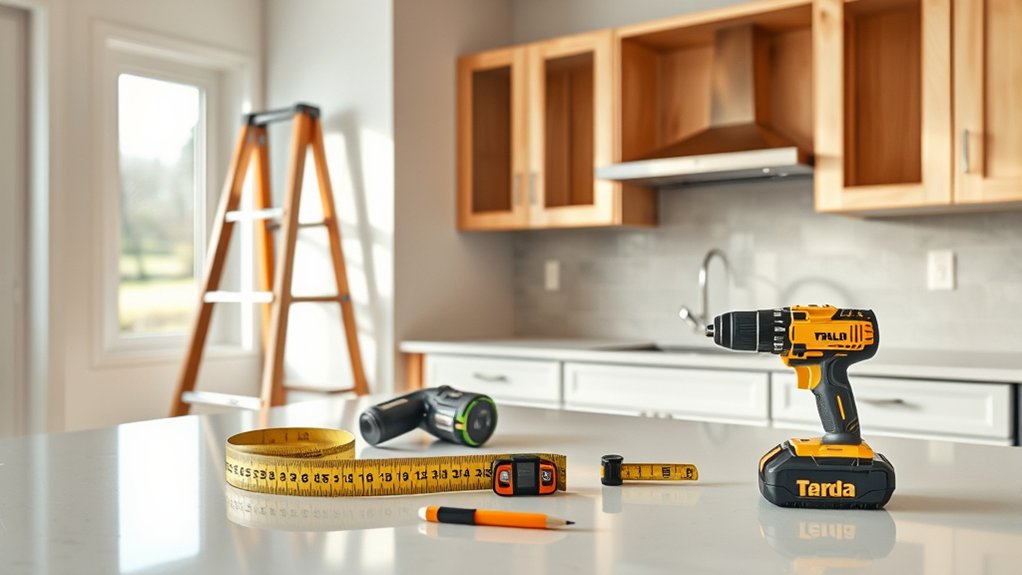
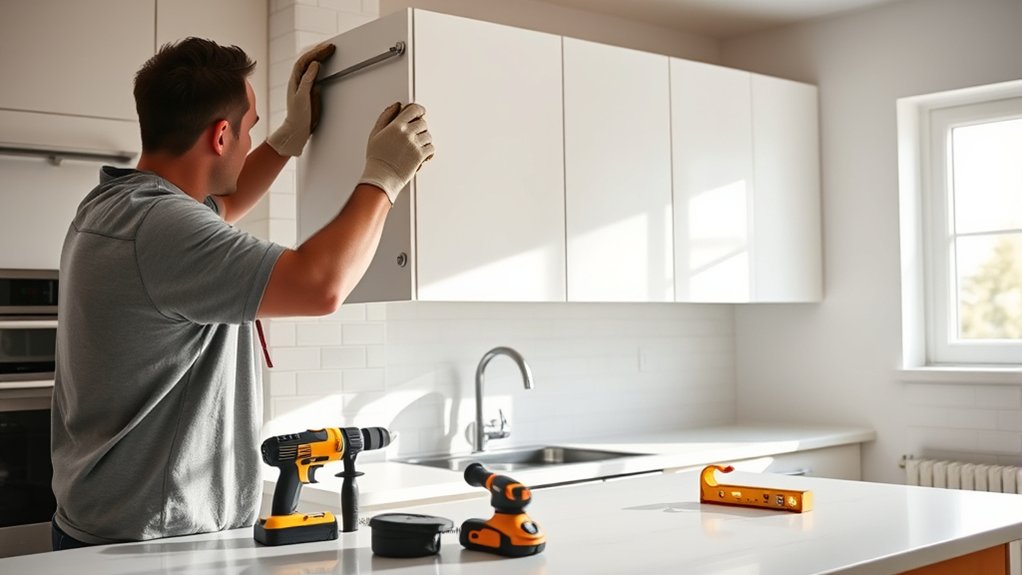
Which tools will ensure a smooth installation of your upper kitchen cabinets? Precise, well-chosen tools are essential to maintain cabinet aesthetics and maximize space optimization. You’ll need equipment that guarantees accurate alignment and firm attachment to the wall studs.
Key tools include:
- Stud finder and level: Locate studs accurately and ensure the cabinets hang perfectly horizontal, critical for seamless cabinet aesthetics.
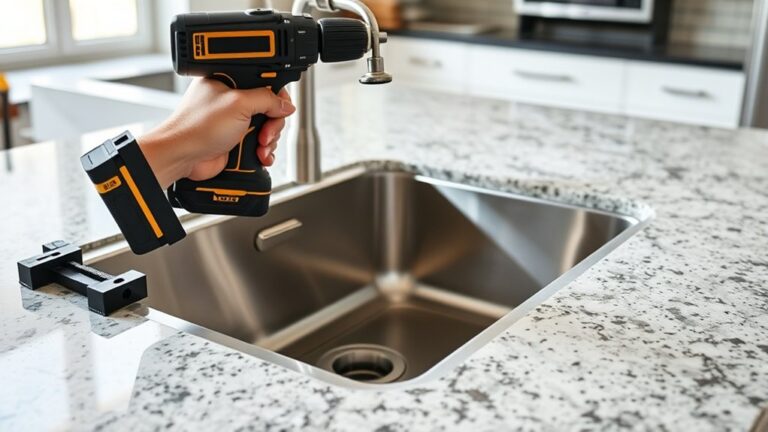
- Cordless drill with appropriate bits: Secure cabinets with screws efficiently, ensuring strong anchoring for weight-bearing upper units.
- Measuring tape and pencil: Measure exact distances for proper spacing and mark mounting points to optimize available wall space.
These tools help you achieve a clean, professional installation by preventing misalignment and uneven spacing. Using them properly ensures your upper cabinets not only look great but also utilize kitchen space efficiently without compromising structural integrity.
How to Prepare Cabinets for Installation (Assembly & Inspection)
Before mounting your upper kitchen cabinets, you’ll need to assemble and inspect each unit thoroughly to ensure proper fit and function. Start by carefully aligning all panels and securing them with screws or cam locks as specified by the manufacturer. Verify that doors and drawers operate smoothly without binding or gaps.
Pay close attention to cabinet finishing. Check for scratches, uneven surfaces, or inconsistencies in the protective coating. If you notice any blemishes, address them before installation to avoid future complications.
Next, perform stain matching on cabinet doors and visible surfaces to guarantee uniformity, especially if multiple cabinets come from different batches. Use natural light to detect subtle color differences and apply touch-up stains or finishes as needed.
Finally, measure each assembled cabinet against your wall dimensions to confirm precise fit, allowing for slight adjustments during installation. This detailed preparation prevents delays and ensures a professional, seamless installation.
How to Safely Lift and Support Upper Cabinets
You’ll need to use proper lifting techniques by bending your knees and keeping the cabinet close to your body to avoid strain. Once lifted, secure the cabinet with temporary supports like wall-mounted cleats or adjustable braces to hold it steady.
These steps ensure both your safety and the cabinet’s stability during installation.
Proper Lifting Techniques
How do you safely lift and support upper kitchen cabinets without risking injury or damage? First, position yourself close to the cabinet, keeping your feet shoulder-width apart for balance. Bend your knees and engage your core to protect your back.
Avoid sudden movements or twisting while lifting. Use slow, controlled motions to raise the cabinet to the desired height.
Remember these key points:
Always lift with your legs, not your back, to reduce strain.
Coordinate with a partner to distribute weight evenly and maintain stability.
Use a level or laser tool to keep the cabinet aligned during lifting.
While cat videos or plant care tutorials might distract you, stay focused on your lifting technique to ensure safety and precision in your installation.
Temporary Support Methods
What tools and methods can you rely on to temporarily support upper kitchen cabinets during installation? Start by using adjustable wall-mounted brackets or temporary cleats securely fastened to studs. These provide stable, level support, preventing cabinet shifts that could damage cabinet finishes.
You can also use a cabinet jack or a sturdy T-brace, positioned beneath the cabinet to hold its weight as you fasten it. Ensure all supports allow for proper cabinet ventilation, avoiding obstruction of any ventilation slots or gaps designed to prevent moisture buildup.
When positioning these supports, avoid contact with delicate cabinet finishes by placing protective padding between the support and cabinet surfaces. This approach guarantees safe lifting, maintains cabinet integrity, and facilitates precise alignment before final securing to the wall.
How to Secure Cabinets to the Wall
Where should you begin when securing upper kitchen cabinets to the wall? Start by locating the wall studs using a stud finder, as anchoring the cabinets into studs ensures maximum stability. Mark these locations clearly.
Next, pre-drill holes in the cabinet’s back rail to avoid wood splitting and align these holes with the wall studs.
When fastening cabinets, keep these points in mind:
- Use 3-inch cabinet screws for a strong hold.
- Drive screws through the cabinet’s frame, not just the panel, to maintain structural integrity.
- Apply consistent pressure to avoid cabinet finishing damage; touch up any scratched areas with matching paint or stain to preserve color matching.
Once secured, check that the cabinet is flush against the wall, ensuring no gaps that could cause alignment issues later. Proper securing is critical for long-lasting installation and maintaining the cabinet’s sleek finish.
How to Level and Align Multiple Upper Cabinets
When installing multiple upper cabinets, ensuring they are perfectly level and aligned is essential for a professional finish and seamless appearance. Start by attaching a temporary ledger board beneath the desired cabinet height; this supports weight and maintains level during installation.
Use a laser level or spirit level to check horizontal alignment across all cabinets. Secure the first cabinet firmly to the wall since it sets the baseline for others. When joining cabinets, make sure the edges meet flush to ensure European hinges function smoothly and in cabinet lighting aligns consistently without gaps.
| Step | Tool/Material | Purpose |
|---|---|---|
| Attach ledger board | 2×4 wood, screws | Support and level reference |
| Level first cabinet | Laser level/spirit level | Establish horizontal baseline |
| Align edges | Clamps, shims | Ensure flush cabinet edges |
| Secure subsequent | Drill, screws | Maintain alignment, stability |
This method ensures cabinets remain level, aligned, and ready for precise installation of doors and in cabinet lighting.
How to Install Doors, Shelves, and Hardware on Upper Cabinets
How exactly do you guarantee smooth operation and a perfect fit when installing doors, shelves, and hardware on your upper cabinets? Start by fitting the shelves first, ensuring they sit flush and are level within the cabinet frame.
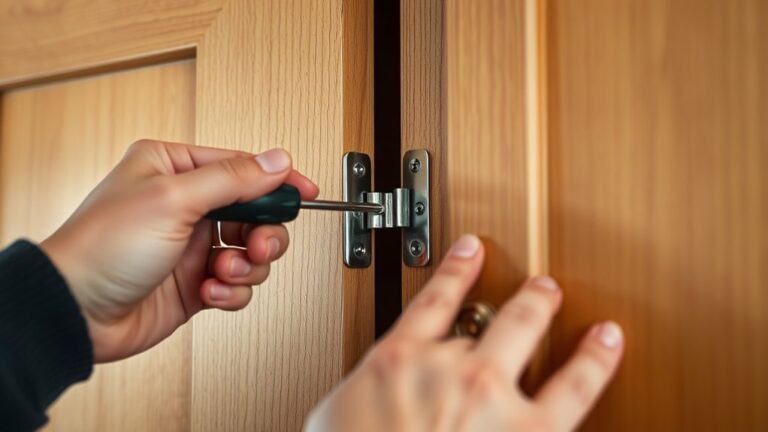
Next, attach the doors, carefully aligning hinges to allow for consistent gaps and smooth swinging action. Adjust hinge tension as needed to accommodate different door finishes, which may affect weight and movement.
When installing hardware:
Use a template to drill holes precisely for handles or knobs. Ensure screws are tightened without overdriving to avoid damaging door finishes. Position cabinet lighting strategically to avoid interference with door movement.
Incorporate soft-close hinges if desired to enhance door operation. Finally, test all moving parts to confirm proper function and clean any installation debris to preserve the cabinet’s appearance and performance.
Troubleshooting Common Issues When Installing Upper Cabinets
After installing doors, shelves, and hardware on your upper cabinets, you might encounter alignment problems, uneven gaps, or difficulty securing the cabinets firmly to the wall. Start by checking that all cabinets are level and plumb; use shims as necessary to correct uneven walls.
If cabinet finishes show scratches during installation, address them immediately with touch-up markers or light sanding followed by matching finish application. Uneven gaps between doors often stem from misaligned hinges. Adjust hinge screws precisely to achieve consistent spacing.
When securing cabinets, ensure you fasten into wall studs to maintain structural integrity; drywall anchors won’t support the weight. If you’ve integrated interior lighting, verify wiring connections and allow clearance for wiring without pinching cables behind cabinets.
For lighting that flickers or won’t turn on, confirm power sources and switch functionality. Troubleshooting these common issues methodically guarantees your upper cabinets’ durability, aesthetic alignment, and functionality without compromising cabinet finishes or interior lighting systems.
Frequently Asked Questions
What Type of Wood Is Best for Upper Kitchen Cabinets?
You’ll want hardwood like maple or oak for upper kitchen cabinets because their durability and moisture resistance guarantee long-lasting performance. These woods handle kitchen humidity well, maintaining structural integrity and appearance over time without warping or damage.
How Do I Choose the Right Cabinet Style for My Kitchen?
Choosing cabinet finish and matching hardware styles is like solving a puzzle; you analyze your kitchen’s lighting, color palette, and overall vibe. Then select finishes and hardware that complement and enhance your space’s architectural elements precisely.
Can I Install Upper Cabinets Without Wall Studs?
You can’t securely install upper cabinets without wall studs, but using install wall alternatives like metal brackets or plywood backing with behind the scenes bracing provides necessary support. This ensures safe, precise mounting when studs aren’t accessible.
How Do I Maintain and Clean Upper Kitchen Cabinets?
You’ll want to gently whisper away dust and grime using a soft cloth and mild detergent. Follow cleaning tips like avoiding harsh abrasives to protect the finish.
Regular finish maintenance keeps your cabinets looking pristine and durable.
What Is the Average Cost of Installing Upper Kitchen Cabinets?
You’ll pay an average project cost of $300 to $1,200 for upper cabinet installation, depending on size and complexity.
Cabinet installation timing usually takes 4 to 8 hours, factoring wall prep and precise leveling requirements.