How Is a Kitchen Island Attached to the Floor
You might think that simply placing a kitchen island in position is enough to keep it steady, but that’s rarely the case. How is a kitchen island attached to the floor? Without proper anchoring, an island can wobble or shift, posing safety risks and frustrating daily use.
Securing it correctly depends on your floor type and the island’s design, with several effective methods available. Understanding these options is key before you start any installation or adjustment.
How to Keep Your Kitchen Island Steady and Secure
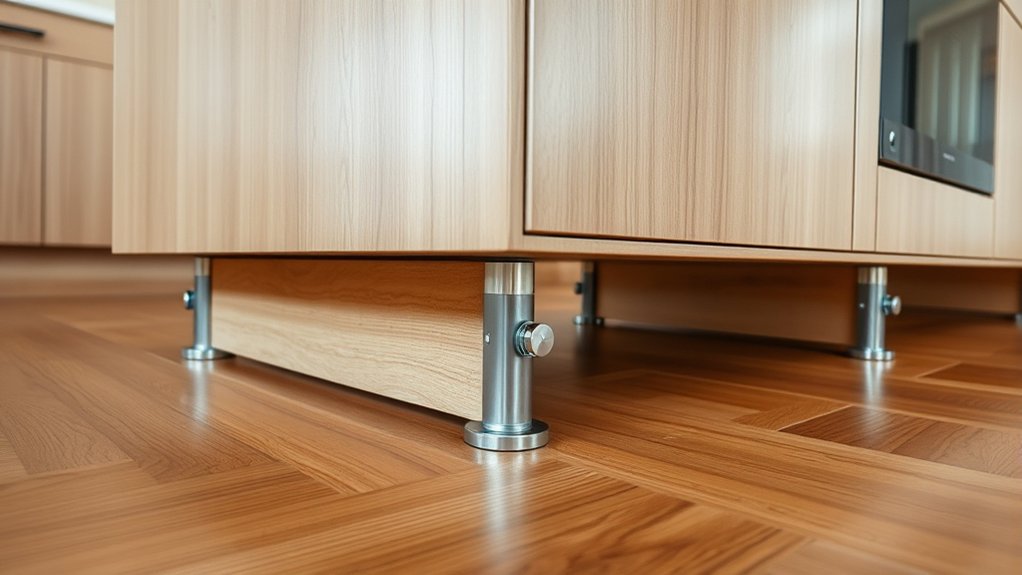
How can you guarantee your kitchen island stays steady and secure? First, ensure the base is firmly anchored to the floor. This prevents wobbling and potential accidents. You’ll want to consider the island’s weight and how it interacts with your flooring material to select the best anchoring method. Stability isn’t just about safety; it also affects your kitchen’s décor aesthetics.
A stable island maintains a clean, streamlined look without gaps or unevenness that disrupt visual harmony. Next, plan the appliance wiring carefully. Secure wiring prevents strain and damage, which can compromise the island’s function and safety. Keeping wires organized and tucked away also maintains the island’s sleek appearance.
When these elements—firm anchoring and thoughtful wiring—work together, your kitchen island won’t just look great; it’ll serve as a reliable, lasting workspace. Prioritize these factors to enjoy a practical and visually appealing kitchen centerpiece.
Tools and Materials Needed to Anchor Kitchen Islands
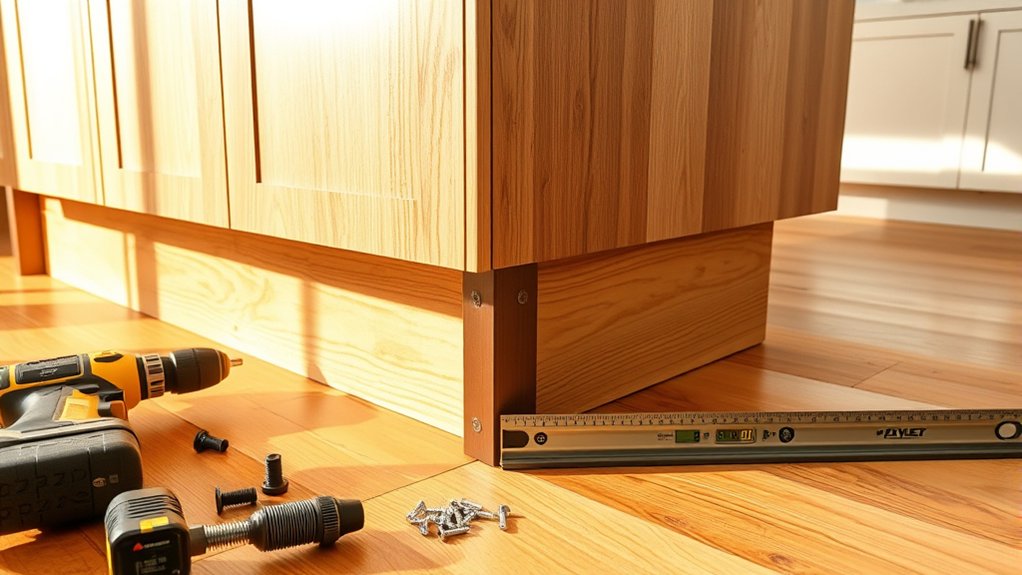
What tools and materials do you need to securely anchor your kitchen island? First, gather a power drill with appropriate bits to handle your floor type, whether wood or concrete. You’ll also need heavy-duty screws or anchors designed for your subfloor.
A stud finder is essential to locate joists, ensuring a solid attachment point. Don’t forget a level to keep your island perfectly even, which supports both safety and island decor aesthetics.
You’ll want a tape measure for precise placement and a pencil for marking drill spots. Safety gear like gloves and goggles protects you during the process.
Budget planning is key here; investing in quality fasteners and the right tools prevents future repairs or instability. Lastly, consider using shims to adjust any uneven flooring before securing the island.
Having these tools and materials ready streamlines the anchoring process, helping you achieve a sturdy, stylish kitchen centerpiece without unnecessary delays or costs.
Anchoring Methods: Bolting, Brackets, and Mounting Plates
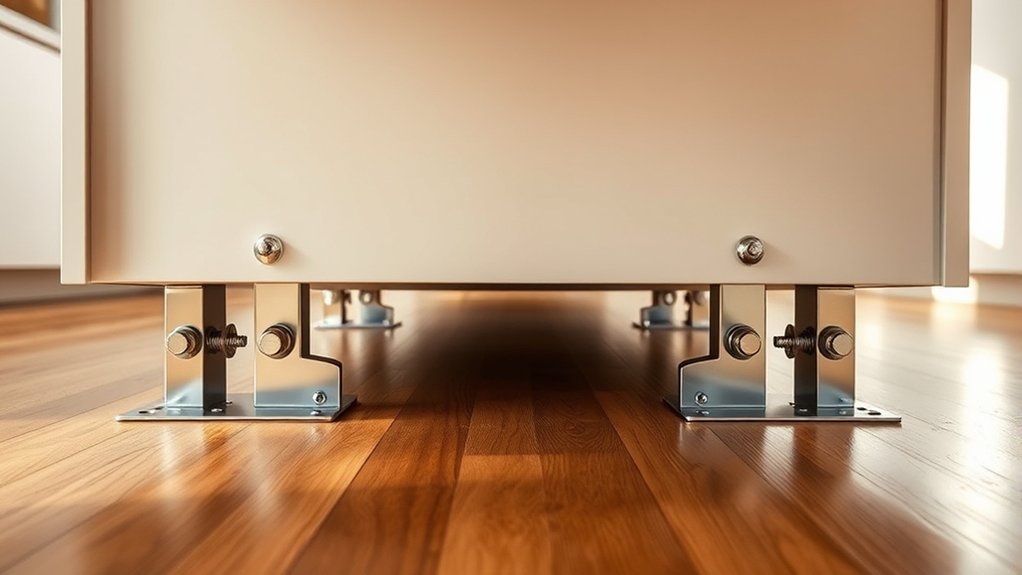
When securing your kitchen island, choosing the right anchoring method is essential for stability and safety. Effective island anchoring relies on solid floor fasteners that prevent wobbling or tipping. Here are three common methods to consider:
- Bolting: This method uses heavy-duty bolts drilled through the island base into the floor. Bolting provides a strong, permanent hold, ideal for heavy islands.
- Brackets: Metal L-shaped brackets fasten the island to floor joists or subflooring. They’re easier to install and still offer reliable support, especially for lighter islands.
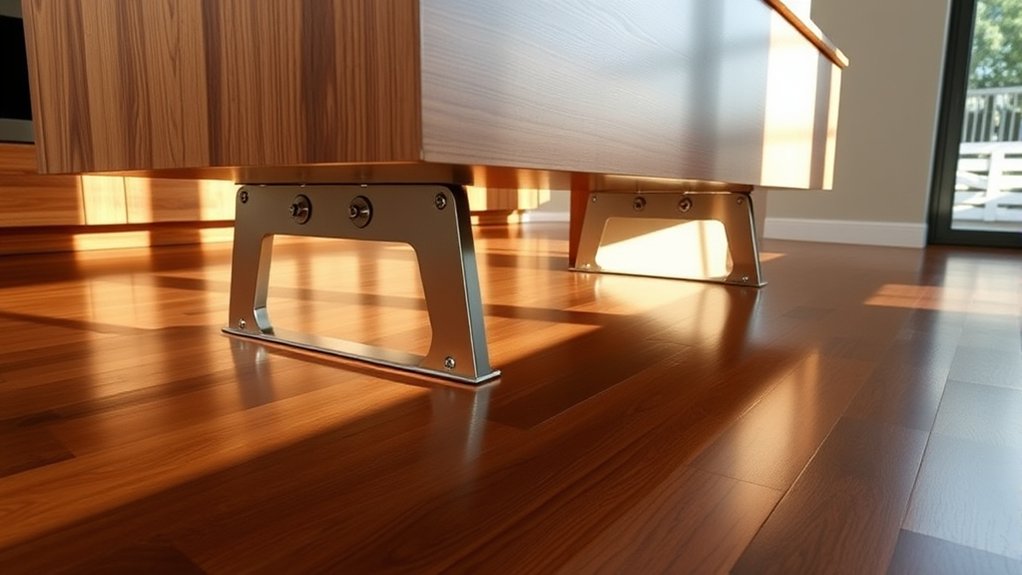
- Mounting Plates: These flat metal plates attach beneath the island and anchor to the floor with screws. Mounting plates distribute weight evenly, enhancing stability without visible hardware.
Each method uses specific floor fasteners to secure the island firmly. Selecting the right anchoring method ensures your kitchen island stays safe, stable, and functional during daily use.
Choosing the Right Anchoring Method for Different Floor Types
You’ll need to match your anchoring method to your floor type for a secure kitchen island. Wood floors allow for straightforward bolting directly into the joists, while tile requires special anchors to avoid cracking.
Choosing the right approach guarantees stability without damaging your floors.
Anchoring Methods For Wood
How do you guarantee a kitchen island stays securely anchored on wood floors without causing damage? Proper island installation demands careful floor anchoring to maintain stability while preserving your wood. Here are three effective methods:
- Use wood screws through the island’s base into floor joists. This provides strong anchoring but requires locating joists accurately.
- Attach a cleat beneath the island and screw it into the floor. This distributes weight and minimizes floor impact.
- Employ construction adhesive combined with screws. Ideal for added security without excessive drilling.
Each method balances holding power and floor protection. Choose based on your floor’s thickness, joist location, and island weight. By selecting the right floor anchoring technique, your kitchen island stays stable and your wood floor remains intact.
Securing Islands On Tile
Why does securing a kitchen island on tile require a different approach than on wood floors? Tile is brittle and prone to cracking, so you need anchors that won’t damage the surface or grout.
When securing islands on tile, start by assessing grout compatibility; avoid drilling too close to grout lines to prevent weakening the tiles. Use specialized masonry anchors or toggle bolts designed for tile floors to ensure stability without compromising tile integrity.
Maintain proper island clearance for cleaning and functionality, ensuring the island sits firmly without putting stress on the tiles. You’ll also want to use a drill bit designed for ceramic or porcelain to minimize chipping.
Taking these precautions guarantees a secure installation that preserves your tile’s appearance and durability.
How to Bolt a Kitchen Island to the Subfloor
Where should you start when bolting a kitchen island to the subfloor? Begin by planning your bolt patterns carefully to ensure stability and prevent wobbling. The base plate is your critical connection point between the island and floor, so it must be securely fastened.
Follow these steps:
- Mark and drill pilot holes: Position the island and mark where the base plate meets the subfloor. Drill pilot holes in the subfloor to guide your bolts and avoid splitting the wood.
- Select appropriate bolts: Use lag bolts or structural screws long enough to penetrate the subfloor and securely anchor into the floor joists beneath.
- Bolt through the base plate: Align the base plate with your pilot holes and drive the bolts firmly, ensuring the island sits flush and stable.
How to Inspect and Maintain Kitchen Island Stability
To keep your kitchen island stable, regularly check all attachment hardware for signs of wear or loosening. Assess the floor surface to guarantee it remains even and solid beneath the island.
Tighten any loose components promptly to maintain a secure and safe setup.
Check Attachment Hardware
How often do you inspect the attachment hardware securing your kitchen island? Regular checks ensure stability and address isolation concerns caused by loose fittings. Neglecting this can lead to wobbling, compromising both safety and aesthetics impact.
Here’s how to maintain your island’s hardware:
- Tighten screws and bolts: Use the right tools to secure brackets and fasteners firmly.
- Look for corrosion or damage: Replace any rusty or bent components immediately to prevent failure.
- Check for proper isolation: Ensure rubber or plastic washers are intact to minimize noise and protect flooring without sacrificing stability.
Following these steps keeps your kitchen island secure and visually appealing, enhancing both functionality and style.
Assess Floor Surface
When was the last time you examined the floor beneath your kitchen island? Ensuring subfloor condition is crucial for maintaining stability. Start by clearing the area around the island to get a clear view of the floor surface.
Look for signs of damage like cracks, warping, or water stains that could compromise surface integrity. Use a level to check for unevenness, as an unsteady floor can loosen attachments over time.
If you notice any soft spots or sagging, this may indicate subfloor deterioration that needs professional repair. Regularly evaluating surface integrity ensures your kitchen island remains firmly anchored and safe.
Don’t overlook this step; it’s essential for preventing long-term damage and costly fixes down the line.
Tighten Loose Components
Why does your kitchen island sometimes feel wobbly or unstable? Often, it’s due to loose cabinet components or uneven legs. To maintain stability, you need to inspect and tighten these parts regularly. Here’s how:
- Check for loose cabinet screws or brackets inside and tighten them with a screwdriver.
- Inspect the legs for unevenness; if you find any, adjust or replace leg levelers to ensure all legs contact the floor evenly.
- Confirm that mounting hardware attaching the island to the floor or wall is secure, tightening any loose bolts or anchors.
Frequently Asked Questions
Can Kitchen Islands Be Moved After Installation?
You can move a kitchen island, but relocation feasibility depends on its moving foundation. Islands anchored to the floor require more effort and potential damage.
Freestanding ones offer easier repositioning without compromising stability or structure.
What Are the Average Costs of Installing a Kitchen Island?
You’ll spend around $2,000 to $5,000 on average countertop costs and installation timing for a kitchen island.
Planning carefully helps you stay on budget and guarantees your island fits perfectly within your space and schedule.
Are There Any Building Codes for Kitchen Island Installation?
Yes, you’ll need to follow building codes for island installation, including proper spacing, electrical requirements, and ventilation.
Check local codes to ensure compliance and safety, especially if your island includes appliances or gas lines.
Can Kitchen Islands Include Plumbing or Electrical Features?
You can definitely add plumbing considerations and electrical integration to your kitchen island, turning it into the heart of your kitchen. Just ensure proper permits and professional installation to keep everything safe, functional, and code-compliant.
How Do Kitchen Island Designs Affect Kitchen Workflow?
Your island layout directly influences task flow by positioning prep, cooking, and cleanup zones efficiently. A well-designed island minimizes movement, streamlines your workflow, and keeps everything within easy reach, boosting kitchen productivity and comfort.