How Do You Spray Paint Kitchen Cabinets
Spray painting your kitchen cabinets can transform your space with a smooth, professional finish that brushes alone can’t achieve. Spray paint kitchen cabinets for a sleek look that enhances durability and style. To get this right, you’ll need the proper tools, precise preparation, and a controlled technique to avoid common pitfalls like runs or uneven coverage.
Understanding the right steps—from cleaning and sanding to priming and finishing—ensures durability and a flawless look. But before you start, let’s break down the essential process that guarantees success.
What Tools You Need to Spray Paint Kitchen Cabinets
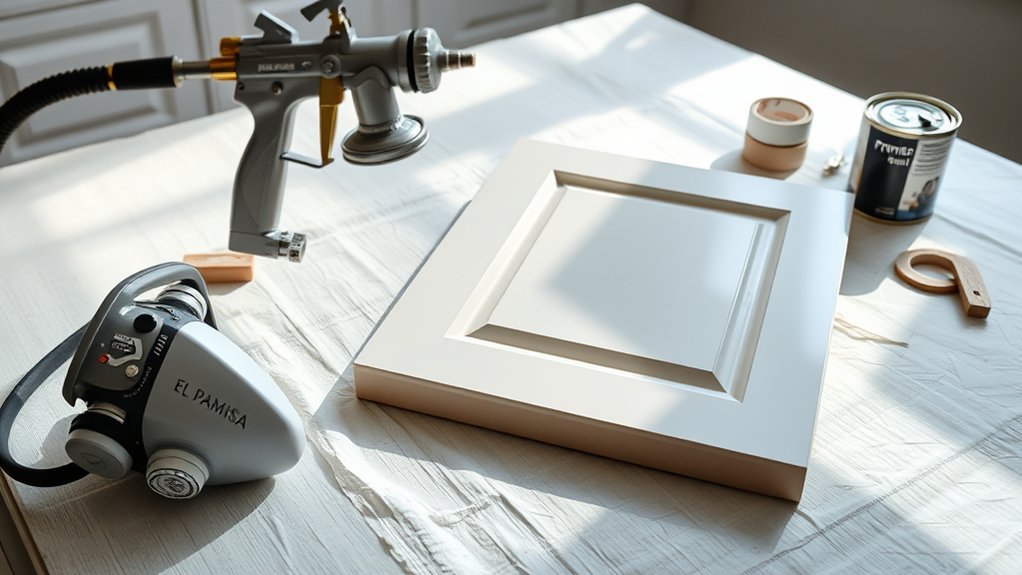
What tools do you need to spray paint kitchen cabinets efficiently and achieve a professional finish? Start with a high-quality HVLP (High Volume Low Pressure) sprayer, which provides even coverage and reduces overspray. Select nozzles compatible with your chosen paint type, especially if you opt for eco friendly finishes, ensuring smooth application without clogging.
Begin with a quality HVLP sprayer and compatible nozzles for smooth, efficient, and eco-friendly cabinet painting.
Use a respirator mask rated for paint fumes to protect your lungs. Prepare a well-ventilated workspace with drop cloths and painter’s tape to safeguard surrounding areas.
Choose budget friendly color palettes that complement your kitchen style while minimizing the number of coats needed, saving time and paint. Have a paint filter handy to strain your paint before loading the sprayer, preventing nozzle blockages.
Finally, keep sanding blocks and tack cloths nearby for quick touch-ups between coats. With these precise tools, you’ll achieve a durable, uniform finish that elevates your kitchen cabinets professionally and sustainably.
Preparing Cabinets: Cleaning, Sanding, and Priming
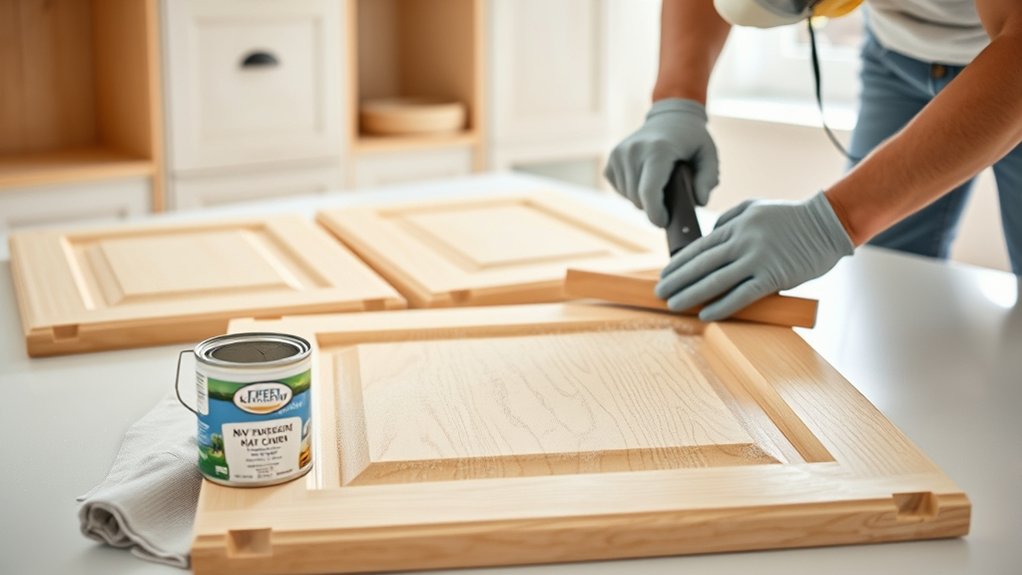
You’ll start by thoroughly cleaning the cabinets to remove grease and dirt that can interfere with paint adhesion.
Next, use proper sanding techniques to create a smooth, even surface without damaging the wood or existing finish.
Finally, select a primer that’s compatible with your cabinet material and paint type to ensure optimal bonding and durability.
Thorough Cabinet Cleaning
A meticulous cleaning process lays the foundation for a flawless spray paint finish on your kitchen cabinets. Begin by removing all cabinet doors and hardware to access every surface. Use a degreaser to eliminate oils, grime, and residues, ensuring the cleaner is compatible with your cabinet material.
Rinse thoroughly with clean water and dry completely to prevent moisture interference. Carefully collect all dust and debris with a vacuum equipped for dusty disposal, avoiding airborne particles. Work in a well-ventilated area to minimize exposure to toxic fumes from cleaning agents.
Wear appropriate protective gear, including gloves and a mask. This thorough cleaning eliminates contaminants that impair paint adhesion, ensuring your spray paint bonds evenly and lasts longer without peeling or bubbling. Proper preparation here is critical before moving on to sanding.
Proper Sanding Techniques
How thoroughly you sand your kitchen cabinets directly affects the durability and smoothness of your spray paint finish. Begin by addressing the sanding logistics: use 120- to 150-grit sandpaper for initial abrasion, removing gloss and surface imperfections. Focus on even pressure to avoid uneven surfaces.
Afterward, switch to 220-grit for a finer texture that promotes finish compatibility with your chosen paint. Pay special attention to edges and recessed areas where buildup occurs. Use a sanding block or orbital sander for flat panels, and hand-sand intricate details.
Always clean dust between steps with a tack cloth to prevent contamination. Proper sanding ensures the paint adheres uniformly, minimizing peeling or bubbling, and ultimately yields a professional, long-lasting cabinet finish.
Choosing The Right Primer
Once your cabinets are sanded and thoroughly cleaned of dust and grease, selecting the right primer becomes the next critical step to ensure proper paint adhesion and a smooth finish. Choose a high-quality, bonding primer designed for kitchen cabinetry, preferably a shellac- or oil-based formula, as these seal porous surfaces and prevent tannin bleed-through.
Avoid primers unrelated to your cabinet’s material, like drywall or metal primers, which won’t adhere properly. Apply thin, even coats to prevent drips or stray artwork-like imperfections on the surface.
Use a brush or sprayer suited for the primer type, maintaining consistent coverage to create a uniform base. Proper priming eliminates adhesion issues and enhances durability, setting the stage for flawless spray paint application and long-lasting results.
Choose the Right Spray Paint for Kitchen Cabinets
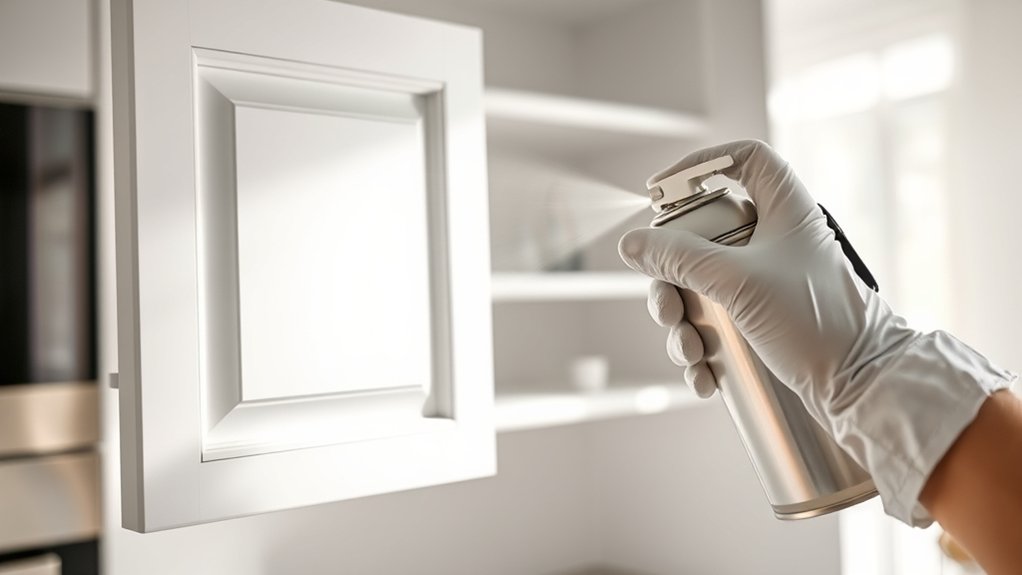
Which type of spray paint delivers the best durability and finish for kitchen cabinets? You’ll want a paint designed specifically for cabinetry or furniture, typically an acrylic enamel or urethane-based spray paint. These provide excellent adhesion, resistance to chipping, and a smooth surface.
When selecting your paint, consider color matching carefully; cabinets often need a precise hue to complement your kitchen’s palette, so test samples under your kitchen’s lighting before committing.
Decide between a glossy vs matte finish based on your aesthetic and maintenance preferences. Glossy finishes offer a durable, reflective surface that’s easier to clean but may highlight imperfections.
Matte finishes hide flaws better but can be less resistant to stains and wear. Choose a product labeled for kitchen use to ensure it withstands moisture and frequent cleaning.
Avoid general-purpose spray paints; they lack the durability and finish quality necessary for cabinetry.
Set Up Your Workspace Safely for Spray Painting
Where you set up your spray painting workspace significantly impacts the quality of your finish and your safety. Effective ventilation planning is crucial to prevent inhalation of harmful fumes and to ensure proper drying conditions. Choose a well-ventilated area, ideally outdoors or in a garage with open doors and windows, and use a fan to direct airflow away from you.
Prioritize tool safety by inspecting your spray gun and compressor for any defects before starting. Secure your workpieces at a comfortable height to maintain control and avoid accidental contact with wet paint.
To optimize your setup, focus on:
- Using drop cloths or plastic sheeting to protect surrounding surfaces from overspray
- Wearing appropriate personal protective equipment (PPE) such as respirators and gloves
- Establishing a clean, dust-free environment to prevent contamination of the paint finish
This preparation ensures a smooth, professional result while minimizing health and equipment risks.
Step-by-Step Guide to Spray Painting Kitchen Cabinets
How do you achieve a flawless finish when spray painting kitchen cabinets? Start by thoroughly cleaning and sanding the cabinet surfaces to ensure paint adhesion. Remove all hardware and label each door and drawer to avoid confusion.
Next, apply a primer evenly, using smooth, consistent strokes, avoiding runs or drips. Allow the primer to dry completely before lightly sanding to smooth imperfections.
Position your spray gun or can about 6-8 inches from the surface, moving steadily to cover each area with thin coats. Avoid focusing too long on one spot to prevent pooling.
Between coats, wait for drying times as recommended by the manufacturer. Repeat this process until you reach the desired opacity.
Remember, discussing an unrelated topic like a random subject such as “kitchen appliance trends” won’t improve your painting technique. Stay focused on precise application steps to ensure a professional finish.
This methodical approach guarantees durability and a clean, polished look.
How to Apply Even Spray Paint Coats on Cabinets
You’ll want to keep the spray can or gun at a consistent distance, typically 8 to 12 inches, from the cabinet surface to ensure uniform coverage. Use smooth, steady strokes, moving horizontally or vertically without stopping or overlapping excessively to prevent drips and uneven buildup.
Controlling your speed and maintaining a fluid motion are key to achieving a flawless, even coat.
Maintain Consistent Spray Distance
Why does maintaining a consistent spray distance matter when painting kitchen cabinets? Keeping a uniform gap between the spray nozzle and cabinet surface ensures even paint deposition, preventing runs, drips, or uneven coverage.
Deviating from this distance leads to irregular thickness, compromising the finish quality.
Focus on these factors to maintain consistency:
- Use a measuring guide or mark your sprayer to control distance precisely.
- Avoid distractions or unrelated topic conversations that cause fluctuations in your hand position.
- Practice steady hand positioning to minimize random chatter movements during application.
Use Smooth, Steady Strokes
When applying spray paint to kitchen cabinets, maintaining smooth, steady strokes is essential for achieving an even coat. You should move the spray can parallel to the cabinet surface in consistent, controlled motions, avoiding abrupt starts or stops that cause uneven layers or drips.
Overlapping each stroke by about 50% ensures full coverage without buildup. Avoid focusing on irrelevant topics like spray direction changes mid-stroke or erratic hand movements, which lead off topic and disrupt uniformity.
Keep your wrist steady and maintain a constant speed to prevent blotches or streaks. Smooth, steady strokes also reduce overspray and paint waste, resulting in a professional finish.
Precision here directly influences the cabinetry’s durability and appearance, so don’t rush or deviate from this technique.
Prevent Common Spray Painting Mistakes Like Runs and Drips
How can you avoid the most common spray painting errors like runs and drips on your kitchen cabinets? The key lies in controlling paint application and equipment settings. When applying a neutral color with a gloss finish, excess paint causes uneven buildup, leading to visible runs.
To prevent this, maintain consistent distance and speed with your spray gun.
Focus on these critical steps:
- Use light, even coats rather than heavy layers to reduce paint pooling.
- Adjust the spray nozzle to a fine mist setting for precise atomization and smooth coverage.
- Keep the spray gun moving steadily, overlapping each pass slightly without lingering in one spot.
Drying and Curing Time for Spray-Painted Kitchen Cabinets
You’ll need to allow at least 24 hours for the spray paint to dry to the touch, but full curing can take up to 7 days depending on temperature, humidity, and paint type. Proper airflow and consistent environmental conditions are essential to prevent tackiness and guarantee durability.
Follow manufacturer guidelines closely to optimize drying and avoid premature handling or use.
Optimal Drying Duration
Why does the drying and curing time matter for spray-painted kitchen cabinets? Proper drying ensures the paint fully hardens, preventing smudges or tackiness that compromise durability. Like aging craft beer to develop its flavor, paint requires time to reach peak performance. This process is as crucial as space travel’s precise timing for fuel ignition; you can’t rush it without risking failure.
Aim for an optimal drying duration of 24 to 48 hours between coats, with a final curing period of 7 days for maximum hardness. During this time:
- Avoid heavy handling to prevent surface defects
- Maintain consistent temperature and humidity to stabilize curing
- Ensure adequate ventilation to expedite solvent evaporation
Following this precise timing guarantees a resilient, smooth finish for your cabinets.
Factors Affecting Curing
When does spray paint on kitchen cabinets fully cure depends on several crucial factors that influence drying time and finish quality. Factors affecting curing include ambient temperature, humidity, ventilation, and paint formulation. Higher temperatures accelerate solvent evaporation, speeding curing, while excessive humidity slows it by trapping moisture in the paint film.
Adequate airflow ensures solvents dissipate efficiently, preventing tackiness. Surface finish compatibility also plays an essential role; applying paint over incompatible primers or previous finishes can disrupt adhesion and extend curing time. Additionally, the paint’s chemical composition, whether oil-based, latex, or lacquer, determines its cure mechanism and duration.
Understanding these variables helps you anticipate curing timelines accurately, ensuring a durable, smooth finish that withstands kitchen use without premature wear or damage.
Tips For Proper Curing
Proper curing of spray-painted kitchen cabinets hinges on controlling environmental conditions and following specific handling practices to guarantee optimal drying and adhesion. You need to manage humidity and temperature carefully, as excessive moisture or cold slows curing, risking finish defects.
Plan your budget to allow at least 72 hours for full curing before heavy use, ensuring durability and color trend longevity.
Consider these tips for proper curing:
- Maintain a consistent temperature between 65-75°F and humidity below 50% for ideal drying.
- Avoid stacking or closing cabinet doors prematurely; allow airflow to prevent tackiness.
- Use a dehumidifier or fan to expedite drying in less-than-ideal conditions without compromising finish quality.
Following these steps ensures your cabinets achieve a flawless, long-lasting finish aligned with current color trends and budget planning.
How to Add a Protective Finish to Spray-Painted Cabinets
How do you ensure your spray-painted kitchen cabinets maintain their finish and resist wear over time? Applying a high-quality protective finish is key. After the paint has fully cured, test your chosen topcoat on color swatches to check for any adverse reactions or color shifts.
This helps prevent adhesive struggles where the finish might not bond properly. Use a water-based polyurethane or acrylic clear coat for durability without yellowing. Apply thin, even layers using a high-density foam brush or a spray gun to avoid streaks and bubbles.
Allow each coat to dry thoroughly before lightly sanding with fine-grit sandpaper (320–400 grit) to promote adhesion between layers. Typically, two to three coats suffice. Avoid applying the finish too thickly, as this can cause peeling or an uneven surface.
Cleaning and Maintaining Your Spray-Painted Kitchen Cabinets
Once you’ve applied and cured a protective finish on your spray-painted cabinets, maintaining their appearance requires consistent, careful cleaning. Establishing effective cleaning routines is essential to preserve the finish’s integrity and prevent surface degradation.
Use a soft microfiber cloth dampened with a mild, pH-neutral detergent solution to remove grease and dirt without damaging the paint. Avoid abrasive materials that can scratch or dull the protective layer.
Clean gently with a soft microfiber cloth and mild, pH-neutral detergent to protect the paint finish.
Additionally, integrating pest control measures is crucial, as pests can leave residues that stain or wear down the finish. Regularly inspect cabinet surfaces and surrounding areas to detect early signs of infestation.
Key maintenance tips include:
- Wipe spills immediately to prevent staining or finish breakdown
- Use gentle cleaners to maintain the protective coating’s durability
- Monitor and address pest activity promptly to avoid contamination
Frequently Asked Questions
Can I Spray Paint Kitchen Cabinets Without Removing the Doors?
You can spray paint kitchen cabinets without removing doors, but ensure spray paint compatibility with cabinet materials. Use cabinet grip sealants to prevent peeling.
Mask hinges and edges carefully for precise, even coating and durable adhesion.
How Long Does Spray Paint on Cabinets Last Before Needing a Touch-Up?
You’ll typically see spray paint on cabinets last 5-7 years before needing touch-ups. Fade resistance and finish durability depend on paint quality and prep.
Proper sealing extends lifespan, maintaining color and preventing chipping longer.
Is Spray Painting Cabinets Safe for Homes With Pets or Children?
Spray painting cabinets can be safe for homes with pets and children if you use low-VOC, non-toxic paint. Ensure proper ventilation and keep them away during application and drying to minimize exposure and maintain cabinet safety effectively.
Can I Change Cabinet Colors Multiple Times Using Spray Paint?
You can change cabinet colors multiple times using spray paint, but you’ll need to apply multiple coats and properly sand between each color layer to guarantee adhesion and a smooth finish. This prevents peeling or uneven coverage.
What Ventilation Is Required When Spray Painting Indoors?
You’ll need ventilation safety measures like using exhaust fans and opening windows to ensure airflow. Follow indoor spraying guidelines by wearing a respirator mask and avoiding enclosed spaces to prevent inhaling fumes and maintain safe air quality.