How Do You Clean Kitchen Sponges
Did you know kitchen sponges can harbor more bacteria than a toilet seat? Cleaning kitchen sponges properly is essential to prevent spreading germs instead of removing them. You can’t just rinse and toss them aside; it takes specific steps to sanitize and maintain them effectively.
Learning how to microwave, dishwasher-clean, and deep-clean your sponges can make all the difference. These methods help keep your kitchen hygienic and safe. Proper sponge care is key to a healthier cooking environment.
Why Kitchen Sponges Can Harbor Harmful Bacteria
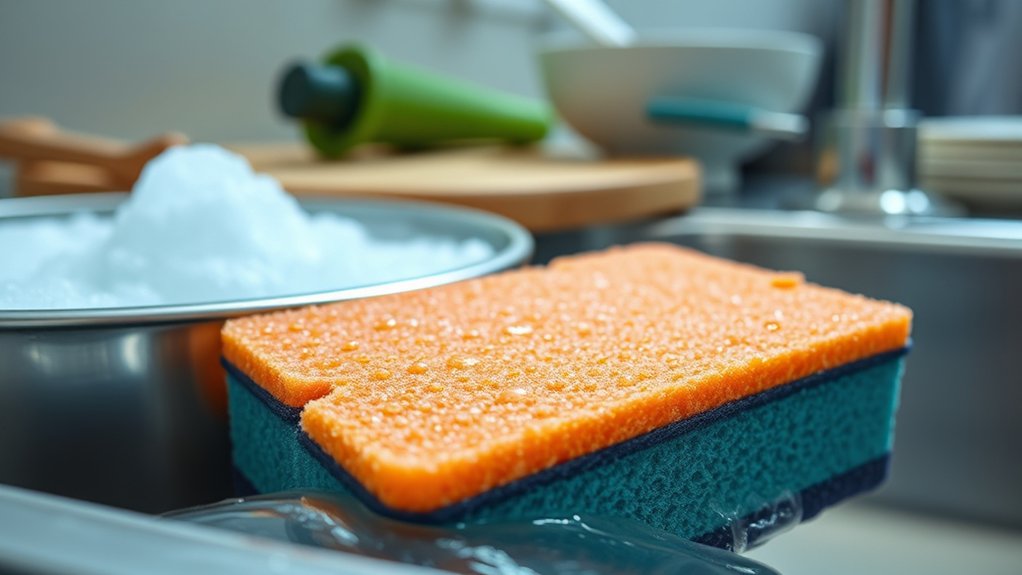
A kitchen sponge provides an ideal environment for bacteria to thrive because it remains damp and traps food particles. When you use it repeatedly without proper care, bacteria multiply rapidly within its porous structure. Your cleaning frequency plays a crucial role in controlling this bacterial buildup.
Using the sponge for extended periods without thorough cleaning increases the risk of harmful microorganisms spreading to your dishes and surfaces. Additionally, you must consider material safety when selecting and maintaining sponges. Some materials absorb more water and debris, creating better conditions for bacteria.
Others may degrade quickly under frequent sanitation, reducing their lifespan. To minimize bacterial growth, replace your sponge regularly and clean it thoroughly after each use. Always opt for sponges made from materials that balance effective cleaning with durability and resistance to bacterial colonization.
Microwave Your Sponge to Sanitize It
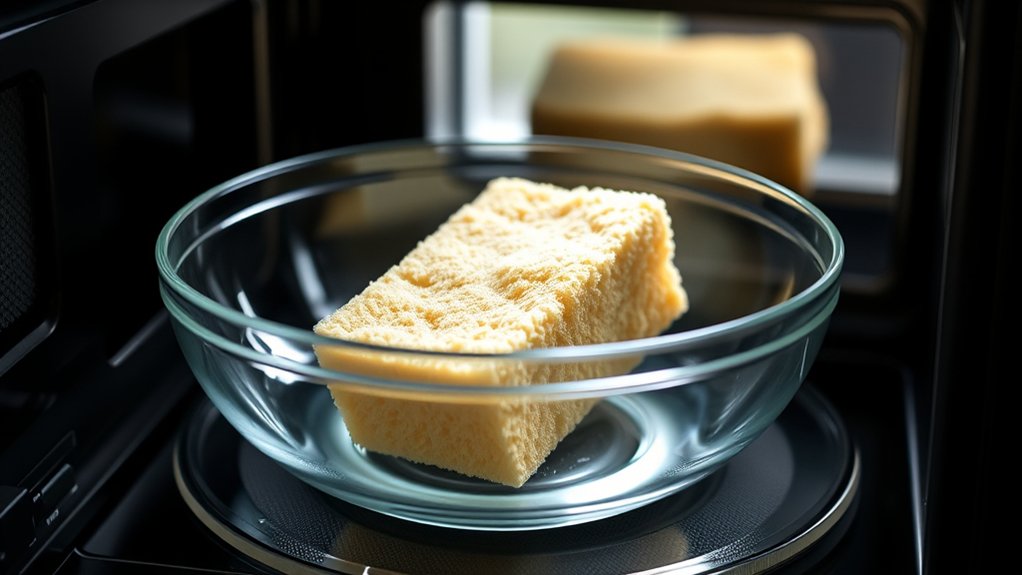
You can sanitize your kitchen sponge by microwaving it, which uses heat to kill bacteria and germs effectively. Set your microwave to high power and heat the damp sponge for about one to two minutes, but always check your microwave’s instructions for exact timing.
Make sure the sponge is wet to prevent fire hazards, and never microwave sponges with metal scrubbing pads attached.
How Microwave Sanitizes Sponges
How exactly does microwaving sanitize your kitchen sponge? When you microwave a damp sponge, the water molecules inside generate heat through microwave radiation. This heat effectively kills bacteria and germs.
The sponge’s electrical conductivity, due to its moisture content, allows it to absorb microwave energy efficiently, ensuring thorough sanitization. For microwave safety, always make sure the sponge is wet. Dry sponges can catch fire because they lack sufficient water to absorb energy.
Additionally, avoid microwaving sponges with metal scrubbing pads, as metal can cause sparks or damage the microwave. By understanding the sponge’s moisture role and following safety precautions, you can effectively use your microwave to sanitize sponges without risk, ensuring a cleaner kitchen tool ready for use.
Microwave Time and Power
Knowing that moisture enables effective microwave sanitization, the next step is determining the correct microwave time and power settings to kill bacteria without damaging the sponge or microwave. First, ensure your sponge is thoroughly wet; a dry sponge can catch fire.
Set the microwave power to high, as lower settings won’t reach the temperatures necessary to sanitize effectively. For microwave timing, 1 to 2 minutes is optimal. This duration reliably kills most bacteria.
Avoid exceeding 2 minutes to prevent overheating or melting. If your microwave has variable wattage, adjust timing accordingly: higher wattage requires less time, while lower wattage might need closer to 2 minutes. Following these specific microwave timing and power settings maximizes sanitation while preserving sponge integrity.
Safety Tips for Microwaving
When microwaving your kitchen sponge to sanitize it, what essential safety precautions should you follow to prevent accidents? First, always ensure the sponge is thoroughly wet; dry sponges can catch fire, posing serious safety hazards.
Next, follow your microwave guidelines carefully, using medium power and limiting the time to about one to two minutes to avoid overheating. Place the sponge on a microwave-safe dish to prevent direct contact with the microwave floor.
Never microwave sponges containing metal scrubbing pads, as they can cause sparks. After microwaving, let the sponge cool before handling to prevent burns.
Regularly inspect your sponge for damage, as compromised sponges may not sanitize effectively and increase risk. Following these steps minimizes safety hazards and ensures effective sponge sanitization.
Clean Kitchen Sponges in the Dishwasher
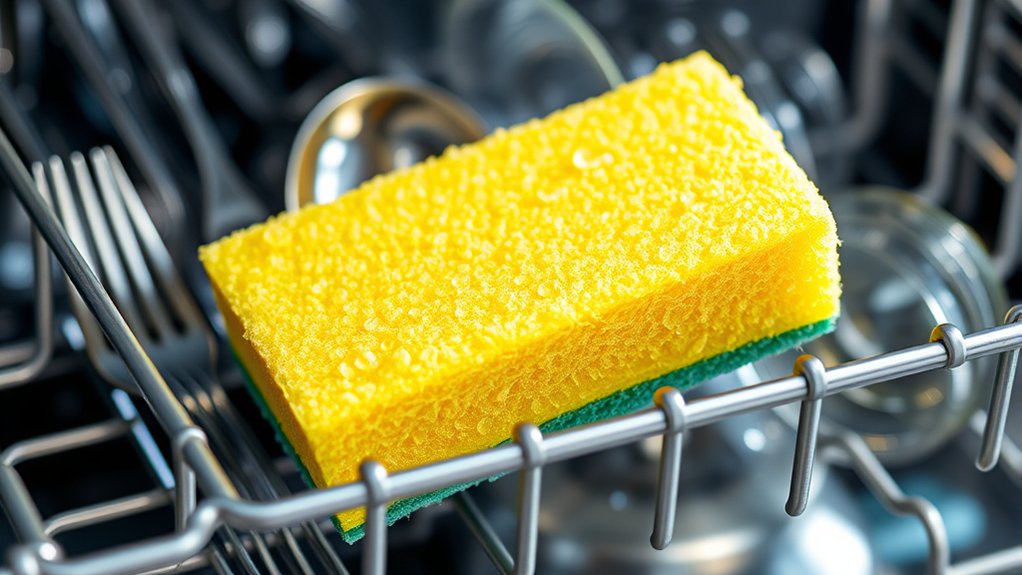
You can clean certain sponges safely in the dishwasher, but first, check if your sponge is labeled dishwasher-safe to avoid damage. Place the sponge on the top rack to prevent excessive heat exposure, and run a full cycle using the hottest water setting.
This method effectively removes bacteria and debris without compromising the sponge’s integrity.
Dishwasher Safe Sponge Types
How can you ensure your kitchen sponges get thoroughly sanitized without damaging them? Start by selecting the right sponge materials. Sponges made from cellulose, natural fibers, or durable synthetic blends usually withstand dishwasher cycles well.
Avoid sponges with abrasive scrubbing pads or delicate components, as these can degrade quickly. Pay attention to the cleaning frequency, sanitizing your dishwasher-safe sponges at least once a week to prevent bacteria buildup.
Place the sponge on the top rack to avoid excessive heat exposure, which can warp or break down materials. By understanding the sponge materials and adhering to a consistent cleaning frequency, you’ll maintain sponge integrity and hygiene effectively without causing premature wear or damage.
This method keeps your kitchen sponges both sanitary and long-lasting.
Best Dishwasher Cleaning Methods
Where should you place your kitchen sponge in the dishwasher to maximize cleanliness without causing damage? Positioning it correctly ensures optimal dishwasher efficiency and extends sponge longevity. Place the sponge on the top rack, away from heating elements to prevent melting or warping. Avoid overcrowding to allow thorough water and detergent circulation.
Follow these steps for the best results:
- Use a high-temperature setting to kill bacteria effectively.
- Avoid harsh detergents that can degrade sponge material.
- Run the dishwasher empty or with minimal dishes to focus cleaning power.
Deep-Clean Sponges With Vinegar and Baking Soda
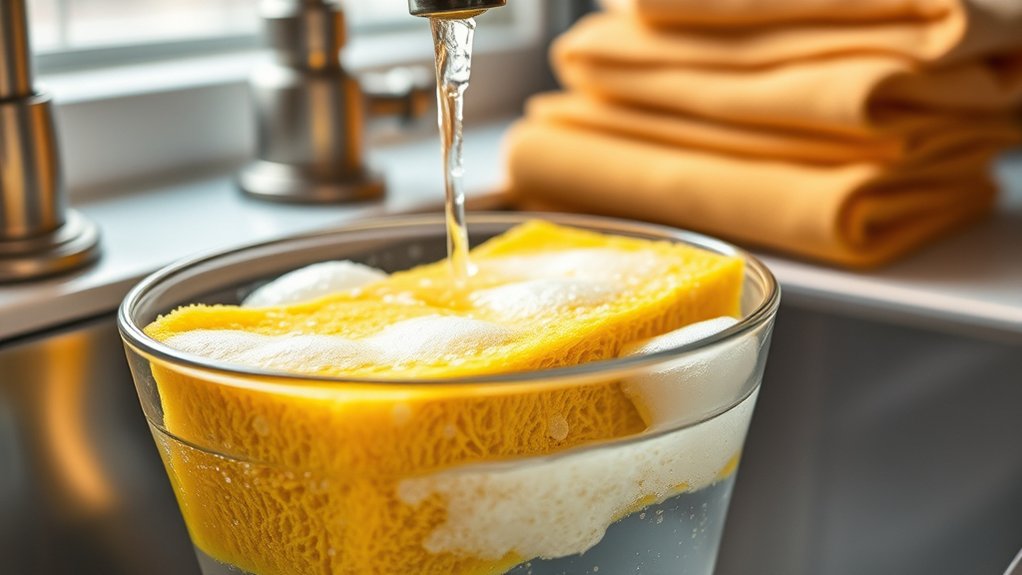
A powerful combination of vinegar and baking soda can effectively deep-clean your kitchen sponges by breaking down grease, neutralizing odors, and killing bacteria. Start by soaking your sponge in a bowl filled with white vinegar, leveraging the vinegar science behind its acidity to dissolve grime and reduce microbial growth. Let it sit for about 5 minutes to ensure thorough penetration.
Next, sprinkle baking soda over the sponge. The baking soda reactions will cause fizzing as it interacts with vinegar residues, which helps lift stubborn dirt and deodorize the sponge. Scrub the sponge gently to maximize these effects.
Rinse the sponge thoroughly with hot water to remove all residue and contaminants. Squeeze out excess water and allow the sponge to air dry completely in a well-ventilated area. By using this method, you’ll restore your sponge’s freshness and extend its usability efficiently and safely.
How Often Should You Clean or Replace Kitchen Sponges?
When should you clean or replace your kitchen sponge to maintain hygiene and effectiveness? Sponge durability varies based on use and care, so setting clear cleaning schedules is essential. Typically, you should clean your sponge daily to reduce bacteria buildup and replace it every one to two weeks, depending on wear and odor.
Consider these factors to optimize your sponge’s lifespan:
- Usage frequency: The more often you use a sponge, the quicker it degrades, requiring more frequent replacement.
- Visible wear and odor: When your sponge shows signs of fraying, discoloration, or persistent smell, it’s time to replace it.
- Cleaning effectiveness: If regular decontamination methods fail to eliminate odors or stains, early replacement is necessary.
How to Dry and Store Kitchen Sponges to Keep Them Fresh
How can you ensure your kitchen sponge stays fresh and bacteria-free between uses? First, always wring out your sponge thoroughly after each use to remove excess water. Moisture encourages bacterial growth, so drying is crucial.
Place the sponge in a well-ventilated area where air can circulate freely, such as on a sponge holder with drainage or a raised rack. Avoid leaving it in the sink or on flat, damp surfaces.
Incorporate drying and proper storage into your daily kitchen routine to maintain your cleaning tools’ hygiene. Consider microwaving or running the sponge through a dishwasher cycle periodically for deep drying and sanitizing, but always ensure it’s wet before microwaving to avoid fire hazards.
Signs Your Kitchen Sponge Needs to Be Replaced
Why should you replace your kitchen sponge regularly? Over time, sponges fashion themselves into breeding grounds for bacteria, absorbing kitchen scents that indicate spoilage and contamination. Recognizing when to replace your sponge prevents cross-contamination and maintains hygiene.
Watch for these clear signs:
- Persistent foul odor: If your sponge retains unpleasant kitchen scents despite cleaning, bacteria buildup is likely.
- Visible wear and tear: Frayed edges, crumbling material, or discoloration signal the sponge’s effectiveness is compromised.
- Saturation and sliminess: A sponge that remains wet or feels slimy even after drying fosters microbial growth and should be discarded.
Replacing your kitchen sponge promptly keeps your cleaning routine efficient and sanitary. Don’t let worn-out sponges linger; they’re less effective and can spread germs. By monitoring these signs, you ensure your sponge stays fresh and safe for everyday use.
Frequently Asked Questions
Can I Use Bleach to Clean My Kitchen Sponge?
Yes, you can use bleach, but be cautious. For bleach safety, dilute properly and soak your sponge for five minutes.
This method guarantees effective sponge sanitation without damaging fibers or leaving harmful residues behind.
Are There Natural Alternatives to Commercial Sponge Cleaners?
You can use natural alternatives like vinegar, baking soda, or lemon juice to clean your sponge safely. These options guarantee sponge safety by avoiding harsh chemicals while effectively reducing bacteria and odors with easy, methodical steps.
Is It Safe to Use the Same Sponge for Dishes and Countertops?
You shouldn’t use the same sponge for dishes and countertops. For sponge safety, keep two separate sponges: one for dishes, one for surfaces.
This two word discussion idea helps prevent cross-contamination and ensures hygiene.
How Do I Remove Stains From a Kitchen Sponge?
To remove stains, soak your sponge in a mixture of vinegar and baking soda for 15 minutes, then rinse thoroughly. This method supports effective sponge maintenance by eliminating residues and prolonging its usability.
Repeat weekly.
Can Kitchen Sponges Be Recycled or Composted?
Imagine soggy sponges piling up, refusing to vanish. You’ll find limited recycling options due to mixed materials, and composting feasibility is low unless it’s natural fiber.
Check local programs for proper disposal methods to reduce waste effectively.