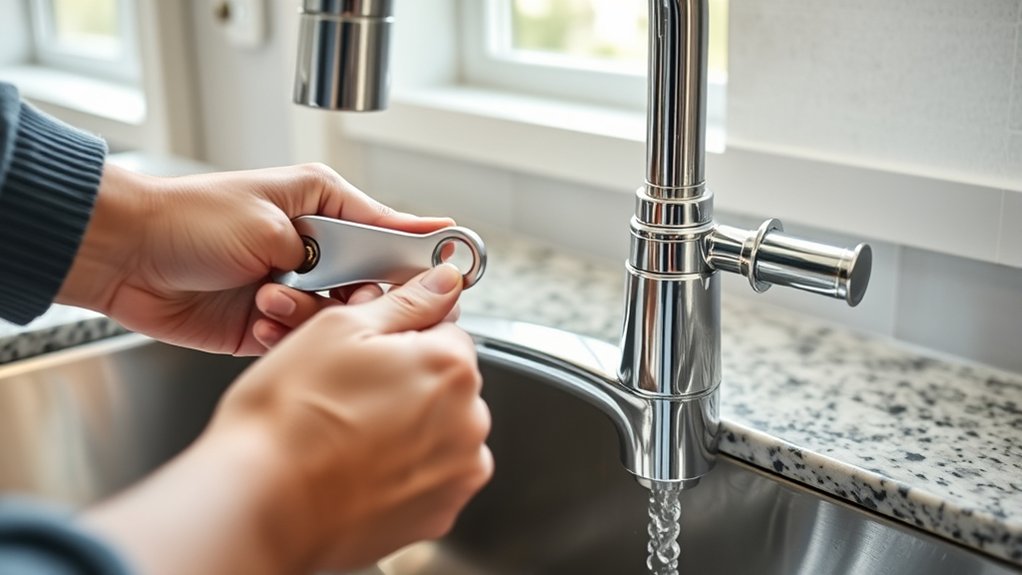
How Do You Change a Kitchen Sink Faucet
If you’re planning to change a kitchen sink faucet, you’ll need to start by shutting off the water supply and draining any remaining water in the lines.
The process involves disconnecting supply lines, removing the old faucet, and properly installing the new one with secure connections to prevent leaks.
Understanding each step is essential to avoid common mistakes that can lead to water damage or poor faucet performance.
What You’ll Need to Change Your Kitchen Faucet
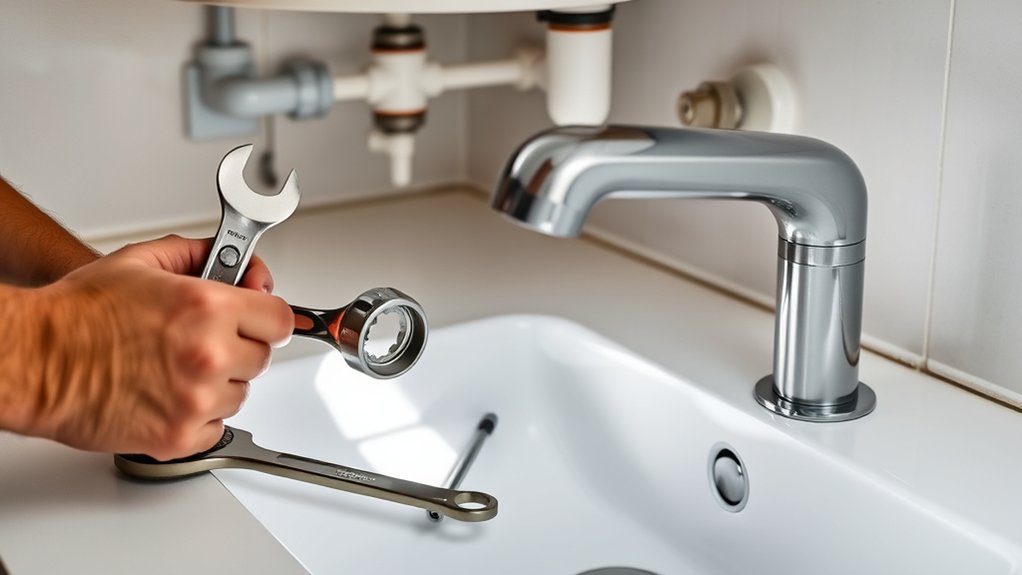
What tools and materials do you need to change your kitchen faucet? Start with an adjustable wrench and a basin wrench to access tight spaces under the sink. You’ll also need plumber’s tape to ensure watertight seals on threaded connections.
If your new faucet includes a water filtration feature, have the appropriate filter cartridges ready for installation. Choose a faucet with a finish that matches your kitchen’s style and resists corrosion, like brushed nickel or chrome.
Prepare a bucket or towel to catch any residual water. A screwdriver set is essential for removing mounting hardware. Additionally, consider replacement supply lines compatible with your faucet’s finish and water filtration system.
Having a flashlight will help you see in the cabinet’s dark corners. Finally, keep a utility knife handy to cut away old sealant if necessary. With these tools and materials ready, you’ll be set for a smooth faucet replacement process.
How to Turn Off Water Before Changing Your Faucet
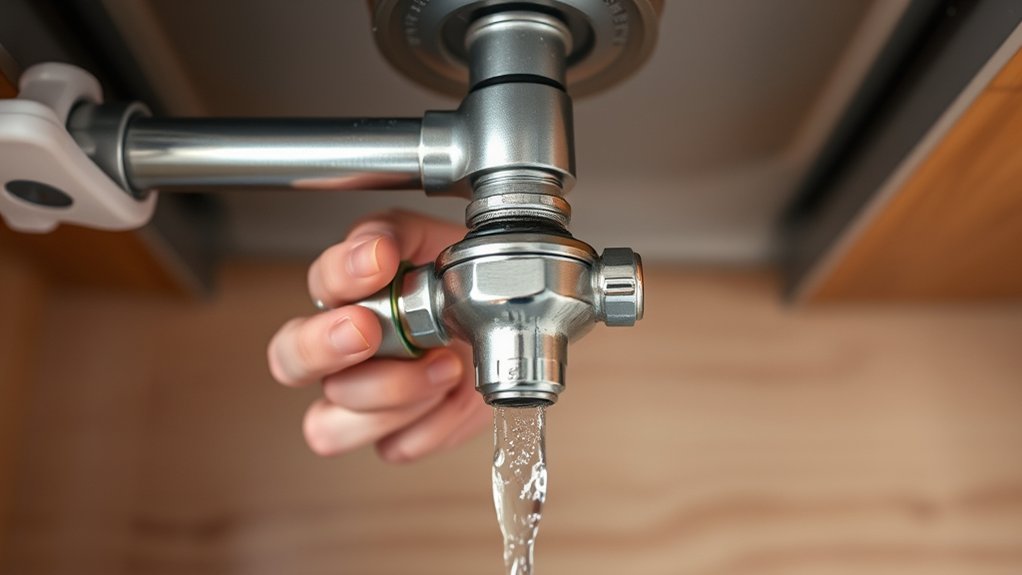
Before you start, locate the main water valve to your home and turn it off to prevent any water flow. Next, shut off the individual supply lines under the sink by turning their valves clockwise.
Confirm the water is off by opening the faucet and checking for any remaining flow.
Locate Main Water Valve
Where exactly is the main water valve located in your home? Typically, you’ll find it near the perimeter, where the water line enters your property.
In colder climates, it’s often inside the basement or crawl space; in warmer areas, it may be outside near the foundation or meter box. To locate the main water valve effectively, start by tracing the incoming water pipe from the street or meter.
The valve usually resembles a round wheel or lever connected to a pipe. Knowing this location is critical before changing your kitchen sink faucet because shutting off the main water valve stops water flow to all fixtures, preventing leaks and water damage.
Once located, ensure you can easily access and operate it when needed.
Shut Off Supply Lines
After locating and closing the main water valve, the next step is to shut off the supply lines directly under your kitchen sink. These lines control the flow of hot and cold water to your faucet.
Locate the small shut off valves attached to each supply line, typically angled or straight valves. Turn each valve clockwise until it stops to fully shut off the water.
Confirm water is shut off by opening the faucet and checking for any flow. Shutting off these supply lines ensures water safety by preventing leaks or flooding during faucet removal.
If the valves are stuck or damaged, consider shutting off water at the main valve again to avoid accidents. Properly shutting off supply lines is critical before proceeding with any faucet replacement.
Step-by-Step Guide to Removing Your Old Kitchen Faucet
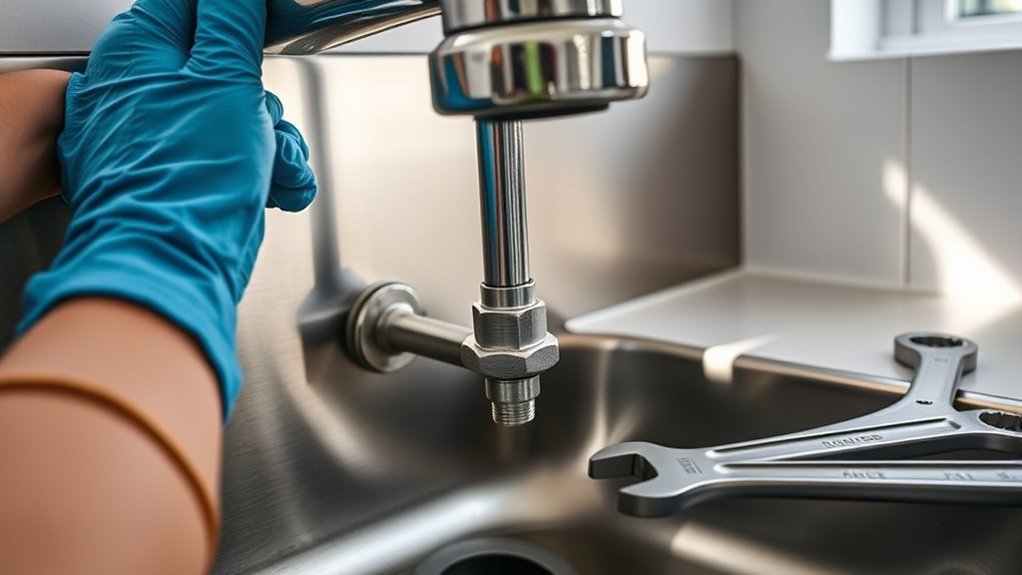
How do you effectively remove your old kitchen faucet without causing damage? First, gather your tools: adjustable wrench, basin wrench, and bucket. Place the bucket under the sink to catch residual water.
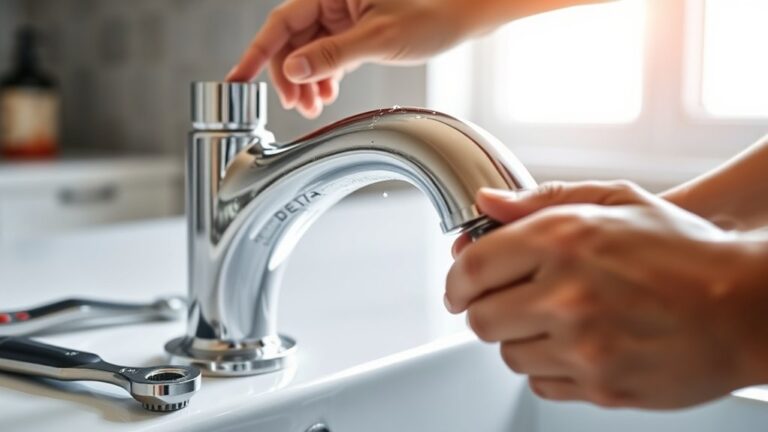
Begin by disconnecting the supply lines using the adjustable wrench, loosening the nuts carefully to avoid stripping. Next, remove the mounting nuts securing the faucet to the sink with a basin wrench. These are often tight and in awkward spots, so patience is key.
Once loose, lift the faucet out gently, avoiding damage to the sink’s surface. Clean the sink area thoroughly, removing old putty or sealant to prepare for your new faucet.
When considering faucet aesthetics for your replacement, review discussion ideas about style compatibility with your kitchen design to ensure a seamless upgrade. This precise removal process prevents unnecessary repairs and preserves your sink’s condition, setting a solid foundation for installing your new fixture.
How to Install Your New Kitchen Faucet Correctly
Start by thoroughly cleaning and clearing the installation area to ensure a tight seal and proper fit for your new faucet.
Next, carefully connect the water supply lines, making sure to use the correct fittings and avoid cross-threading. Tighten all connections securely to prevent leaks once the water is turned back on.
Preparing the Installation Area
Where should you begin when preparing the installation area for your new kitchen faucet? Start by clearing the space under the sink to allow easy access.
Next, assess the condition of the sink and countertop to ensure they support your faucet’s design and weight. While planning your budget, factor in tools or additional parts you might need.
Choosing finishes that match your kitchen will streamline installation and aesthetics. Finally, turn off the water supply to prevent leaks during removal and installation.
| Task | Key Considerations |
|---|---|
| Clear workspace | Remove items under the sink |
| Inspect sink area | Check for damage or wear |
| Plan budget & finishes | Include tools, parts, and style |
Connecting Water Supply Lines
Efficiency is key when connecting water supply lines to your new kitchen faucet. Properly handling this step ensures smooth operation and prevents leaks.
Since changing plumbing involves adapting to your faucet design, follow these steps precisely:
- Turn off the main water supply before starting.
- Use Teflon tape on threaded connections to ensure a tight seal.
- Connect hot and cold water lines to corresponding faucet inlets.
- Tighten connections with an adjustable wrench, avoiding overtightening.
- Test for leaks by slowly turning the water back on and inspecting all joints.
How to Connect Water Supply Lines Without Leaks
When you hook up your water supply lines, ensuring a tight seal is essential to preventing leaks. Start by applying plumber’s tape evenly around the threaded ends of the faucet’s water inlets. This creates a waterproof barrier.
Applying plumber’s tape on faucet threads ensures a tight, leak-proof seal when connecting water supply lines.
Next, hand-tighten the supply line nuts to the faucet’s connectors, then use an adjustable wrench to secure them firmly. Avoid overtightening to prevent damage.
Pay attention to the alignment of the lines to maintain clean drain aesthetics; neat, unobtrusive connections enhance your sink’s overall look. Also, consider the faucet branding when selecting supply lines; some manufacturers provide matching components designed for optimal fit and durability.
Using these branded parts can reduce the risk of leaks. Finally, ensure the supply lines are free of kinks or bends that could compromise water flow or cause wear over time.
How to Test Your New Kitchen Faucet and Fix Leaks
After securing your water supply lines without leaks, the next step is to verify that your new kitchen faucet operates correctly and remains leak-free. Start by thoroughly testing faucet durability and checking faucet aesthetics to ensure proper installation. Follow these steps:
Turn on both hot and cold water to check for steady flow and temperature control. Inspect all joints and connections closely for any signs of dripping or moisture.
Operate the handle through its full range to confirm smooth movement and no unusual resistance. Examine the faucet base and spout for any visible leaks during use.
Assess faucet aesthetics under different lighting to catch any installation misalignments.
If you notice leaks, tighten connections carefully or reseat washers and O-rings as needed. Addressing issues promptly prevents water damage and maintains your faucet’s functionality and appearance.
This testing phase ensures long-term performance and satisfaction with your new kitchen faucet.
Should You Call a Pro to Change Your Kitchen Faucet?
How do you know if replacing your kitchen faucet is a job you can handle or if it’s time to call a professional? Start by evaluating your comfort level with plumbing tasks. If you have experience with tightening supply lines, sealing connections, and troubleshooting leaks, you might manage the replacement yourself.
Consider your plumbing skills and comfort with tasks before deciding to replace your kitchen faucet yourself or call a professional.
However, if the job involves complex plumbing configurations or you lack proper tools, you should consider whether hiring a pro is more efficient.
Cost considerations play a significant role. While DIY saves on labor, mistakes can lead to water damage or additional repairs, increasing overall expenses. A professional ensures correct installation, minimizes risks, and usually offers a warranty on their work.
If your time is limited or you want guaranteed results, it’s practical to hire a pro. Ultimately, assessing your skill set, tool availability, and the potential cost implications will help you decide if you should hire pro services for changing your kitchen faucet.
Frequently Asked Questions
What Types of Kitchen Faucets Are Most Durable?
Think of durable materials as a knight’s armor; stainless steel and brass faucets protect against wear. You’ll want to follow maintenance tips like regular cleaning to ensure your faucet stays battle-ready and long-lasting in your kitchen.
How Often Should I Replace My Kitchen Faucet?
You should replace your kitchen faucet every 10-15 years, depending on faucet lifespan and usage.
Don’t ignore leaks or decreased water flow; those two-word ideas signal it’s time. Subtopic irrelevant details won’t affect this practical timing.
Can I Upgrade to a Touchless Faucet?
You can easily embrace a modern upgrade faucet with touchless benefits, enhancing hygiene and convenience. Just guarantee compatibility with your sink and water lines, and follow installation guidelines carefully for a smooth, efficient transition to hands-free control.
What Water Pressure Is Ideal for Kitchen Faucets?
You’ll want to maintain water pressure between 40-60 psi to meet water pressure guidelines. This range ensures water flow compatibility with most kitchen faucets, optimizing performance without causing leaks or damage to your plumbing system.
Are There Eco-Friendly Kitchen Faucet Options?
Yes, you’ll find eco friendly options featuring water saving fixtures that reduce flow without sacrificing performance.
Look for faucets with aerators or WaterSense certification to conserve water efficiently while maintaining strong pressure in your kitchen.