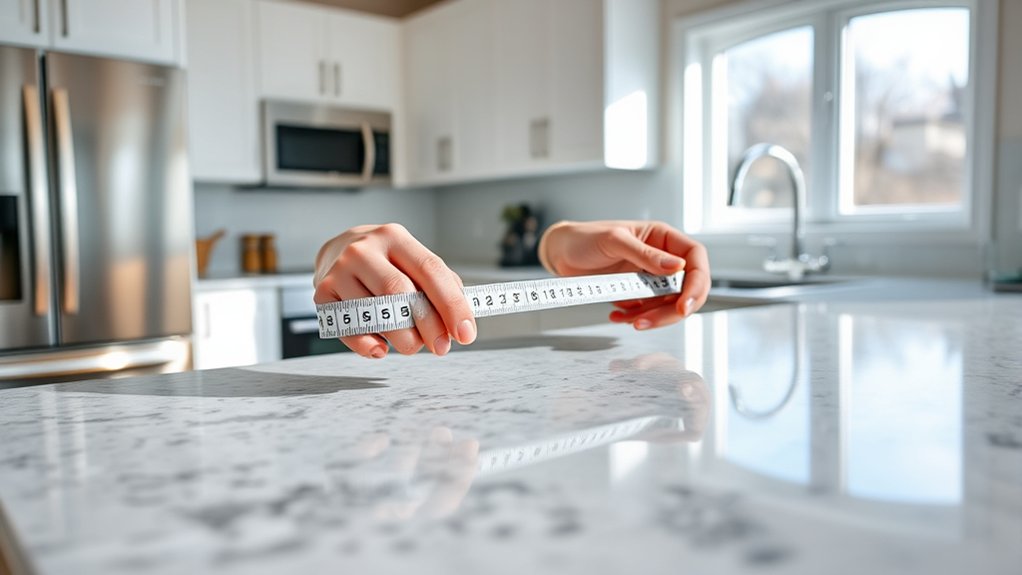
How Do You Measure for Kitchen Countertops
You might not realize that measuring kitchen countertops accurately starts long before you pull out your tape measure—it begins with thoroughly clearing the workspace and visualizing every edge, seam, and backsplash.
Measuring kitchen countertops precisely is essential to avoid costly mistakes later on.
Missing this crucial prep can lead to errors that are difficult to fix.
To get precise dimensions, you need to understand not just length and width, but also how overhangs and irregular corners affect your measurements.
Let’s explore how to approach this step by step.
Get Your Kitchen Ready for Countertop Measurements
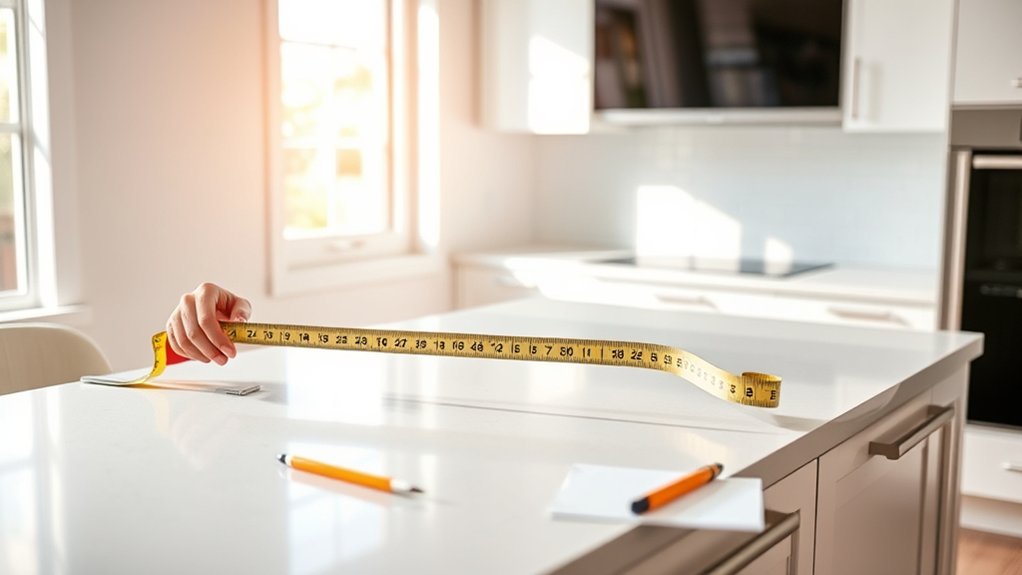
Before you start measuring for your kitchen countertops, you need to prepare the space carefully to guarantee accurate results. Getting ready means clearing all appliances, utensils, and decorative items off the counters to create an unobstructed surface. This allows you to focus solely on the dimensions without interference.
Adopt a measurement mindset by mentally visualizing the countertop edges, corners, and any cutouts, such as for sinks or cooktops. Ensure all cabinet doors and drawers are closed tightly to avoid skewing your measurements.
Check the walls and cabinets for any irregularities or protrusions that might affect the fit of your new countertops. Lastly, verify the floor is level, as uneven flooring can impact how your countertops align.
Tools You’ll Need for Accurate Countertop Measuring
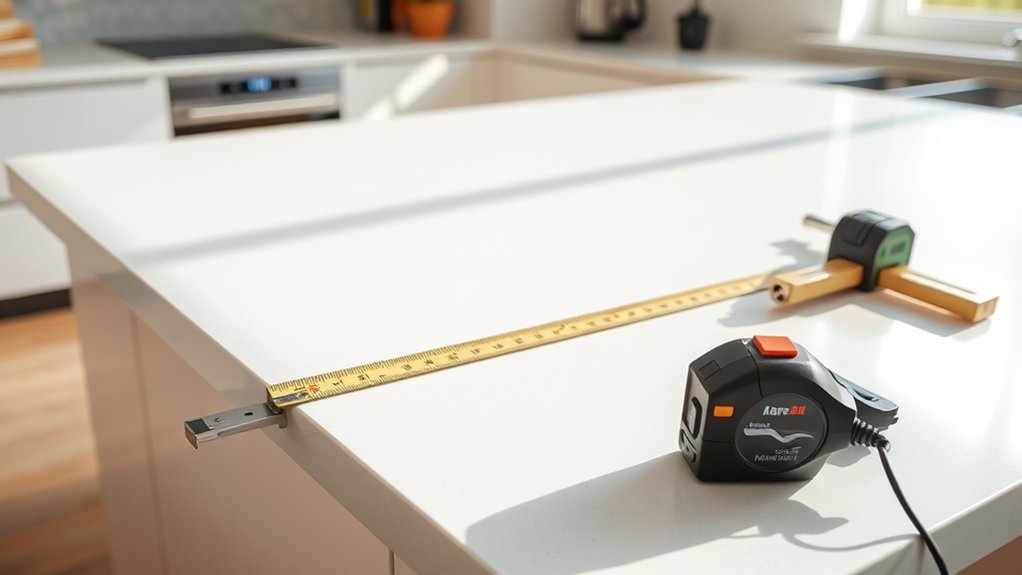
Once your kitchen is fully prepared and you’ve visualized every edge and cutout, gathering the right tools becomes your next priority. Using incorrect tools can lead to irrelevant measurements, compromising the entire countertop installation.
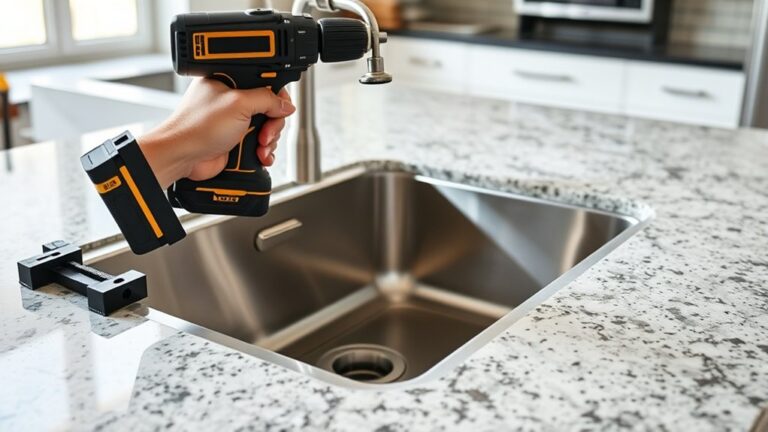
Start with a reliable tape measure, preferably a steel one with clear markings, to ensure precise length and width readings. A carpenter’s square is essential for verifying right angles and ensuring corners are accurately measured.
Begin with a steel tape measure and carpenter’s square for accurate dimensions and perfect right angles.
Don’t forget a pencil and graph paper or a digital note-taking device to record measurements systematically. A level helps confirm that your countertops will be installed evenly, avoiding costly adjustments later.
Additionally, calipers or a ruler can assist in measuring smaller details like backsplash heights or thicknesses. Avoid makeshift tools like fabric tapes or folding rulers, as these often yield inconsistent data.
How to Measure Straight Countertop Lengths and Widths
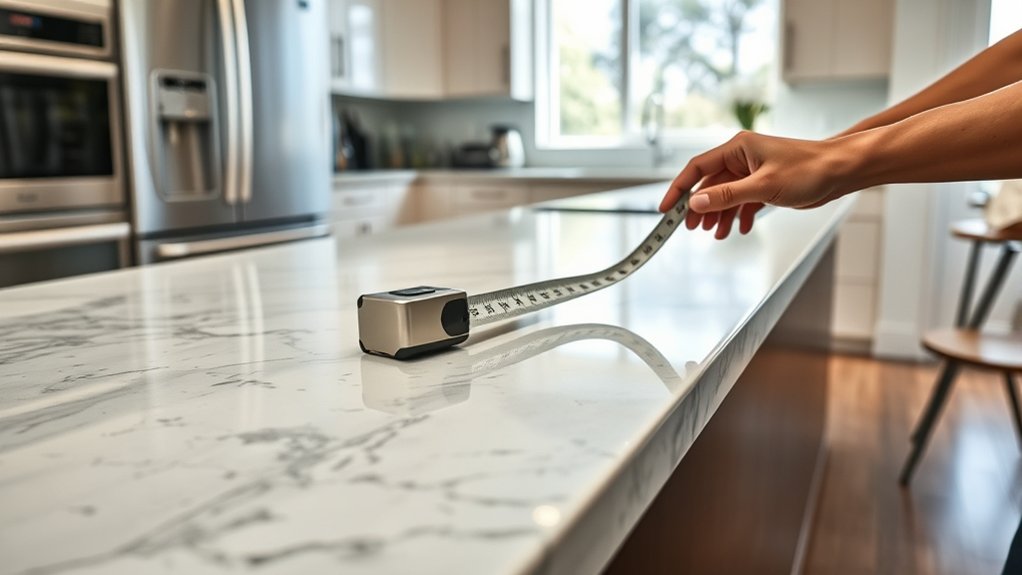
How exactly do you measure straight countertop lengths and widths with pinpoint accuracy? Begin by using a reliable tape measure, ensuring it’s taut and straight along the countertop edge. Measure the length from one end to the other, recording the exact number in inches or centimeters.
Repeat this process for the width, measuring from the back wall to the front edge. For measurement accuracy, always take double measurements, confirming consistency to avoid costly errors.
Keep your material selection in mind, as some materials like granite or quartz require precise measurements due to limited cutting flexibility. After recording your dimensions, add a small allowance, typically 1/8 inch, to accommodate slight adjustments during installation.
Don’t guess or round off numbers; precise measurements help your fabricator create a perfect fit. By following these steps, you ensure your straight countertops are measured accurately, facilitating a smooth installation and a professional finish.
Tips for Measuring Around Corners, Backsplashes, and Overhangs
Where do you start when measuring around corners, backsplashes, and overhangs to ensure accuracy? Begin by identifying the exact points where your countertop changes direction or elevation.
For corners measurement, use a tape measure to capture both walls from the corner point, noting inside and outside angles carefully. When measuring backsplashes, include their height from the countertop surface.
Overhang estimation requires measuring the horizontal extension beyond the base cabinets to accommodate seating or design features.
Here’s a quick reference table for precision:
| Area | Measurement Tip |
|---|---|
| Corners | Measure both adjoining walls; note angles |
| Backsplashes | Measure height from countertop surface |
| Overhangs | Measure horizontal extension from cabinet edge |
| Transition Points | Record any changes in height or thickness |
Using this method ensures your measurements reflect the true countertop layout, facilitating a seamless fit and finish.
Common Mistakes to Avoid When Measuring Your Countertops
When measuring your countertops, using the wrong tools can lead to inaccurate dimensions that affect the entire installation.
Make sure you account for appliance spaces to avoid gaps or overlaps that disrupt your layout.
Don’t forget to include edge details and backsplash measurements, as overlooking these can cause costly adjustments later.
Incorrect Measuring Tools
Why do many DIY countertop projects go awry before they even begin? Often, it’s due to using incorrect tools or faulty rulers that give you inaccurate measurements. Even small errors can lead to costly mistakes and ill-fitting countertops.
To avoid this, make sure you:
Use a reliable tape measure or a metal ruler, not a worn-out or flexible one.
Avoid makeshift tools like yardsticks or strings that can stretch or bend.
Check your measuring tools for calibration before starting.
Always measure twice using the same tool to confirm accuracy.
Ignoring Appliance Spaces
Accurately measuring your kitchen countertops goes beyond using the right tools; it also requires careful attention to the spaces allocated for appliances. When measuring kitchen areas, you must account for the exact dimensions of appliances like refrigerators, dishwashers, and ovens.
Neglecting these spaces can lead to countertop cuts that don’t fit properly around appliances, causing costly adjustments. During countertop planning, measure not only the overall length and width but also the depth and clearance needed for each appliance.
Consider door swings, vent requirements, and any built-in features that affect available space. By integrating these details into your measurements, you ensure a seamless fit that accommodates appliances without compromising countertop integrity or aesthetics.
Avoid ignoring appliance spaces to achieve precise, professional results.
Overlooking Edge and Backsplash
How much attention do you give to the edges and backsplash while measuring your countertops? Overlooking edge details and backsplash concerns can lead to costly errors. When measuring, don’t forget these critical aspects:
Account for overhangs on edges, especially if you want a waterfall or bullnose finish. Measure the backsplash height accurately to ensure a seamless fit with your wall.
Consider any irregularities like corner seams or cutouts for sinks and outlets. Confirm the backsplash material thickness, as it affects overall countertop dimensions.
Failing to factor in these elements can cause misfits or require adjustments during installation. By carefully including edge profiles and backsplash specifics in your measurements, you ensure a precise, professional countertop fit that complements your kitchen perfectly.
How to Double-Check Your Kitchen Countertop Measurements Before Ordering
Before placing your order, you should carefully review every measurement to ensure they align perfectly with your kitchen layout. Start by re-measuring all countertop dimensions, including length, width, and any cutouts for sinks or appliances. Confirm that measurements consider edge profiles, as these can affect the final size and fit. Use a reliable tape measure and record each number clearly.
Next, cross-reference these dimensions with your countertop budgeting plan to ensure the material quantity matches your financial limits. Double-check corners and angles, especially in L-shaped or U-shaped kitchens, to avoid costly errors. Take note of backsplash height and thickness, as these details impact overall measurements.
Finally, have a second person verify your measurements independently. This extra step helps catch mistakes you might miss. By following this detailed review process, you’ll protect your investment and ensure your new countertop fits flawlessly the first time.
Frequently Asked Questions
What Materials Are Best for Kitchen Countertops?
You’ll find quartz and granite offer excellent material durability with minimal maintenance. For easier upkeep, consider solid surface or laminate.
Follow maintenance tips like sealing stone surfaces to keep your kitchen countertops lasting beautifully.
How Long Does Countertop Installation Usually Take?
Countertop installation usually takes one to three days, depending on material and complexity. You’ll appreciate shorter installation times with prefab options.
Always factor in timing considerations like curing and countertop adjustments for a smooth process.
Can I Install Countertops Myself or Hire a Professional?
You can do it yourself if you have skills and tools, but hiring a professional guarantees precise cuts and secure installation.
For complex materials or designs, a professional ensures durability and a flawless finish, saving time and stress.
What Is the Average Cost per Square Foot for Countertops?
You’ll find the average cost per square foot for countertops ranges from $30 to $100. For accurate cost estimation, ensure precise measurement accuracy to avoid budget surprises and material wastage during installation.
How Do I Maintain and Clean Different Countertop Materials?
Like a gardener tending different plants, you use tailored cleaning methods for each countertop material. Use mild soap for granite and vinegar-free cleansers for quartz to protect the finish and ensure material longevity. This keeps surfaces pristine and durable over time.