Can You Replace Shower Floor Only
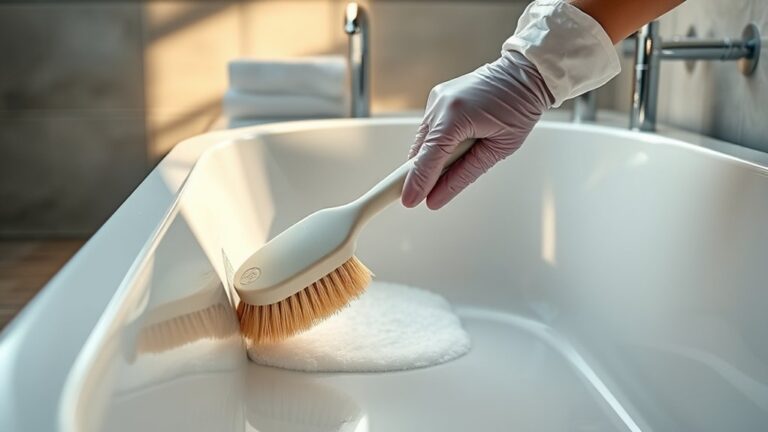
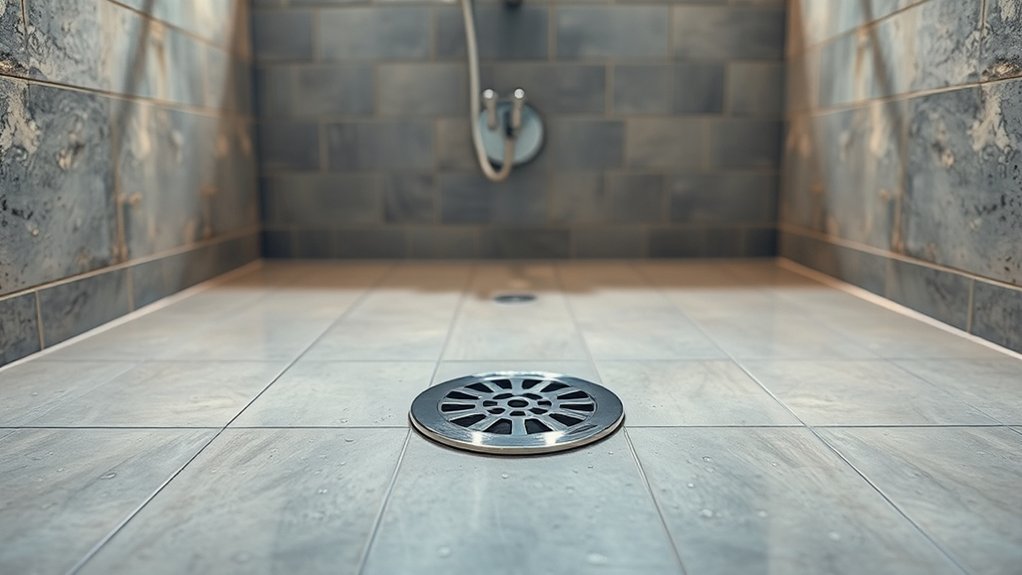
You can replace just the shower floor, but it’s a task that demands precision and care.
Replacing the shower floor only is possible, but it requires attention to detail to avoid future problems.
The floor isn’t simply a surface; it’s integrated with the waterproofing membrane and structural base, so any misstep can cause leaks or damage.
Before proceeding, you’ll need to evaluate the condition of the subfloor and drainage system.
This assessment will help determine if a partial replacement is truly viable or if a more extensive repair is necessary.
Taking these steps ensures the longevity and safety of your shower floor.
Can You Replace Just the Shower Floor?
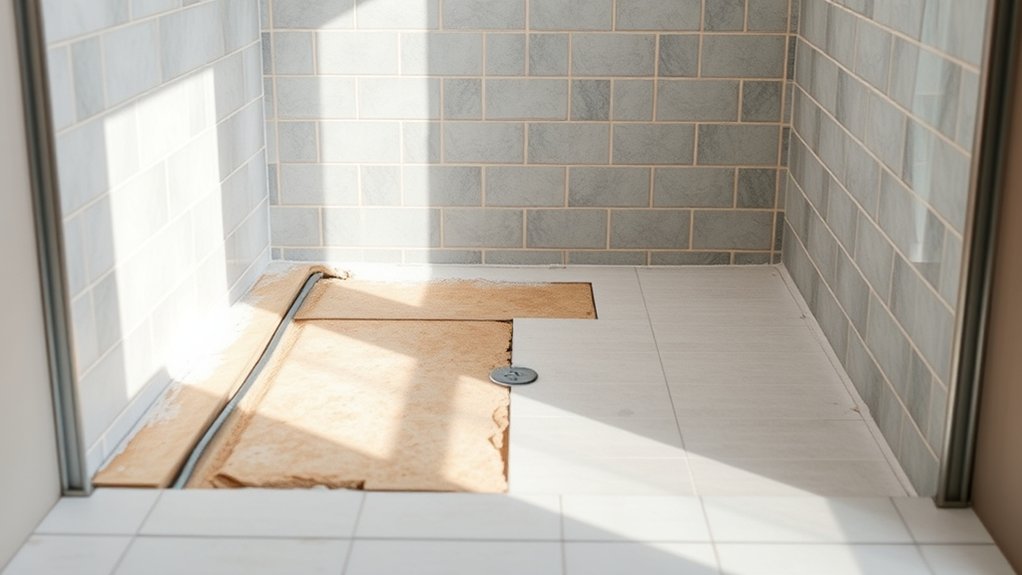
How feasible is it to replace just the shower floor? Technically, it’s possible, but you must consider the shower’s overall integrity. The floor often integrates with the base structure and waterproofing membrane.
Replacing it alone requires careful removal without damaging surrounding tiles or shower niches. If your bathroom lighting is recessed near the shower, be cautious; any moisture intrusion during replacement can affect electrical components.
Carefully remove the shower floor to avoid damaging tiles, niches, and prevent moisture from affecting nearby recessed lighting.
Precision in demolition and installation is crucial to maintain waterproofing and prevent leaks. You’ll need to select a new floor material compatible with the existing drain and slope for proper drainage.
Also, ensure the replacement matches the shower’s design to preserve aesthetics, especially if shower niches and other features remain intact. In summary, replacing just the shower floor demands technical skill and thorough planning, balancing structural, waterproofing, and design considerations to avoid compromising the shower’s function or appearance.
When Should You Replace Only the Shower Floor?
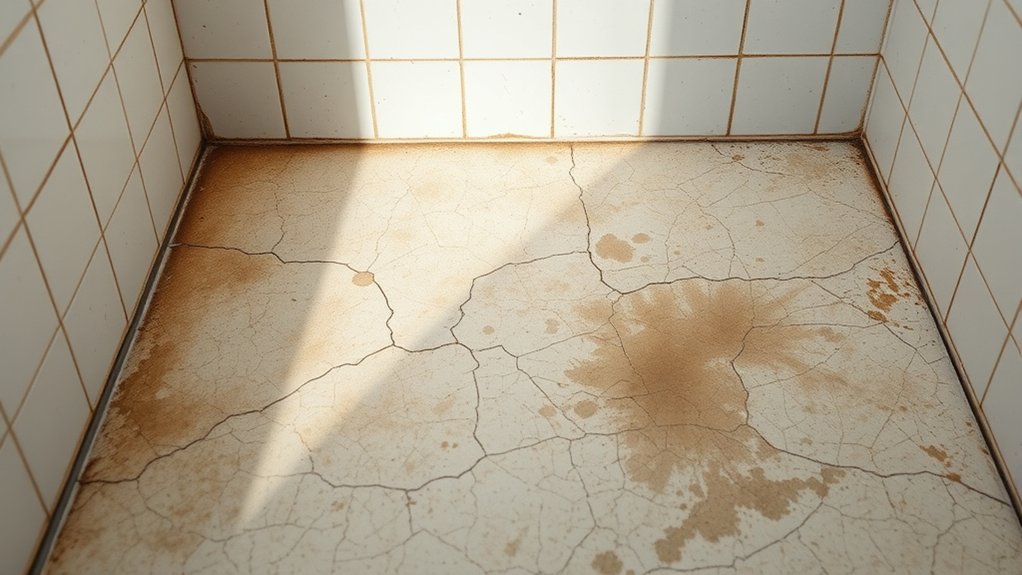
You should replace only the shower floor when you notice clear signs of damage like cracks, mold growth, or water pooling that compromise safety and hygiene.
Evaluating these issues early lets you choose cost-effective repair options without replacing the entire shower. Focusing on the floor alone can save time and money while restoring functionality.
Signs Of Floor Damage
When does shower floor damage warrant a full replacement rather than a simple repair? You should consider replacing the shower floor if you detect persistent shower leaks or widespread tile cracking.
Shower leaks often indicate compromised waterproofing beneath the flooring, which repair alone can’t reliably fix. Tile cracking, especially if extensive or accompanied by loose tiles, signals structural degradation that affects the floor’s integrity.
Additionally, soft spots or sagging areas underfoot point to water damage in the subfloor, necessitating replacement rather than patchwork. Minor surface cracks or isolated grout damage might be repairable, but once damage compromises the waterproof membrane or structural base, only a full floor replacement ensures long-term durability and prevents mold or rot.
Recognizing these signs early helps you avoid costly secondary damage and ensures a safe, watertight shower floor.
Cost-Effective Repair Options
Under what circumstances can replacing just the shower floor save you money without compromising functionality? If the damage is confined to the floor, such as cracks, chips, or worn surfaces, targeted replacement is often a cost-effective repair option.
Conduct a thorough cost comparison between full shower replacement and floor-only repair. Typically, the latter reduces material and labor expenses significantly. Assess the DIY feasibility: if you have moderate skills and proper tools, you can handle the replacement yourself, further cutting costs.
However, ensure that the underlying waterproof membrane is intact to avoid future issues. Prioritize repair when structural integrity remains sound and damage is localized. This approach balances budget constraints with maintaining shower performance, making floor-only replacement a practical, economical choice in appropriate scenarios.
Best Materials for a Shower Floor Replacement
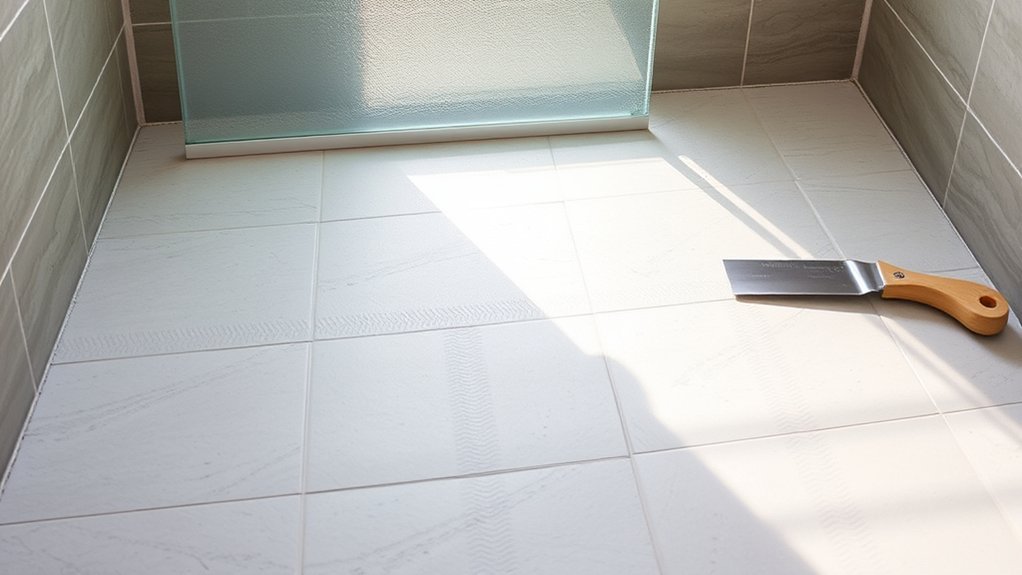
When replacing your shower floor, selecting durable tile options like porcelain or natural stone ensures long-lasting performance. You’ll also need to install a reliable waterproofing membrane to prevent leaks and water damage.
Additionally, choosing slip-resistant materials is crucial for safety and compliance with building standards.
Durable Tile Options
Which tile materials stand up best to the constant moisture and wear of a shower floor? Porcelain and natural stone tiles, such as granite or slate, are among the most durable tile options available.
Porcelain offers high density and low porosity, resisting water absorption and surface damage. Natural stone provides strength but requires sealing to maintain durability. When selecting tile, prioritize those rated for floor use with textured surfaces to prevent slipping.
Equally important is installing long lasting grout. Epoxy grout is ideal due to its superior water resistance and stain prevention compared to cement-based alternatives. Proper grout application and sealing will extend the lifespan of your shower floor, ensuring durability under constant exposure to moisture and foot traffic.
Choosing these materials will help you achieve a resilient, safe, and low-maintenance shower floor replacement.
Waterproofing Membrane Choices
Selecting durable tile and grout sets the foundation for a long-lasting shower floor, but protecting the substrate beneath is equally important. Waterproofing membranes create a critical barrier against water intrusion, preventing mold and structural damage.
When choosing waterproofing membranes, consider ease of membrane installation, durability, and compatibility with your tile system.
| Membrane Type | Installation Method | Key Advantage |
|---|---|---|
| Sheet Membranes | Peel-and-stick or torch | Uniform coverage |
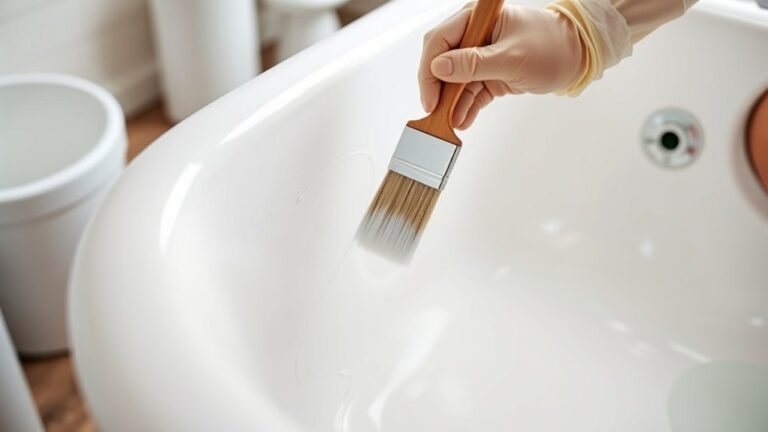
| Liquid Membranes | Brush or roller | Conforms to details |
| Foam Backer Boards | Mechanical fastening | Built-in waterproofing |
Proper membrane installation requires meticulous surface preparation and seamless coverage. You must ensure all seams and corners are fully sealed to maintain a watertight shower floor replacement.
Slip-Resistant Flooring Materials
Many homeowners prioritize slip-resistant flooring materials to enhance safety and prevent accidents in the shower. When replacing your shower floor, selecting materials that meet established slip resistance criteria and safety standards is crucial.
Porcelain tiles with textured surfaces, natural stone treated with anti-slip coatings, and vinyl flooring designed specifically for wet environments offer reliable traction. These options reduce the risk of slips without compromising durability or aesthetics.
Ensure the product you choose complies with recognized slip resistance ratings, such as the coefficient of friction (COF) values recommended by safety organizations. By prioritizing materials that meet these standards, you’ll improve shower safety effectively while maintaining long-term performance.
Proper installation and maintenance of these slip-resistant surfaces further secure their protective benefits.
How to Prepare Your Shower for Floor Replacement
How do you guarantee a smooth shower floor replacement? Start by thoroughly removing all fixtures, tiles, and debris to expose the substrate. Inspect the substrate carefully for damage, focusing on signs of moisture intrusion.
Address any floor crack repair immediately to prevent future leaks and structural issues. Next, ensure the area is completely dry before proceeding. Proper shower waterproofing is crucial. Apply a high-quality waterproof membrane to the floor and extend it up the walls at least six inches. This step prevents water from seeping into the subfloor and causing mold or rot.
Verify that the drain is fully accessible and functioning correctly. Finally, measure and evaluate the slope of the shower floor; it must direct water toward the drain efficiently. Preparing your shower with these precise, technical steps lays a solid foundation for the replacement, ensuring durability and long-term performance.
Step-by-Step Shower Floor Replacement Guide
Where do you begin when replacing a shower floor? Start by removing the existing floor material carefully to avoid damaging the subfloor.
Next, inspect the subfloor for any signs of rot or damage and repair or replace it as necessary to ensure a solid foundation. Once the subfloor is prepped, install a waterproof membrane to protect against moisture infiltration.
After the membrane cures, apply a mortar bed to create a level surface for tile installation. Measure and cut your tiles precisely, then set them in thin-set mortar, ensuring consistent spacing with tile spacers.
Once the mortar sets, apply grout evenly between tiles and clean off any excess promptly. Finally, seal the grout to prevent water penetration and allow the shower floor to dry completely before use.
Following this methodical process guarantees a durable, water-resistant shower floor with professional tile installation results.
Common Challenges When Replacing a Shower Floor
Why does replacing a shower floor often pose unexpected difficulties? Because the process involves more than just removing and installing materials. You’ll encounter challenges related to the existing shower design, which can limit accessibility and complicate the removal of the old floor.
For example, irregular slopes or unconventional drain placements require precise adjustments to ensure proper water flow. Additionally, poor bathroom ventilation can exacerbate moisture issues during and after replacement, potentially leading to mold growth if not addressed.
You must carefully assess the subfloor condition; unseen water damage beneath the surface often demands extra repairs. Ensuring compatibility between new flooring materials and the existing shower walls is also critical to maintain waterproof integrity.
To avoid costly mistakes, you’ll need to evaluate structural elements, drainage configuration, and ventilation thoroughly before starting. Mastering these technical aspects ensures a successful shower floor replacement that aligns with your bathroom’s overall design and functionality.
How to Maintain Your New Shower Floor
Maintaining your new shower floor requires consistent attention to prevent damage and guarantee longevity. Begin by routinely inspecting the floor for cracks or grout deterioration, as early detection allows for targeted floor only repair and preserves replaceable components.
Clean the surface with pH-neutral cleaners to avoid degrading sealants or finishes. Harsh chemicals can compromise your floor’s integrity. Ensure proper ventilation to minimize moisture buildup, which can accelerate mold growth and material breakdown.
Address leaks promptly to prevent water infiltration beneath the floor, a common cause of structural damage. If your shower floor includes replaceable components such as drain covers or threshold strips, monitor their condition and swap them out as needed to maintain a watertight seal.
Regular maintenance not only extends the lifespan of your shower floor but also reduces the risk of costly repairs. By following these precise steps, you’ll protect your investment and avoid premature replacement.
Frequently Asked Questions
Can I Replace a Shower Floor Without Removing the Entire Shower Enclosure?
You can replace the shower floor without removing the entire enclosure by carefully lifting panels. Ensure proper shower glass disposal and reinstall drainage grates precisely for optimal water flow and structural integrity during the replacement process.
How Long Does a Shower Floor Replacement Typically Take?
Don’t worry about extended downtime; a shower floor replacement typically takes 1 to 3 days. This includes curing time to preserve shower memory and carefully reinstalling tile patterns for a flawless, durable finish.
Are There Waterproofing Options Specifically for Shower Floors?
Yes, you can use waterproof membranes and liquid-applied coatings designed specifically for shower floors. These products protect your shower stall beneath various tile textures, ensuring durable, moisture-resistant surfaces.
They prevent leaks and structural damage effectively.
Can I Install a Heated Shower Floor During Replacement?
Yes, you can install heated floors during shower pan replacements. Ensure you select compatible heating systems and waterproofing materials.
Follow precise installation guidelines to maintain durability, safety, and optimal thermal performance in your shower floor upgrade.
What Are the Cost Differences Between Shower Floor Materials?
Like choosing Excalibur, shower floor pricing hinges on tile vs preformed pan: tile demands higher labor and material costs but offers customization. Preformed pans cost less upfront, simplifying installation while limiting design flexibility.