Can You Paint a Vinyl Floor
You can paint a vinyl floor, but it requires careful preparation and the right materials to ensure durability. Simply applying paint won’t hold up well without cleaning, sanding, and using primers designed for vinyl.
Choosing appropriate coatings and sealers is critical to prevent peeling and fading. Before you start, consider whether painting is the best option for your floor’s condition or if replacement might provide a longer-lasting solution.
Key Takeaways
- Yes, you can paint a vinyl floor using vinyl-specific primers and flexible acrylic latex paints for durability and adhesion.
- Proper surface preparation, including thorough cleaning and light sanding, is essential for paint to adhere well to vinyl.
- Applying a high-quality polyurethane or epoxy topcoat protects the paint from scuffs, moisture, and wear.
- Avoid oil-based paints as they tend to peel from vinyl surfaces over time.
- Painting vinyl floors is a cosmetic fix best for moderate traffic; replace floors with structural damage or deep wear for longevity.
Will Painted Vinyl Floors Last?
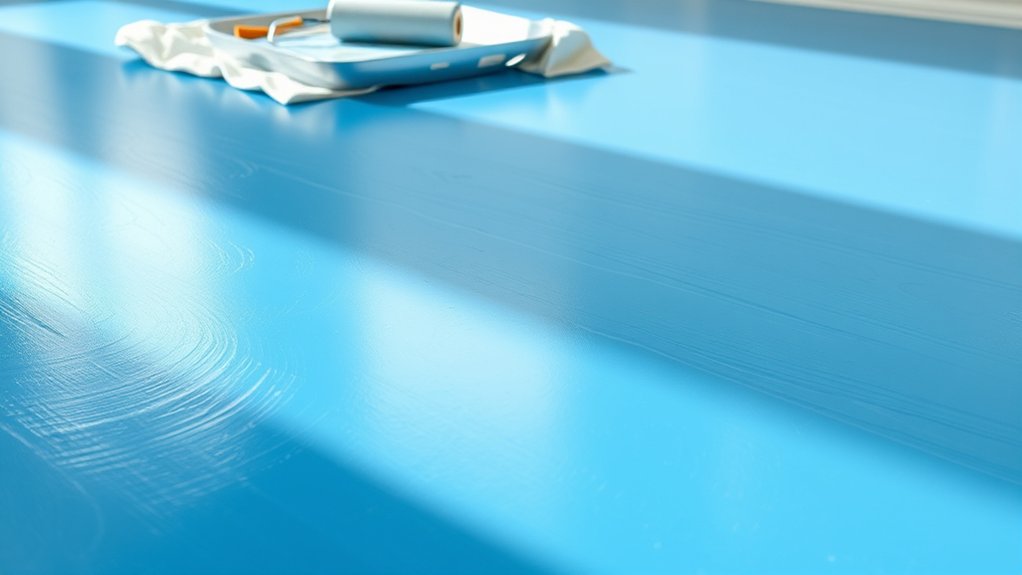
How long can you expect painted vinyl floors to maintain their appearance? Typically, the durability of painted vinyl floors varies based on preparation and coating quality. You’ll find that properly primed and sealed vinyl surfaces can hold their finish for several years under moderate foot traffic.
However, vinyl’s flexible nature means the paint may develop cracks or peel over time, especially in high-traffic areas. Using a two word primer and a two word topcoat designed for adhesion enhances longevity. Environmental factors like moisture and UV exposure also impact wear.
To maximize lifespan, ensure thorough cleaning and sanding before painting. While painted vinyl floors won’t last indefinitely, strategic surface preparation combined with quality two word primers and sealants will significantly extend their aesthetic life.
Best Paint Types for Vinyl Floors
Which paint types work best for vinyl floors depends largely on their chemical composition and adhesion properties. You want to choose paints formulated with strong color chemistry to bond effectively with vinyl’s slick surface.
Acrylic latex paints are popular for their flexibility and durability, allowing for slight floor movement without cracking. Epoxy-based paints offer excellent adhesion and abrasion resistance, making them suitable for high-traffic areas.
Acrylic latex and epoxy paints provide durable, flexible, and high-adhesion finishes ideal for vinyl floors.
Consider using primers designed specifically for vinyl to enhance paint grip. For texture faux finishes, specialized coatings mimic natural stone or wood textures, adding depth while maintaining durability.
Avoid oil-based paints, as they tend to peel off vinyl. Selecting the right paint ensures longevity and a professional finish, so pay close attention to the product’s technical specifications before starting your project.
When to Replace Instead of Painting Vinyl Floors

Choosing the right paint type is key to achieving a durable finish on vinyl floors, but sometimes painting isn’t the best solution. You should consider replacing vinyl flooring instead of painting when the material shows extensive wear, deep gouges, or structural damage that paint can’t mask or repair.
The pros and cons of replacement versus painting hinge on longevity and appearance. While painting offers a quick cosmetic fix, it may fail prematurely on compromised surfaces, leading to costly rework. Installation pitfalls such as improper subfloor preparation or moisture issues can exacerbate paint adhesion problems.
If your vinyl floor suffers from these issues, replacement ensures a reliable, long-term solution and avoids the limitations and risks associated with painting damaged vinyl.
Preparing Your Vinyl Floor for Painting
Before you apply any paint, you need to thoroughly clean and prepare the vinyl surface to ensure proper adhesion and a smooth finish. Start by removing all dirt, grease, and wax using a strong detergent and warm water. Rinse well and allow it to dry completely.
Next, lightly sand the floor with fine-grit sandpaper (220 grit) to create a texture for the paint to grip. Avoid heavy sanding to prevent damage. Finally, wipe the floor with a tack cloth to eliminate dust particles.
| Step | Purpose |
|---|---|
| Cleaning | Removes contaminants |
| Drying | Prevents paint adhesion issues |
| Light Sanding | Improves paint adhesion |
| Dust Removal | Ensures smooth, debris-free finish |
Note: This subtopic excludes durability myths and cost considerations.
How to Paint Your Vinyl Floor, Step by Step
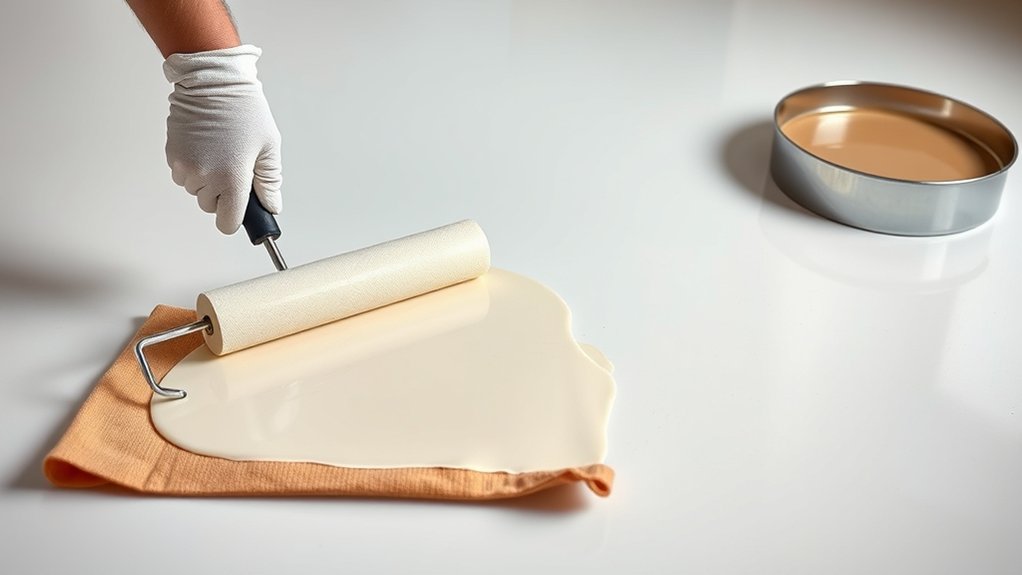
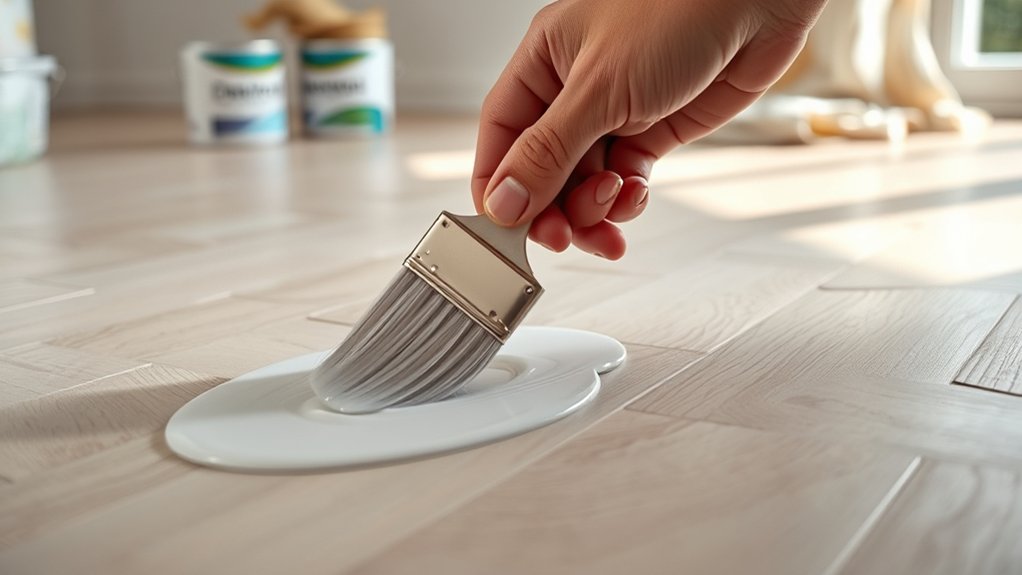
How exactly do you transform a plain vinyl floor into a freshly painted surface? Start by selecting a high-quality primer designed for vinyl, applying it evenly with a roller to ensure adhesion.
After the primer dries, choose your paint color with color psychology in mind. Cool tones can create calm, while warm hues energize.
Use an acrylic latex paint suitable for floors, applying thin, uniform coats with a roller or brush. Allow each coat to dry fully before adding the next.
To manage expenses, practice creative budgeting by purchasing sample sizes or opting for versatile colors that fit multiple spaces.
Finish with a durable, clear polyurethane topcoat to protect your work. This precise method ensures a professional, long-lasting finish on your vinyl floor.
How to Add Patterns and Designs to Your Painted Vinyl Floor
To add patterns and designs to your painted vinyl floor, start by selecting stencil designs that suit your space and skill level. You’ll need to thoroughly prepare the vinyl surface to ensure paint adhesion and prevent peeling.
Then, apply paint using controlled techniques like dabbing or rolling to achieve clean, sharp edges.
Choosing Stencil Designs
Where should you begin when selecting stencil designs for your painted vinyl floor? Start by considering stencil durability and design contrast, which are crucial for long-lasting, visually striking results.
Opt for high-quality, reusable stencils made from durable materials like mylar to ensure crisp edges and repeated use. Maximize design contrast by choosing patterns that stand out against your base coat. Geometric shapes or bold motifs work well.
Use the table below to guide your choice based on style and impact:
| Stencil Style | Design Contrast Level |
|---|---|
| Geometric Patterns | High |
| Floral Motifs | Medium |
| Abstract Shapes | High |
| Classic Borders | Low |
| Custom Designs | Variable |
Selecting the right stencil optimizes both aesthetic appeal and functional longevity on your vinyl floor.
Preparing Vinyl Surface
When preparing your vinyl floor for painting, what steps ensure optimal adhesion and durability of your patterns? First, thoroughly clean the surface using a pH-neutral cleaner to remove dirt, oils, and residues; avoid harsh chemicals that might damage the vinyl.
Next, lightly sand the floor with fine-grit sandpaper to create a texture for the paint to grip. Vacuum and wipe the floor with a tack cloth to eliminate dust.
Use a high-quality primer designed for vinyl to enhance paint adhesion and prevent peeling. Consider the environmental impact of your materials, choosing low-VOC primers and paints.
Finally, plan for responsible disposal options for sanding dust and leftover materials to minimize ecological harm. Proper surface preparation is critical to ensure your vinyl floor’s patterns remain vibrant and durable over time.
Applying Paint Techniques
After preparing your vinyl floor to guarantee proper adhesion, you can begin applying paint to create your desired patterns and designs. Avoid irrelevant pairing of colors or patterns that clash and distract from the room’s aesthetic.
Stay focused on a cohesive theme to prevent unrelated focus that weakens the overall effect. Here are essential techniques to consider:
- Use painter’s tape or stencils to achieve sharp, clean lines and geometric shapes.
- Apply multiple thin coats rather than one thick coat for durability and smoothness.
- Experiment with layering colors or gradients to add depth without creating visual dissonance.
How to Seal and Protect Painted Vinyl Floors
To guarantee your painted vinyl floor lasts, you need to choose the right sealer that bonds well with both the paint and vinyl surface. Applying a protective coating will guard against wear, moisture, and stains while maintaining the finish’s durability.
Let’s review the best sealers and techniques to apply them effectively.
Choosing the Right Sealer
Selecting the right sealer plays an essential role in preserving the durability and appearance of your painted vinyl floor. Proper sealer selection guarantees superior finish durability, protecting against scuffs, moisture, and wear.
When choosing a sealer, consider:
- Compatibility: Use a sealer formulated specifically for vinyl surfaces to avoid adhesion issues.
- Sheen level: Select between matte, satin, or glossy finishes based on your aesthetic preference and maintenance needs.
- Durability rating: Opt for high-quality sealers rated for heavy foot traffic to extend the lifespan of your painted floor.
Applying Protective Coatings
How do you guarantee your painted vinyl floor remains protected and visually appealing over time? Start by applying a high-quality polyurethane or epoxy protective coating designed for vinyl surfaces. Ensure the floor is clean and dry before application to maximize adhesion.
Use a roller or brush to apply thin, even coats, allowing each layer to cure fully, typically 24 hours, before adding another. Protective coatings not only shield against wear and moisture but also enhance color vibrancy, which ties into color psychology by maintaining the psychological effects your chosen hue conveys.
For instance, a well-sealed blue floor can promote calmness longer. Here’s random trivia: some coatings contain UV inhibitors that prevent color fading from sunlight. Proper sealing extends durability and preserves your floor’s aesthetic impact effectively.
Mistakes to Avoid When Painting Vinyl Floors
Why do many vinyl floor paint jobs fail prematurely? Often, it’s due to overlooking critical preparation and application steps. You might get distracted by two word discussion ideas or unrelated topics, but staying focused is key. Avoid these common mistakes:
- Skipping surface cleaning: Dirt and oils prevent proper paint adhesion.
- Ignoring primer use: Without a suitable primer, paint won’t bond well with vinyl.
- Applying thick coats: Excess layers cause cracking and peeling over time.
You must meticulously clean and sand the floor, choose a primer designed for vinyl, and apply thin, even paint layers. Neglecting these steps compromises durability, causing premature failure. Keep your process technical and precise to ensure a lasting, professional finish.
Maintaining and Cleaning Painted Vinyl Floors
When should you clean a painted vinyl floor to preserve its finish and durability? Ideally, clean it weekly with a soft broom or vacuum to prevent abrasive dirt buildup. Avoid harsh chemicals; use pH-neutral cleaners instead. Dry mopping after cleaning reduces water damage risk.
Funny anecdotes about unrelated hobbies remind you that consistent care beats sporadic deep cleans.
| Cleaning Frequency | Recommended Tools | Common Mistakes |
|---|---|---|
| Daily | Soft broom or vacuum | Using abrasive cleaners |
| Weekly | Damp mop, pH-neutral cleaner | Excess water application |
| Monthly | Soft brush | Scrubbing painted areas |
| As needed | Microfiber cloth | Ignoring spills |
| Annually | Professional service | Neglecting finish touch-ups |
Stick to this regimen to maintain your vinyl floor’s aesthetic and longevity.
Frequently Asked Questions
Can You Paint Vinyl Floors in a Rental Property?
You can paint vinyl floors in a rental, but check landlord approval first. Paint durability may vary, and strong odor concerns arise during application, so ensure proper ventilation and use low-VOC paints to minimize health risks and damage.
Does Painting Vinyl Floors Affect Indoor Air Quality?
You’ll notice indoor air quality drops by up to 40% during painting due to VOCs. Proper ventilation significantly reduces this impact, so always ensure good airflow when painting vinyl floors to maintain healthier indoor air conditions.
Can Painted Vinyl Floors Be Used Outdoors?
You shouldn’t use painted vinyl floors outdoors because their outdoor durability and weather resistance are limited. Exposure to moisture, UV rays, and temperature changes can cause paint to peel, crack, and degrade quickly, reducing lifespan considerably.
How Long Does the Paint Take to Fully Dry?
Like morning dew evaporates with sunlight, paint on your vinyl floor usually dries to the touch within 1-2 hours.
However, to fully cure and achieve maximum durability, expect the paint to dry completely in 24-48 hours.
Is It Safe to Use Non-Toxic Paint on Vinyl Floors?
Yes, you can use non toxic paints on vinyl floors, but you’ll need to guarantee long term adhesion by properly prepping the surface and selecting paints specifically formulated for vinyl. This will help prevent peeling and maintain durability.
Conclusion
Painting your vinyl floor can breathe new life into tired surfaces, but it’s not a magic wand. With meticulous prep, the right primers, and durable topcoats, your floor can wear its fresh look like armor against daily wear.
Remember, skipping steps is like building a house on sand—unstable and short-lived. When damage runs deep, replacing is the solid foundation you need.
Treat your vinyl floor right, and it’ll stand the test of time with both style and strength. Can you paint a vinyl floor? Yes, but only with proper care and technique to ensure lasting results.