How to Regrout Bathtub Tile
Did you know that nearly 70% of bathroom tile issues stem from deteriorated grout? When it comes to regrouting bathtub tile, careful attention is essential. You’ll need to remove old grout without damaging the tiles.
Next, mix the new grout to the right consistency and apply it evenly for a lasting finish. Proper preparation and technique are critical to avoid common problems like cracking or mold growth.
Let’s explore the exact steps that ensure a professional-quality result when you regrout your bathtub tile.
Key Takeaways
- Wear protective goggles, gloves, and a dust mask to ensure safety while removing old grout from bathtub tiles.
- Use a grout removal tool or oscillating tool to carefully remove the old grout, controlling dust with ventilation and a vacuum.
- Clean tiles thoroughly with mild detergent, rinse well, and allow the area to dry completely before applying new grout.
- Mix grout to a peanut butter-like consistency, apply with a grout float at a 45-degree angle, and smooth grout evenly into joints.
- After grout cures, apply a penetrating grout sealer to prevent moisture penetration and mold growth, resealing regularly for durability.
Gather Tools and Materials for Regrouting
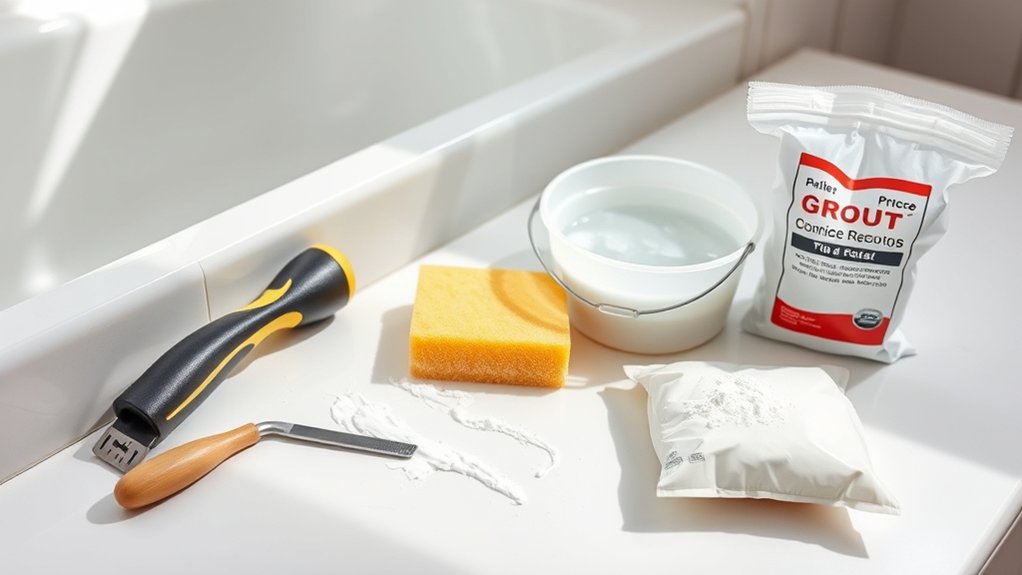
Where do you begin when preparing to regrout your bathtub tile? First, gather all necessary tools and materials to ensure efficiency. You’ll need grout suited for wet environments and a grout float designed for even application.
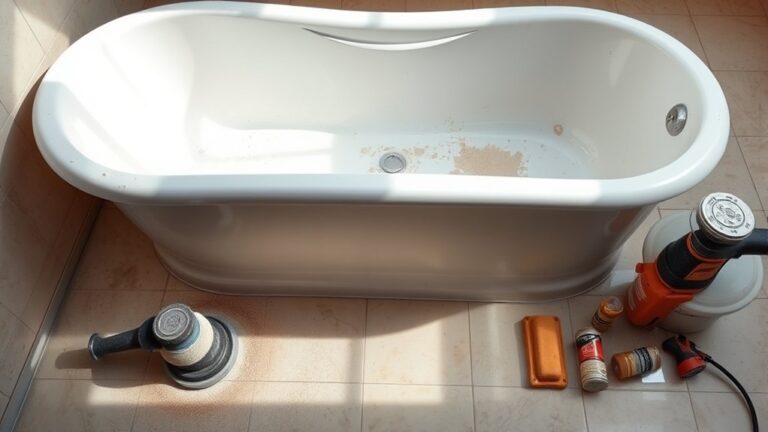
Include a grout saw or oscillating tool with a grout removal blade to handle old grout without damaging the shower pan or tiles. Have a sponge and bucket ready for cleanup.
Additionally, select a high-quality tile adhesive if any tiles require reattachment, as proper tile adhesion is critical to prevent future issues. Don’t forget protective gloves and eye protection.
Making sure you have these tools and materials on hand before starting will streamline the process and maintain the integrity of your bathtub’s shower pan and tile surfaces.
Remove Old Bathtub Tile Grout Safely
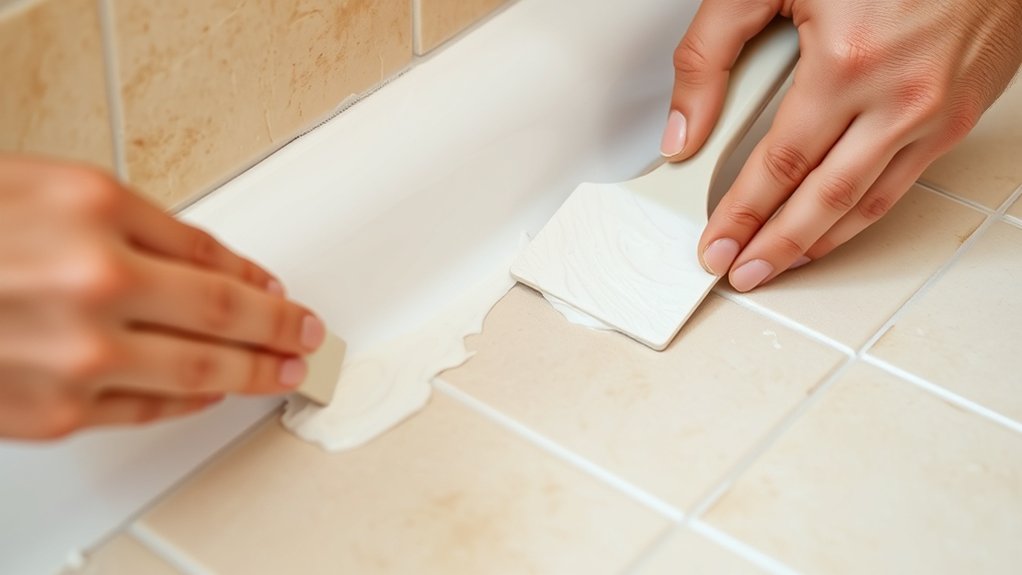
Before removing old grout, put on essential safety gear like gloves, goggles, and a dust mask to protect yourself. Choose the right tools, such as a grout saw or oscillating tool with a grout removal blade, for efficient and precise work.
Control dust by working slowly and using a vacuum or damp sponge to capture particles as you go.
Essential Safety Gear
How do you protect yourself effectively when removing old grout from bathtub tile? First, always wear safety goggles to shield your eyes from flying debris and dust particles. Grout removal generates fine dust that can cause severe eye irritation or injury.
Next, use a respirator mask rated for dust and particulate matter to prevent inhaling harmful silica dust, which can lead to respiratory problems. Ensure the mask fits snugly and forms a proper seal around your nose and mouth.
Additionally, consider wearing gloves to protect your hands from sharp tools and abrasive materials. Don’t forget long sleeves to minimize skin exposure.
Prioritize ventilation in the workspace by opening windows or using exhaust fans to reduce airborne dust concentration. Following these precautions ensures you stay safe throughout the grout removal process.
Proper Tool Selection
Which tools will give you the best control and efficiency when removing old grout from bathtub tile? Your tool choice directly impacts the precision and speed of grout removal, setting the stage for a clean, professional regrout.
Here are three essential tools to contemplate:
- Grout Removal Tool A manual grout saw or oscillating multi-tool with a grout removal blade offers precise control, especially around delicate edges.
- Utility Knife Ideal for scoring and loosening grout in narrow or tight areas, helping prevent tile damage.
- Vacuum Attachment Though more relevant to dust control, using one with your multi-tool can improve visibility and accuracy.
Selecting the right tool ensures you prepare the surface properly, allowing you to choose grout color options with confidence for a lasting finish.
Dust Control Methods
Why is dust control essential when removing old grout from bathtub tile? Dust control prevents airborne grout particles from contaminating the bathroom environment and protects your respiratory health.
To implement effective dust control during tile prep, start by sealing off the workspace with plastic sheeting to contain dust. Use a vacuum attachment on your grout removal tool to capture dust at the source.
If your tool lacks this feature, operate a shop vacuum nearby to collect airborne particles continuously. Wear a dust mask or respirator rated for fine particulates to minimize inhalation risk.
Wetting the grout slightly before removal can also reduce dust generation. Integrating these dust control methods ensures a cleaner, safer tile prep process and improves the adhesion quality of the new grout.
Clean and Dry Tiles Before Applying Grout
Before applying new grout, you need to guarantee the tiles and existing grout lines are thoroughly clean and completely dry. This cleaning focus is critical to ensure proper adhesion and durability of the new grout. Follow these preparation steps precisely:
- Remove all loose debris and dust using a vacuum or stiff brush, targeting grout lines and tile surfaces.
- Clean tiles and grout lines with a mixture of warm water and a mild detergent or a grout cleaner to eliminate soap scum, mold, and mildew. Rinse thoroughly.
- Allow the entire area to dry completely, ideally for 24 hours, or use a fan to speed up drying. Moisture will prevent grout from setting properly.
Completing these steps ensures optimal conditions for applying new grout without adhesion issues.
Mix Grout Properly and Apply It Smoothly
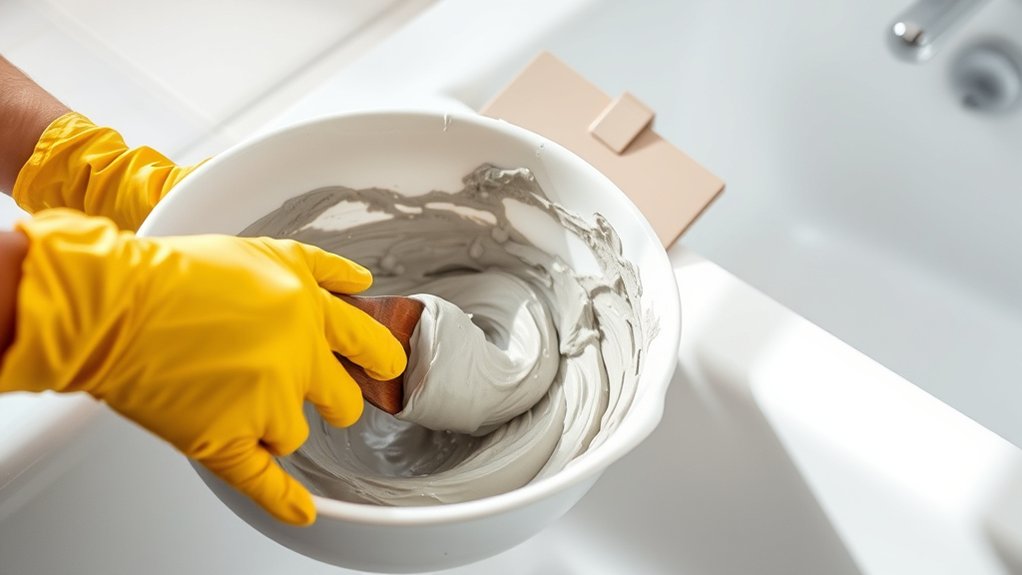
You’ll need to mix the grout to a consistent, creamy texture without lumps for optimal adhesion. Use a rubber float to apply the grout evenly, pressing it firmly into the joints.
Work in small sections to ensure smooth coverage and avoid grout drying prematurely.
Grout Mixing Tips
A well-mixed grout ensures a durable, even finish that adheres properly to your bathtub tiles. To mix grout effectively, first select the correct grout color to match your tiles and desired aesthetic. Then, follow these steps for consistent results:
- Combine dry grout powder with water according to package instructions, aiming for a peanut butter-like consistency.
- Stir thoroughly with a margin trowel, ensuring no dry lumps remain; let it slake for 5-10 minutes before remixing.
- Apply grout promptly, then after curing, seal the grout with an appropriate grout sealant to prevent moisture penetration and staining.
Proper mixing reduces cracking and improves adhesion, while grout sealant extends the life of your regrouted surface.
Smooth Application Techniques
Although mixing grout properly sets the foundation, applying it smoothly is crucial to achieving a professional finish. Start by selecting a grout color that complements your bathtub tile and enhances tile maintenance by minimizing visible stains.
Use a rubber float to press grout firmly into joints at a 45-degree angle, guaranteeing complete fill without gaps. Remove excess grout by holding the float at a sharp angle and scraping diagonally.
After initial drying, use a damp sponge to smooth grout lines with light, circular motions, avoiding excess water that weakens the grout. Allow grout to cure as per manufacturer instructions before exposing it to moisture.
Consistent, smooth application combined with proper grout color selection will ensure durable, clean-looking grout that simplifies long-term tile maintenance.
Clean and Seal Your Regrouted Tiles
How do you ensure your newly applied grout lasts and maintains its appearance? Proper cleaning and sealing are essential to protect against moisture and stains. After the grout has fully cured, start by removing any haze using a damp sponge with clean water, focusing on two word discussion idea 1 to avoid residue buildup.
Next, allow the tiles to dry completely before sealing. Apply a penetrating grout sealer evenly, emphasizing two word discussion idea 2 to ensure full coverage. Follow these steps:
- Clean grout lines thoroughly to remove all surface contaminants.
- Use a high-quality grout sealer compatible with your grout type.
- Reapply sealer every six to twelve months to maintain protection.
Following this process preserves your regrouted tiles’ durability and appearance over time.
Troubleshoot Common Regrouting Issues
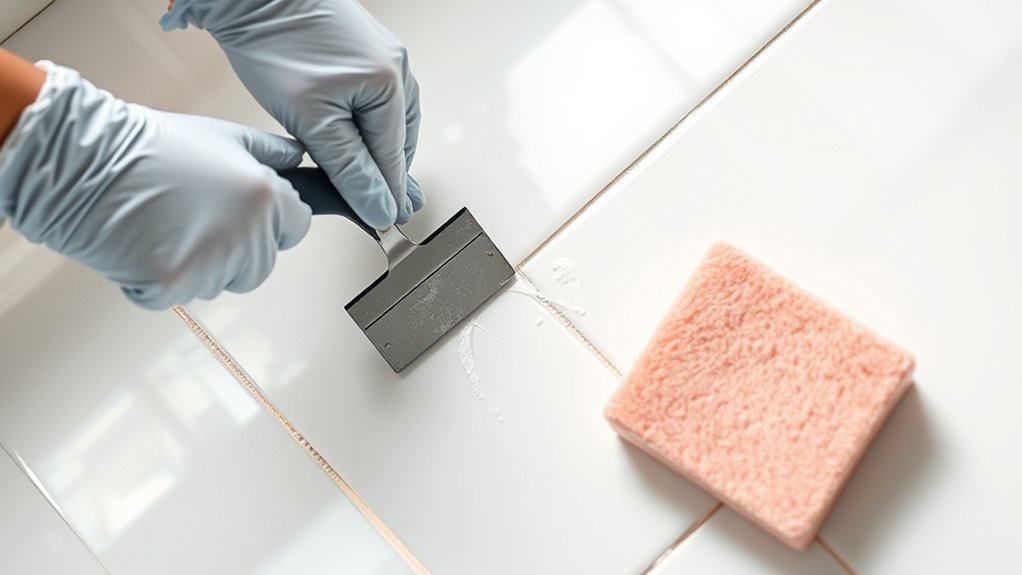
When you encounter issues during or after regrouting, addressing them promptly prevents further damage and guarantees a professional finish. If you notice cracks or crumbling grout, it often results from improper mixing or applying grout too thickly, common regrouting mistakes. Remove the damaged grout carefully and reapply with correct consistency.
Discoloration or uneven grout color usually stems from poor grout color choices or inadequate sealing. Always test grout color on a small area before full application.
Another issue is mold growth, which indicates insufficient sealing or moisture exposure. Reclean affected areas and reseal thoroughly.
Finally, if grout lines appear uneven, use a grout float to smooth and compact grout consistently during application. Troubleshooting these problems ensures durable, visually appealing bathtub tile grout.
Frequently Asked Questions
How Often Should Bathtub Tile Grout Be Replaced?
You should regrout bathtub tile every 5 to 10 years, depending on wear and mildew buildup. Establish a regrout schedule by inspecting grout annually for cracks, discoloration, or looseness to maintain water resistance and tile integrity.
Can I Use Colored Grout for My Bathtub Tiles?
You can splash your bathtub tiles with colored grout to brighten the space, but ensure proper ventilation. Use low-VOC, waterproof colored grout and ventilate well during application to avoid fumes and ensure durable, mold-resistant results.
Is Regrouting a DIY Project or Should I Hire a Professional?
You can tackle regrouting yourself if you have patience and basic skills; it saves cost. However, regrouting pros assure precision and durability, which avoids costly mistakes. Consider your budget and comfort before deciding.
What Types of Grout Are Best for Wet Areas Like Bathtubs?
Don’t worry about water damage. Choose waterproof grout like epoxy options for your bathtub. Epoxy grout resists moisture, stains, and cracking, ensuring durability.
Apply it carefully, mixing precisely for a strong, long-lasting seal in wet areas.
How Long Does It Take for Grout to Fully Cure?
Grout curing typically takes 24 to 72 hours, depending on the type and environmental conditions.
You’ll want to avoid water exposure during this period to guarantee full strength and durability before using your bathtub again.
Conclusion
Regrouting your bathtub tile is like restoring the mortar in a brick wall—each step strengthens the overall structure. By carefully removing old grout and thoroughly cleaning the area, you prepare the surface for a fresh application.
Next, mix the grout to the right consistency and apply it precisely to ensure a durable, water-resistant finish. These steps are crucial to the longevity and appearance of your tiles.
Don’t forget to seal and maintain the grout to prevent damage and mold growth. Follow these technical steps diligently, and your tiles will not only look refreshed but stand the test of time with properly regrouted bathtub tile.