How to Cut Caulk Tip for Bathtub
When you’re ready to cut caulk tip for bathtub sealing, doing it correctly is vital for a neat, effective finish. You’ll want to start by cleaning the tip to remove any dried residue.
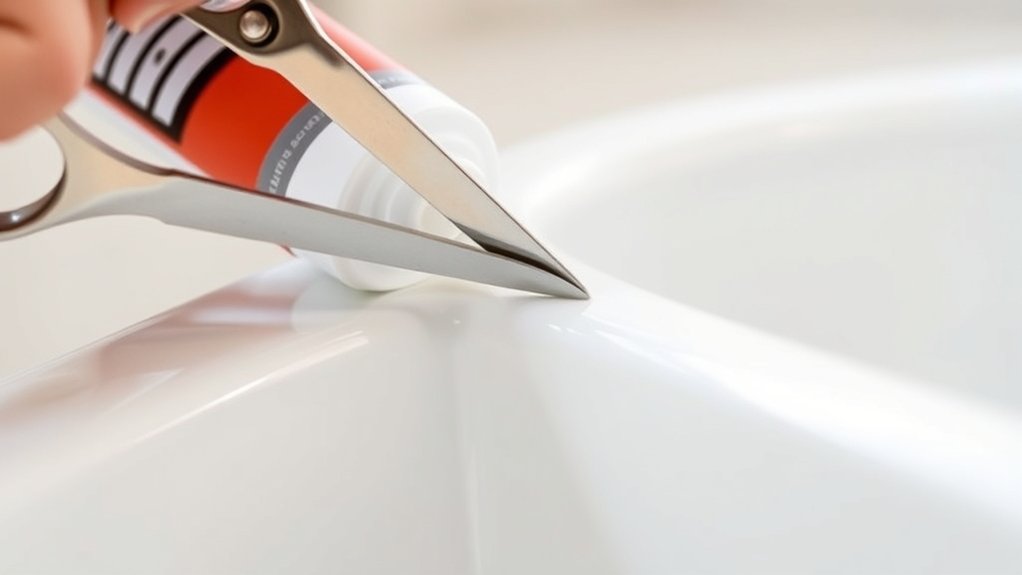
Next, make a precise angled cut to control the flow and bead size. Getting this step right helps prevent excess mess and guarantees a tight seal.
But how do you determine the best angle and size for your specific bathtub edges? Understanding your bathtub’s corners and gaps will guide you in making the perfect cut.
Key Takeaways
- Clean the caulk tip before cutting to prevent clogging and ensure smooth application.
- Cut the tip at a 45-degree angle for better control and precision during caulking.
- Match the cut size to the bathtub gap width to avoid excess caulk and minimize waste.
- Start by cutting small increments, trimming more as needed for a perfect bead size.
- Keep fingers clear of the blade and wear gloves to maintain safety while cutting and applying caulk.
How to Cut the Caulk Tip for Your Bathtub
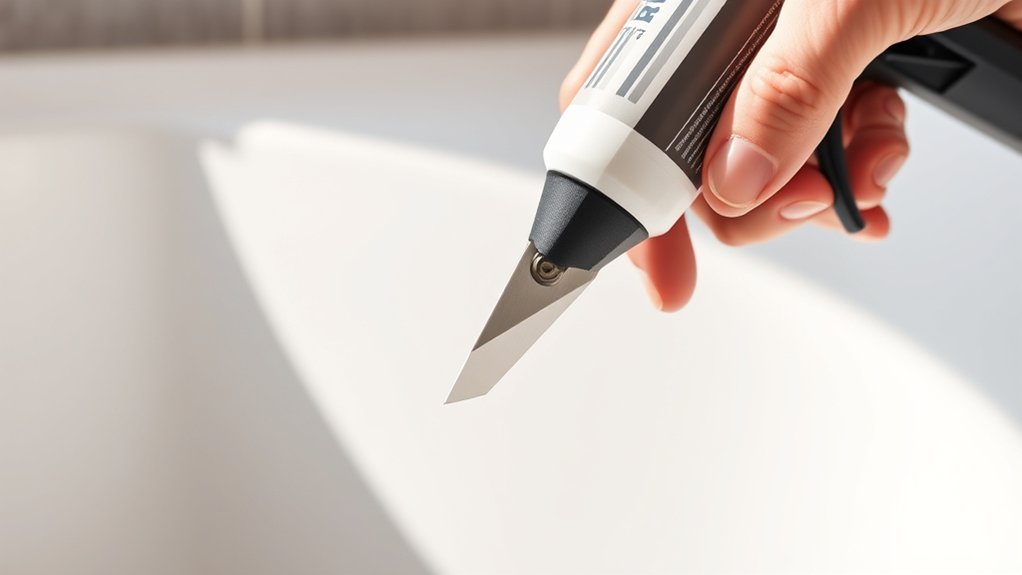
When preparing to apply caulk around your bathtub, cutting the caulk tip correctly is essential for a clean, professional finish. Start by wiping the tip clean to avoid debris that can clog the opening.
Cut the caulk tip cleanly and wipe it to ensure a smooth, clog-free application around your bathtub.
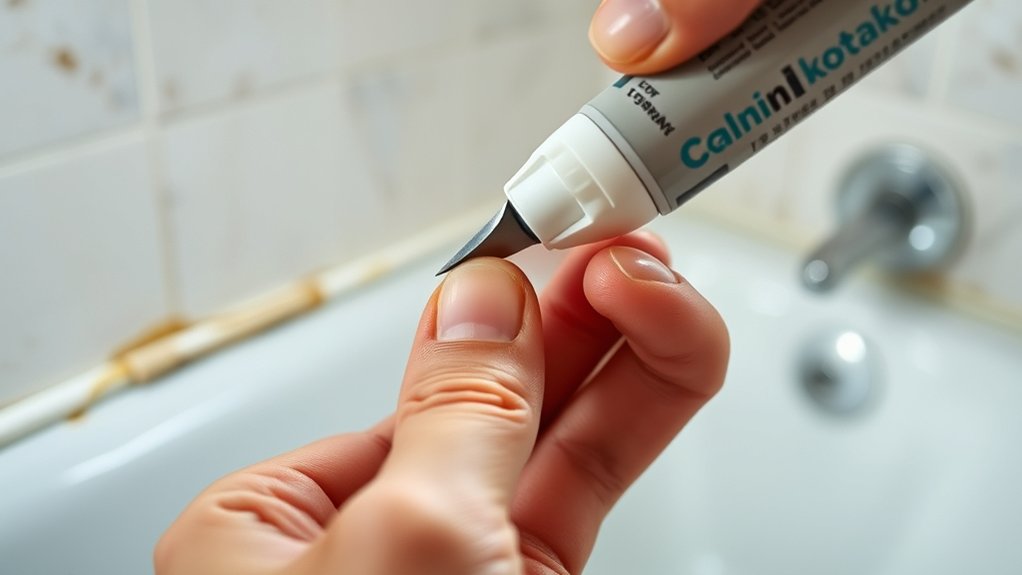
Use a sharp utility knife or scissors to cut the tip at a slight angle. This helps control the bead size and direction. Remember to cut small increments first—you can always trim more if needed.
Prioritize caulking safety by keeping your fingers clear of the blade and wearing gloves if possible. Spill prevention is crucial; avoid cutting too large an opening, which can lead to excess caulk and messy spills.
Properly cutting the tip minimizes waste and ensures smooth, precise application for a neat bathtub seal.
Choosing the Right Angle and Size for Your Caulk Tip
How do you determine the best angle and size for cutting your caulk tip to achieve a perfect seal around your bathtub? Start by assessing the gap size and bathtub edge shape. A wider gap needs a larger opening, while a narrow one requires a smaller tip.
Cut at a 45-degree angle for better control and smoother application. Avoid choosing the wrong color caulk that clashes with your tub or grout. Also, consider the surface. If it’s slippery, a smaller bead helps prevent excess caulk buildup that can cause slipping. Keep these in mind:
- Match tip size to the gap width
- Cut at a 45-degree angle for precision
- Avoid wrong color that disrupts appearance
- Use smaller openings on slippery surfaces for safety
This ensures a neat, effective seal without mess or mismatch.
Controlling Caulk Flow and Bead Shape in Bathtub Sealing
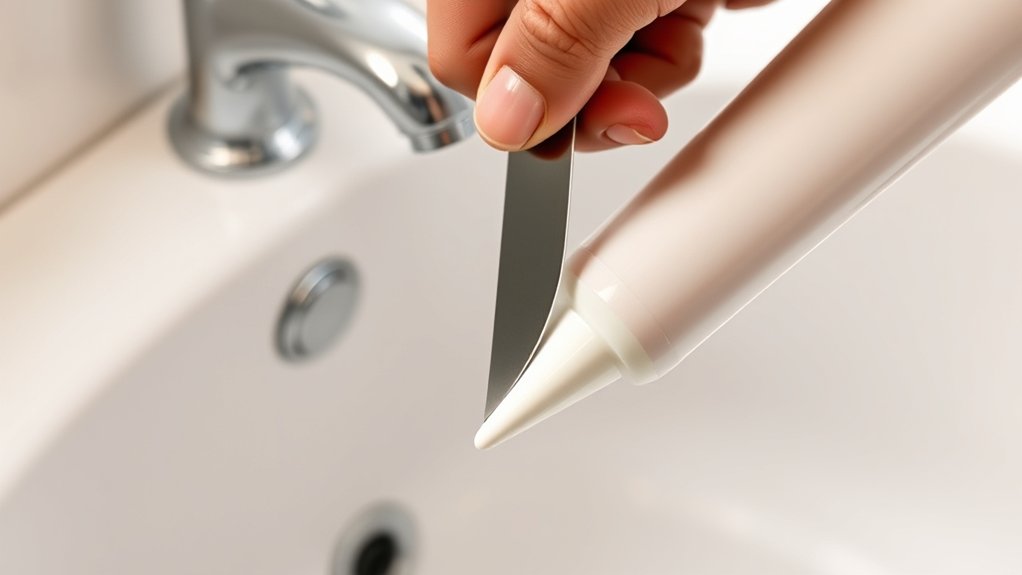
After selecting the right angle and size for your caulk tip, focus on controlling the flow and shaping the bead to create a clean, watertight seal. Maintain steady pressure on the trigger, and move the gun smoothly. Good tool ergonomics reduce hand fatigue, improving control.
Store leftover caulk properly in caulk storage containers to keep it fresh for future use.
| Action | Tip |
|---|---|
| Steady Pressure | Apply consistent force for even flow |
| Smooth Movement | Glide the gun steadily along the seam |
| Tool Ergonomics | Use a comfortable grip to avoid strain |
| Caulk Storage | Seal and store unused caulk immediately |
Mastering these techniques ensures your bathtub seal looks professional and lasts longer.
Why the Right Caulk Tip Cut Prevents Leaks and Messes
Why does cutting your caulk tip correctly make such a difference? If you cut the tip too large or unevenly, you risk causing leaks and messes around your bathtub. The right cut ensures a consistent, controlled bead that seals properly without excess overflow.
Here’s why this matters:
- Prevents water infiltration by maintaining a tight, uniform seal
- Controls caulk flow, avoiding waste and unsightly blobs
- Reduces cleanup time and frustration after application
- Avoids issues unrelated topic like uneven distribution caused by improper factory process design
Common Caulk Tip Cutting Mistakes and How to Avoid Them
When cutting the caulk tip, what are the most common mistakes that can sabotage your bathtub sealing project? One major error is cutting the tip too large, causing excess caulk and messy application.
Another is ignoring caulk tool ergonomics. Holding the gun awkwardly leads to uneven pressure and inconsistent bead size. You might also fall into dispensing technique pitfalls, like squeezing too hard or too softly, which affects flow control.
To avoid these, cut the tip at a 45-degree angle, matching the bead width needed. Practice steady grip and smooth trigger pressure to maintain consistent flow.
Frequently Asked Questions
What Type of Caulk Is Best for Bathtub Sealing?
For bathtub sealing, choose silicone caulk because it’s waterproof, mold-resistant, and flexible. Your caulk selection should focus on bathroom sealing products labeled specifically for tubs and showers to ensure a durable, watertight seal.
How Long Does Caulk Take to Fully Cure in a Bathroom?
Think of caulk curing like a slow sunrise. It takes about 24 hours to fully set.
For effective bathtub maintenance, avoid water contact during this time to ensure a strong, lasting seal that protects your tub.
Can I Remove Old Caulk Without Damaging the Bathtub?
You can remove old caulk without damaging your bathtub by working carefully to avoid removal risks like scratching. Use a plastic scraper and consider alternative materials like caulk remover gel to soften the caulk before scraping.
What Tools Do I Need Besides the Caulk Tip Cutter?
You’ll need a utility knife or caulk remover tool for caulk removal, a scraper to avoid grout staining, and a damp cloth for cleanup. These help you work cleanly and prevent damage around your bathtub edges.
How Often Should Bathtub Caulk Be Replaced for Maintenance?
You should replace your bathtub caulk every 3 to 5 years to maintain proper bathtub maintenance. Regular caulk replacement cadence prevents mold, water damage, and keeps your tub sealed effectively, ensuring a clean and safe bathroom environment.
Conclusion
Cutting your caulk tip for the bathtub is like tuning a fine instrument—precision ensures a smooth, leak-free seal. Start small, cut at a 45-degree angle, and test often to avoid waste and mess. Keep safety in mind by wearing gloves and watching your fingers.
With the right tip size and angle, you’ll control the caulk flow perfectly, creating a clean finish that lasts. Master this step, and your bathtub will stay protected and looking great. Properly cutting your caulk tip for the bathtub is key to achieving a professional result every time.