How Do You Fix a Leaky Moen Kitchen Faucet
If your Moen kitchen faucet is leaking, the first step is to shut off the water supply under the sink. This prevents any water flow while you work on the faucet.
Next, drain any remaining water from the lines by turning on the faucet. This helps avoid spills and makes the repair process cleaner.
After that, remove the handle to access the cartridge, which is often the main cause of leaks. Properly inspecting and replacing worn parts like O-rings or the cartridge itself is essential.
Knowing how to handle these components correctly is key to stopping the drip effectively and restoring your faucet’s function.
How to Identify the Source of Your Moen Faucet Leak
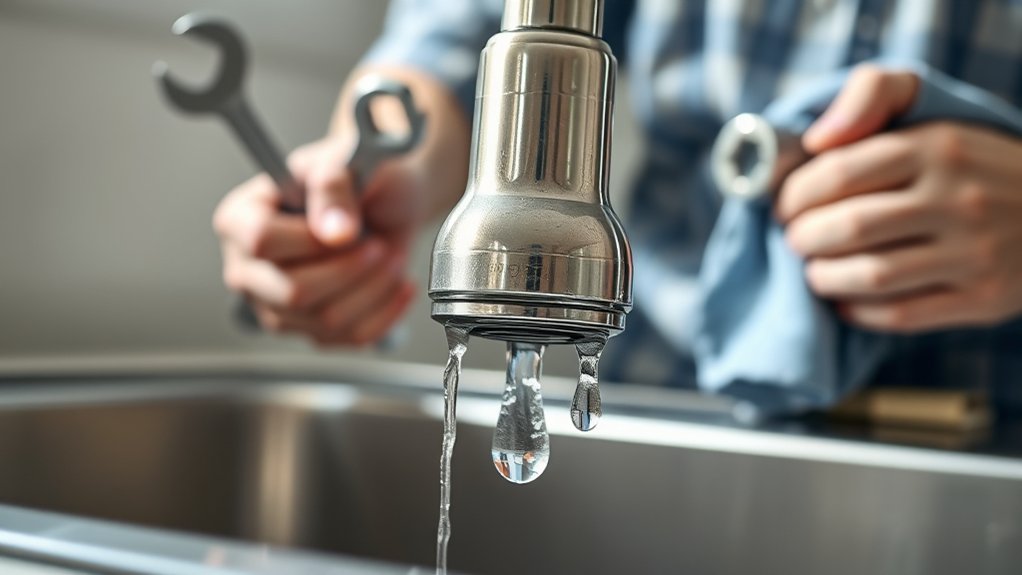
Where exactly is your Moen kitchen faucet leaking? Identifying leaks accurately is the first crucial step to effective repair. Begin by thoroughly inspecting common leak points: around the base, the spout, and the handle.
Check for water pooling or drips while the faucet is both on and off. Use a dry cloth to detect moisture in hidden areas. Next, follow troubleshooting steps systematically.
Turn off the water supply, then remove the handle and spout to examine internal components. Look for worn O-rings, damaged cartridges, or loose connections, as these often cause leaks.
If water leaks from the base, it usually indicates a faulty cartridge or seal. Leaks from the spout often point to cartridge issues. By pinpointing the exact source through these identifying leaks methods and structured troubleshooting steps, you’ll know which parts require replacement or adjustment, making your repair process efficient and precise.
Tools and Parts Needed for Moen Faucet Repair
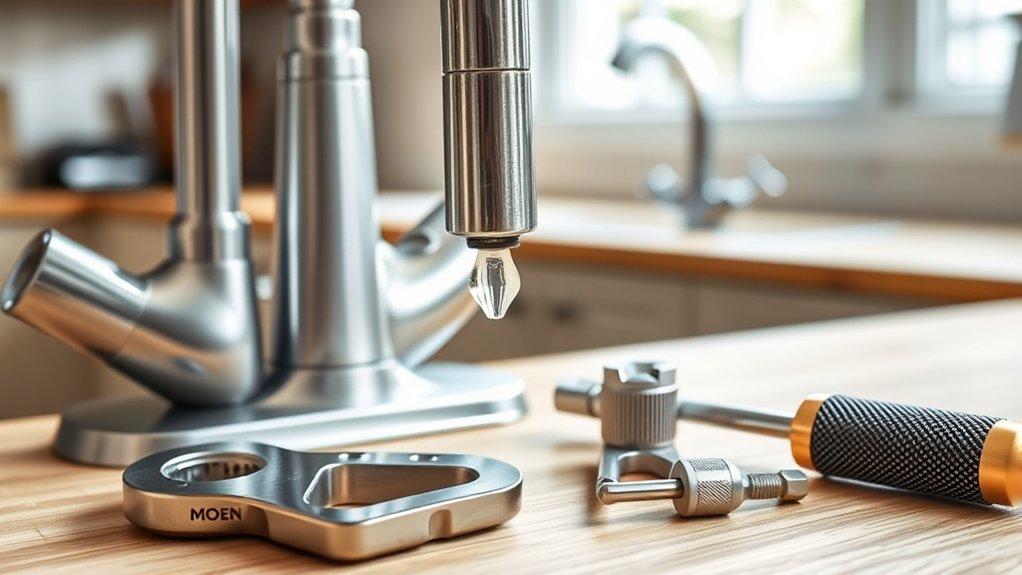
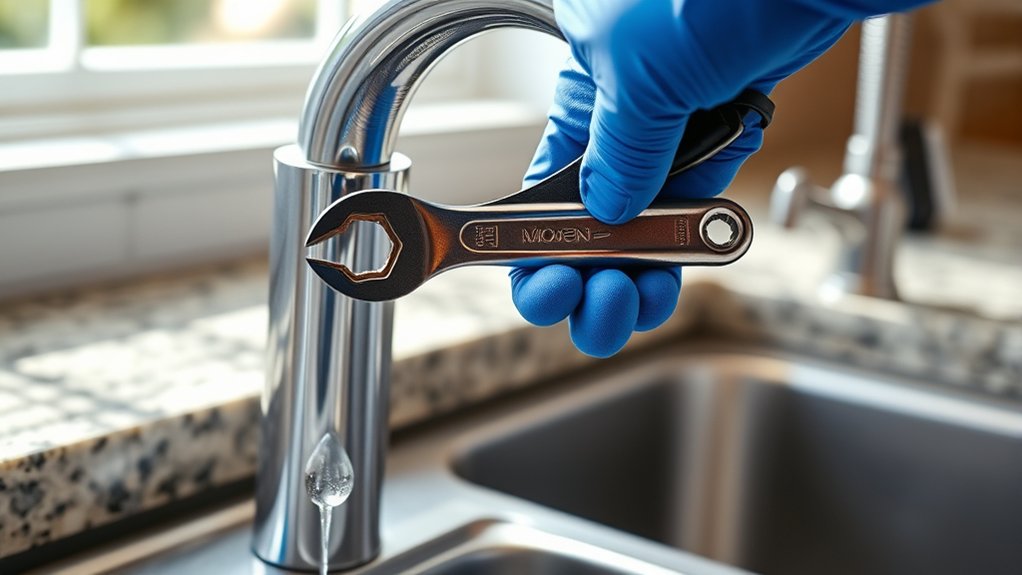
To fix your leaky Moen kitchen faucet, you’ll need a few essential tools like an adjustable wrench, Allen keys, and a screwdriver. You’ll also want to have replacement parts ready, such as O-rings, cartridges, and seals specific to your faucet model.
Having these tools and parts on hand will streamline the repair process and guarantee a proper fix.
Essential Repair Tools
What tools do you need to fix a leaky Moen kitchen faucet effectively? Start with an adjustable wrench and a set of hex (Allen) keys, essential for loosening and tightening faucet components.
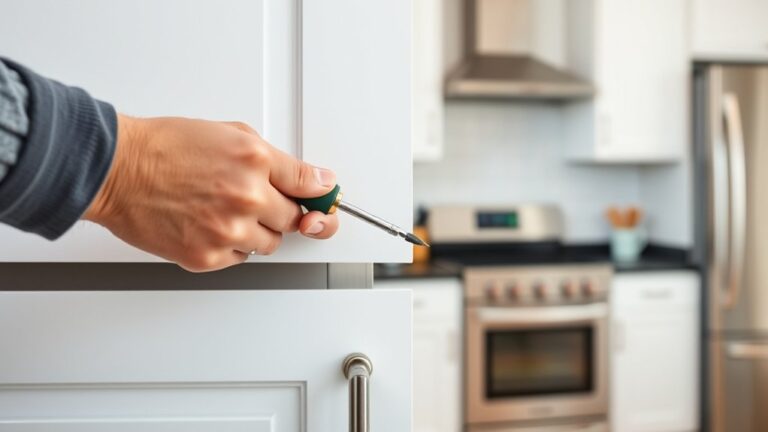
A flathead and Phillips screwdriver help remove decorative caps and secure screws. Needle-nose pliers assist in gripping small parts and springs.
To handle common failure modes like worn O-rings or cartridge issues, you’ll also need a cartridge puller or a specialized Moen tool for cartridge extraction.
When choosing tools, prioritize durability and size compatibility to avoid damaging delicate parts. A clean cloth and plumber’s grease will aid reassembly and sealing.
Selecting the right tools ensures you address leaks efficiently without causing further damage or delays.
Replacement Parts Overview
Which replacement parts do you need to fix a leaky Moen kitchen faucet? Typically, you’ll require an O-ring, cartridge, or aerator, depending on the leak’s source. Always consult your faucet’s maintenance schedule to identify which components need regular inspection or replacement.
Using genuine Moen parts ensures compatibility and preserves your warranty coverage. Before you start, verify your faucet model number to order correct replacements. Keep a cartridge puller, Allen wrench, and slip-joint pliers handy for installation.
Replacing worn seals or cartridges promptly prevents further damage and maintains optimal function. If your faucet is under warranty, check for coverage details on parts or labor to avoid unnecessary expenses.
Following the recommended maintenance schedule prolongs your faucet’s lifespan and minimizes leak issues.
Shut Off Water and Prep Your Workspace
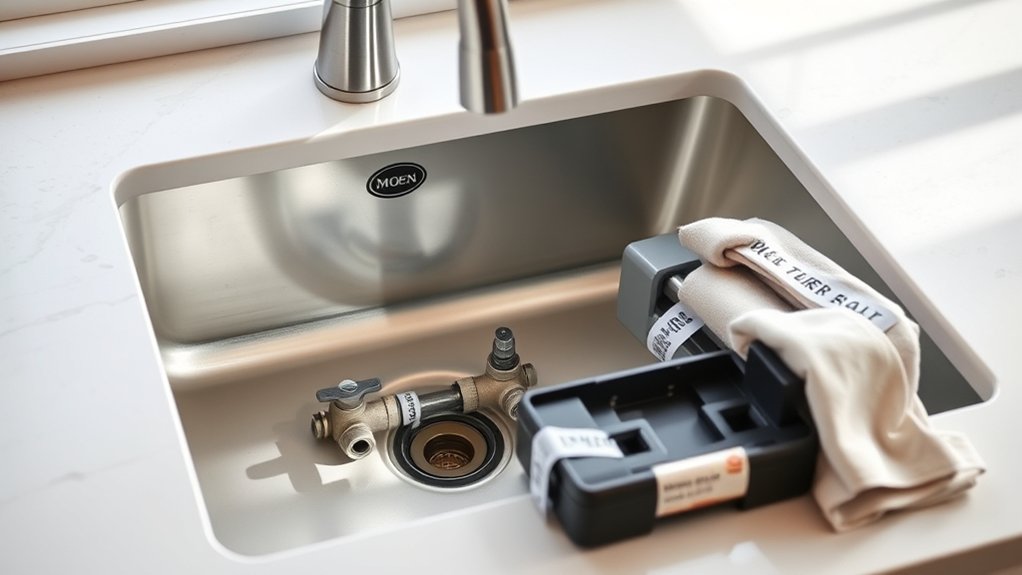
How do you ensure a safe and efficient repair when fixing your leaky Moen kitchen faucet? First, shut off the water supply valves under the sink. Turn both the hot and cold valves clockwise until fully closed. This step prevents water flow and avoids leaks during your repair.
Next, open the faucet to drain remaining water and relieve pressure. Avoid any unrelated topic or random discussion that distracts you from this crucial stage.
Prepare your workspace by clearing the area around the sink. Place a bucket or towel beneath the faucet to catch drips. Gather necessary tools, including an adjustable wrench, screwdriver, and replacement parts you reviewed earlier.
Ensure good lighting and enough room to maneuver. Organizing your workspace minimizes mistakes and speeds up the process. With water off and your area set, you’re ready to proceed confidently to the next repair step.
How to Remove and Inspect the Moen Faucet Cartridge
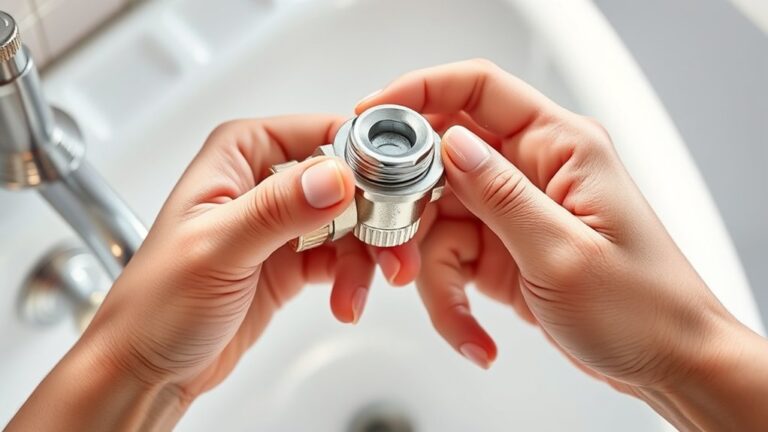
Start by removing the handle and retaining clip to access the Moen cartridge.
Carefully pull out the cartridge using pliers or a cartridge puller. Inspect the cartridge for wear or damage, focusing on the O-rings and seals to identify the leak source.
Cartridge Removal Steps
Removing the Moen faucet cartridge requires a few precise steps to guarantee you don’t damage the internal components. First, turn off the water supply and relieve pressure by opening the faucet. Next, remove the handle by loosening the set screw, typically hidden under a decorative cap.
Avoid unrelated topic detours like off topic discussion about other faucet types. Then, use pliers to carefully pull the cartridge straight out.
| Step | Action |
|---|---|
| 1 | Shut off water supply |
| 2 | Remove handle and set screw |
| 3 | Extract retaining clip (if any) |
| 4 | Pull out cartridge carefully |
Follow these steps methodically to prevent damage and prepare for cartridge inspection.
Inspecting Cartridge Wear
Where should you focus your attention when inspecting a Moen faucet cartridge for wear? Start by examining the rubber seals and O-rings for cracks, brittleness, or deformation. These components often cause leaks when worn.
Next, inspect the cartridge’s plastic and metal surfaces for scoring, pitting, or mineral buildup, which indicate wear patterns that affect performance. Pay close attention to the cartridge stem, ensuring it moves smoothly without excessive play.
While inspecting cartridge wear, also check for corrosion or discoloration that may compromise the cartridge’s integrity. If you identify any damaged or worn parts, replace the cartridge to restore proper function.
Proper inspection prevents recurring leaks and ensures your faucet operates efficiently. Keep the cartridge clean and lubricated during reassembly for optimal results.
How to Replace the Moen Faucet Cartridge to Stop Leaks
If your Moen kitchen faucet continues to leak despite tightening and cleaning, replacing the cartridge is the most effective solution. First, turn off the water supply valves under the sink. Open the faucet to release any remaining pressure.
Next, remove the handle by loosening the set screw, usually hidden under a decorative cap. Pull off the handle, then unscrew the retaining clip or nut securing the cartridge. Carefully extract the old cartridge using pliers if needed, noting its orientation for proper installation.
Avoid getting distracted by off topic ideas or unrelated topics. Focus strictly on the cartridge replacement steps.
Insert the new cartridge in the exact position, ensuring it seats fully. Reattach the retaining clip or nut, then put the handle back on and tighten the set screw.
Turn the water supply back on and test the faucet for leaks. This precise, step-by-step process will stop leaks caused by a faulty cartridge efficiently.
Fixing Leaks Around the Moen Faucet Base
A common cause of leaks around the Moen faucet base is a worn or damaged O-ring or gasket. Begin your leak diagnosis by turning off the water supply and removing the faucet handle to access these components.
Inspect the O-ring and gasket for cracks, flattening, or other damage. If you spot wear, replace the faulty part with an OEM Moen replacement to ensure proper fit and function.
Check O-rings and gaskets for damage, replacing worn parts with OEM Moen components for a perfect fit.
Clean the faucet base and mounting area thoroughly before reassembly to prevent debris from causing future leaks. Tighten mounting nuts securely but avoid overtightening, which can damage seals.
If your faucet is still under warranty coverage, check Moen’s terms; you might be eligible for free parts or professional repair services.
Performing this targeted repair addresses leaks at the base efficiently, restoring a watertight seal and preventing water damage under the sink. Remember, correct leak diagnosis is key to avoid unnecessary part replacements or prolonged issues.
How to Stop a Dripping Moen Faucet Handle
Why does your Moen faucet handle keep dripping? Usually, it’s due to a worn-out cartridge or damaged O-ring inside the handle assembly. Addressing this requires a two word discussion: “cartridge replacement.” Don’t confuse this with an unrelated topic like base leaks, which need different fixes.
Start by turning off the water supply and removing the handle. Inspect the cartridge for wear or cracks. Replace if necessary. Also, check O-rings for damage or stiffness, as they can cause drips.
| Component | Common Issue |
|---|---|
| Cartridge | Wear, cracks |
| O-ring | Dryness, stiffness |
| Handle | Loose fit |
| Water Supply | Not fully shut off |
After replacing parts, reassemble and test. A proper fix stops drips immediately. If the handle still drips, recheck installation or consider professional help.
Tips to Maintain Your Moen Faucet and Prevent Future Leaks
How often should you perform maintenance on your Moen faucet to prevent leaks? Ideally, schedule maintenance checks every six months to inspect for wear, mineral buildup, and loose components. During these checks, focus on the cartridge, O-rings, and aerator, as these parts often contribute to leaks if neglected.
Incorporate care tips such as regularly cleaning the aerator to prevent clogging and using mild cleaners to avoid damaging seals. Tighten any loose connections but avoid overtightening, which can cause damage. Monitor water pressure to ensure it remains within recommended levels, as excessive pressure strains faucet components.
If you notice any minor drip or handle looseness, address it immediately to prevent escalation. Keep spare parts like cartridges and O-rings handy for quick replacements. By following these care tips and performing consistent maintenance checks, you’ll extend your faucet’s lifespan and minimize the risk of future leaks.
Frequently Asked Questions
How Long Does a Typical Moen Faucet Cartridge Last?
A typical Moen faucet cartridge lasts 5-7 years. For leak detection, regularly check for drips and reduced flow.
Follow maintenance tips like cleaning aerators and tightening connections to extend cartridge life and prevent leaks effectively.
Are Moen Faucet Repairs Covered Under Warranty?
Yes, Moen warranty covers repair coverage for faucet parts, but you need to review warranty terms carefully. Typically, they cover defects but not damage from misuse.
Contact Moen directly to confirm your specific faucet’s warranty status.
Can I Use Generic Replacement Parts for Moen Faucets?
Using generic parts for Moen faucets is like fitting a square peg in a round hole. Compatibility concerns often arise.
You risk leaks or damage, so it’s best to use Moen’s genuine parts for reliable repairs.
What Should I Do if My Moen Faucet Handle Feels Loose?
If your Moen faucet handle feels loose, tighten the set screw under the handle using an Allen wrench.
For adjustment tips, guarantee the handle is properly aligned and secure to prevent further looseness or damage.
How Do I Know if I Need a Professional Plumber?
If your faucet’s drip sounds like a persistent drumbeat, consider professional plumbing. When repairs feel complex or time-consuming, weigh the cost comparison. Sometimes paying for expert help saves more in the long run than DIY frustration and mistakes.