How to Remove Anti Scald Valve Bathtub
Removing an anti-scald valve from your bathtub is like performing a precise mechanical procedure—one misstep can lead to leaks or damage.
You’ll need to carefully shut off the water supply, disassemble the faucet components, and extract the valve without harming surrounding pipes.
Understanding the proper sequence and tools is essential to avoid complications.
Before moving forward, consider the challenges you might face and how to address them effectively.
Key Takeaways
- Turn off the main water supply and open the faucet to drain residual water before starting removal.
- Remove the bathtub faucet handle using the appropriate screwdriver to access the valve area.
- Unscrew the escutcheon plate to expose and locate the anti-scald valve behind it.
- Use an adjustable wrench to carefully loosen and remove the anti-scald valve from the plumbing.
- Inspect the valve and surrounding pipes for damage or debris before proceeding with repairs or replacement.
How to Spot Your Anti-Scald Valve
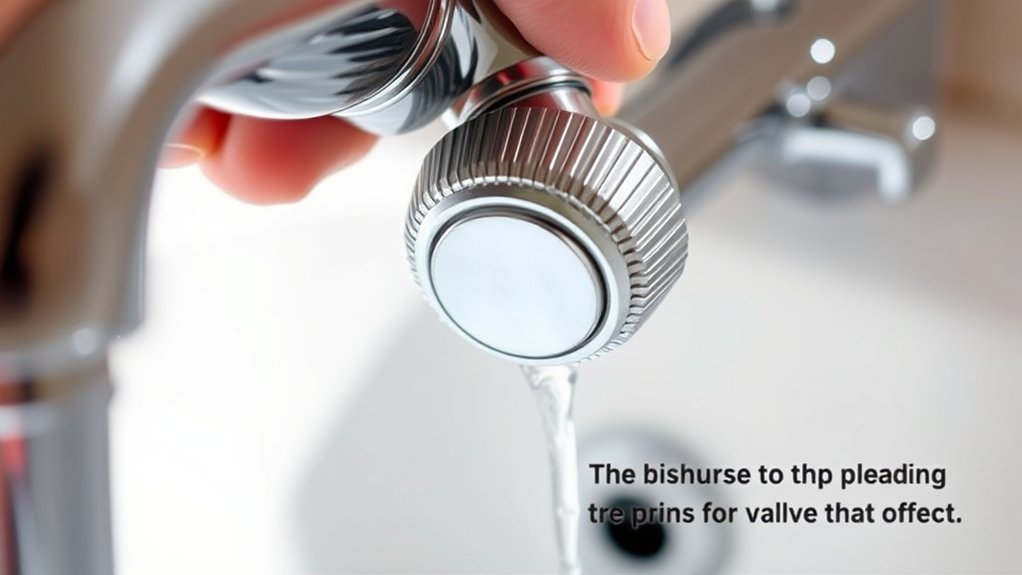
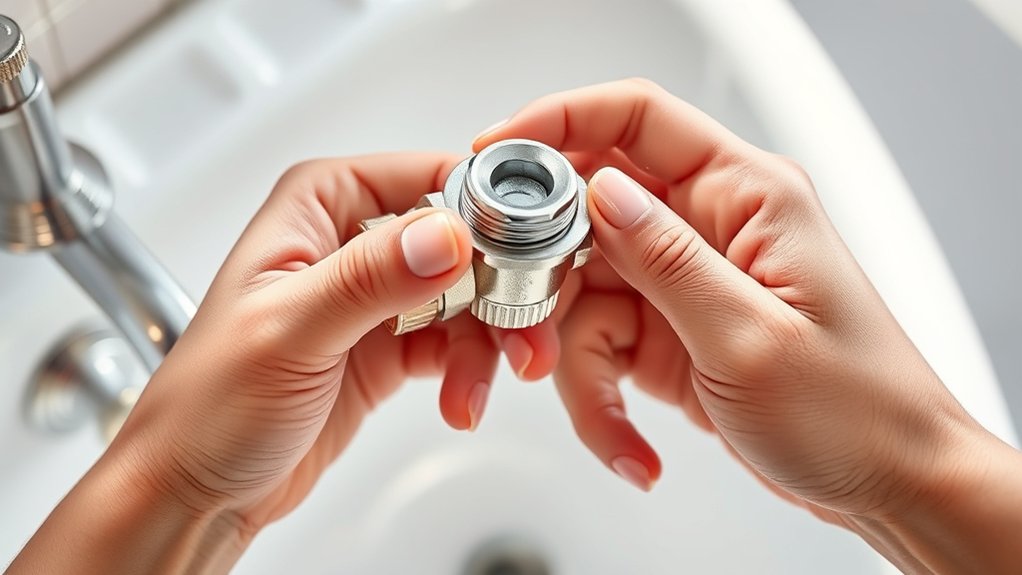
How can you quickly identify your bathtub’s anti-scald valve? Look behind the access panel near your tub’s plumbing or inside the faucet trim. The anti-scald valve typically appears as a thermostatic mixing valve or pressure-balancing cartridge, designed to regulate water temperature and prevent sudden hot surges.
You’ll notice a small adjustment dial or mechanism linked to the valve body. Check for any signs of bypass installation, which allows water flow to bypass the valve temporarily for maintenance or repair. This feature is crucial because improper installation or bypassing can reduce valve longevity.
Confirming the valve’s exact location and type ensures you proceed correctly with removal or servicing, maintaining safety without compromising performance. Identifying it precisely saves time and prevents unnecessary damage during work.
Tools Needed to Remove an Anti-Scald Valve
What tools do you need to remove an anti-scald valve efficiently? Before diving in, gathering the right tools keeps your work focused and avoids scope creep. Sticking to essential, practical tools prevents unnecessary complications while addressing this specific task.
Here are the tools you’ll need:
- Adjustable wrench: For loosening valve nuts without damaging fittings.
- Screwdrivers (flathead and Phillips): To remove trim plates and screws.
- Allen wrench set: Some valves use hex screws that require precise removal.
- Plumber’s grease: Helps in smooth reassembly and prevents seizing.
Having these tools ready aligns your project with clear topic ideas, ensuring you remove the valve safely and effectively without unexpected detours. Avoid adding unrelated tools to maintain a streamlined approach and avoid wasting time.
How to Turn Off Your Water Supply Safely
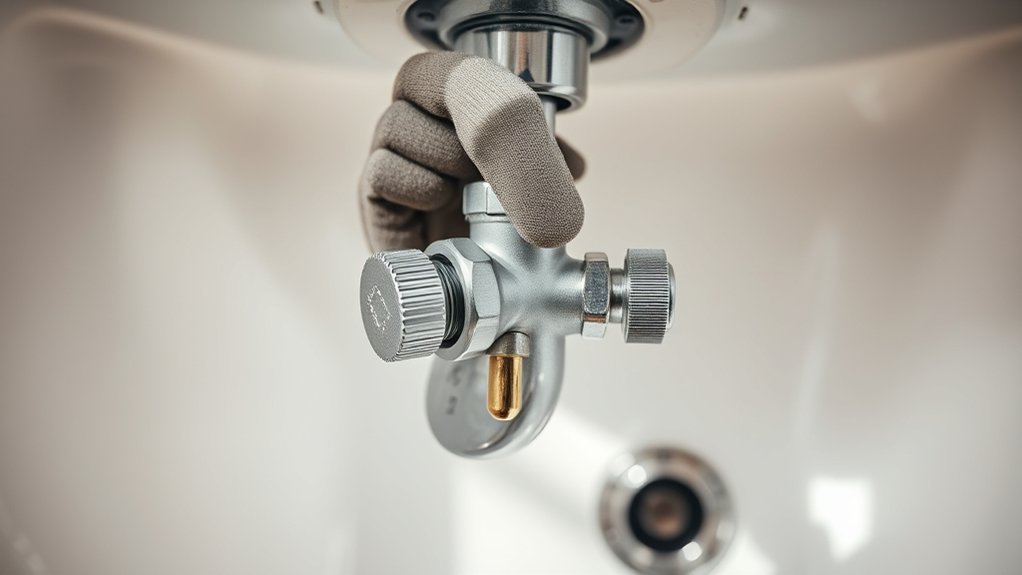
Once you’ve gathered the necessary tools to remove the anti-scald valve, your next step is to shut off the water supply to prevent leaks and water damage. Locate the main water valve or the dedicated bathtub shutoff valve. Turn it clockwise until fully closed.
Confirm the water is off by opening the faucet and checking for flow. Use a bucket or towels for cleanup safety in case of residual water. Ensure the valve you manipulate is compatible with your bathtub brand to avoid damage.
| Step | Action | Notes |
|---|---|---|
| 1 | Identify main or local valve | Check brand compatibility |
| 2 | Turn valve clockwise | Prevent water flow |
| 3 | Open faucet to test | Confirm complete shutoff |
| 4 | Prepare cleanup tools | Use towels or bucket |
| 5 | Verify no leaks | Maintain cleanup safety |
Step-by-Step Guide to Removing the Anti-Scald Valve
Where should you begin when removing the anti-scald valve? Start by gathering the right tools and preparing your workspace. Avoid discussion ideas or unrelated topics at this stage to maintain focus. Follow these steps precisely:
- Remove the bathtub faucet handle using an appropriate screwdriver.
- Unscrew the escutcheon plate to expose the valve body.
- Use an adjustable wrench to loosen and remove the anti-scald valve.
- Inspect the valve and surrounding pipes for damage or debris.
Each step demands care to prevent damage to your plumbing. Stick to this methodical approach, and don’t get sidetracked by unrelated topics that could complicate the process.
This concise, step-by-step guide ensures you remove the valve efficiently and safely without confusion.
How to Fix Common Problems When Removing the Valve
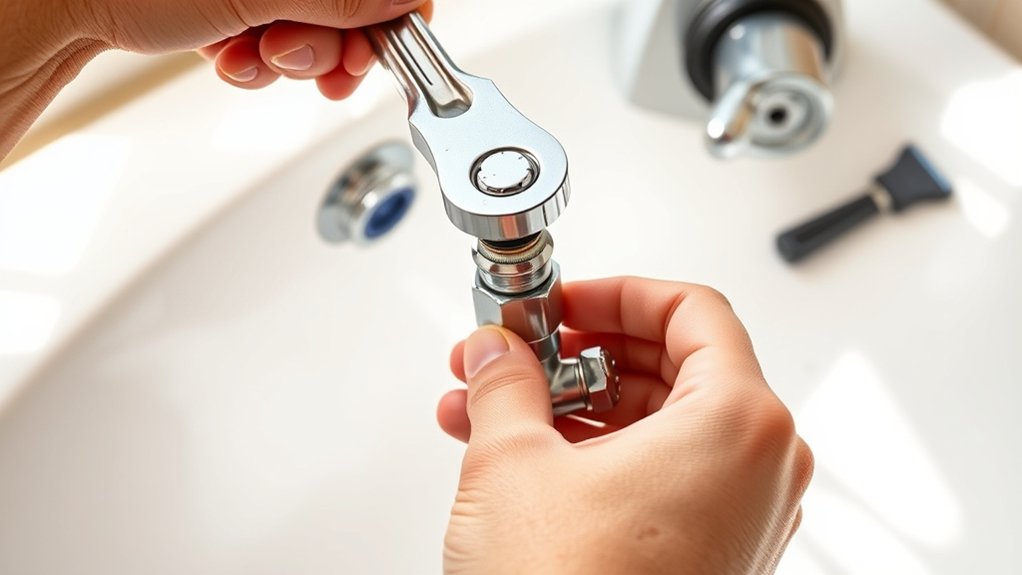
If the valve feels stuck, don’t force it. Apply penetrating oil and use a proper wrench to avoid stripping.
You’ll also want to protect the pipes by supporting them firmly before you start twisting. Taking these precautions helps prevent damage and ensure a smoother removal process.
Identifying Valve Stuck Issues
Why does the anti-scald valve get stuck during removal? Typically, mineral buildup, corrosion, or mechanical wear causes the valve to seize. Identifying these issues early helps you avoid excluding warranty coverage or escalating safety concerns.
Look for these signs to diagnose a stuck valve:
- Rust or mineral deposits visible around the valve body
- Excessive force needed to turn or unscrew the valve
- Valve components showing signs of corrosion or damage
- Valve stuck despite applying penetrating lubricant
If you encounter these symptoms, proceed carefully to prevent further damage. Recognize that forcing the valve can void warranties and create safety hazards. Proper identification ensures you apply the right techniques for removal without compromising your bathtub’s plumbing system or your safety.
Preventing Pipe Damage
Preventing pipe damage requires careful handling and the right tools when removing an anti-scald valve. First, shut off the water supply to avoid pressure buildup. Use adjustable wrenches and pipe protectors to prevent marring or deforming fittings.
When loosening connections, apply steady, controlled force. Avoid sudden twists that could crack pipes. Inspect the valve and surrounding pipes for corrosion or brittleness before starting. Compromised pipes require extra caution or replacement.
Incorporate safety precautions like wearing gloves and goggles to protect yourself from debris or water spray. If you’re doing diy plumbing, use pipe joint compound or Teflon tape on reassembly to ensure a secure, leak-free seal. Taking these steps minimizes damage risks and keeps your plumbing system intact during valve removal.
Should You Replace Your Anti-Scald Valve Instead?
If your anti-scald valve shows signs of wear like inconsistent water temperature or leaks, you should consider replacing it. Installing a new valve improves safety and ensures better temperature control.
Keep in mind the replacement costs compared to repair expenses before making your decision.
Signs Valve Needs Replacement
How can you tell when your anti-scald valve needs replacement? Pay close attention to performance issues and environmental factors like your water heater climate. Over time, valves degrade, especially in homes with obsolete piping.
Here are clear signs you should replace the valve:
- Inconsistent water temperature despite adjustments
- Frequent temperature spikes posing scald risks
- Visible corrosion or mineral buildup on valve components
- Valve fails to regulate temperature in extreme water heater climate conditions
Ignoring these signs can lead to safety hazards and inefficient operation. If you notice any of these symptoms, replacing the anti-scald valve is a practical step to ensure reliable temperature control and compatibility with your current plumbing system.
Benefits Of New Valve
Although replacing your anti-scald valve may seem like a hassle, upgrading to a new valve offers significant benefits in safety, efficiency, and reliability. A new valve ensures precise temperature control, reducing the risk of burns, and improves water flow consistency.
Modern designs also incorporate advanced materials, enhancing durability and minimizing maintenance needs. When evaluating two word discussion ideas like “temperature accuracy” or “flow stability,” you’ll see how a replacement directly addresses these critical factors.
Avoid unrelated topics such as plumbing aesthetics or unrelated fixture upgrades, as they don’t impact valve performance. By focusing on these practical benefits, you’ll improve your bathtub’s safety and functionality.
Investing in a new valve ultimately provides peace of mind, ensuring a safer bathing experience for everyone in your household.
Replacement Cost Considerations
When weighing the decision to replace your anti-scald valve, what costs should you realistically expect? Understanding the financial impact helps in discussing budgetSwap strategies and debating warranty coverage effectively. Here are key cost factors to consider:
Valve Price: New anti-scald valves vary widely, so shop around for quality within your budget.
Labor Costs: Hiring a professional plumber ensures correct installation but adds to expenses.
Potential Repairs: Additional plumbing fixes might arise during replacement, increasing total costs.
Warranty Implications: Evaluate if your current valve’s warranty covers replacement or repairs to avoid unnecessary spending.
How to Test Your Tub Faucet After Removing the Valve
Why test your tub faucet immediately after removing the anti-scald valve? Testing ensures the faucet functions correctly without the valve bypass. Start by turning on the water supply and running both hot and cold water separately to check for proper flow and temperature control.
Next, perform pressure testing to detect leaks or drops in water pressure that could indicate faulty seals or connections exposed during removal. Observe the faucet’s response to adjustments, ensuring smooth operation and consistent water output.
If you notice irregularities such as sputtering, uneven pressure, or temperature fluctuations, address these issues before proceeding. This step guarantees your faucet operates safely and efficiently, preventing potential water damage or scalding risks without the anti-scald valve in place.
Installing a New Valve or Bypass Setup: Essential Tips
After confirming your faucet operates correctly without the anti-scald valve, you can move on to installing a new valve or setting up a bypass. Focus on finding design flaws in replacement valves, as some marketing claims may overstate performance or safety features. Prioritize quality over brand hype.
Ensure your faucet works first, then choose quality valves over marketing hype for safe, effective replacements.
Keep these tips in mind:
- Verify compatibility with your existing plumbing to avoid leaks or pressure issues.
- Use Teflon tape or appropriate sealants on threaded connections for a watertight fit.
- Test water temperature and flow thoroughly after installation to ensure proper function.
- Consider bypass setups only if local codes permit, as they might bypass essential safety controls.
Staying vigilant about these practical points ensures a safe, efficient replacement without falling for misleading marketing claims.
Frequently Asked Questions
What Causes Anti-Scald Valves to Malfunction Over Time?
You’ll find malfunction causes often include sediment buildup, worn-out parts, or mineral deposits. Regular maintenance tips like cleaning filters and flushing the valve help prevent these issues, keeping your anti-scald valve functioning properly over time.
Are There Health Risks Associated With Removing Anti-Scald Valves?
Sure, removing anti-scald valves is like inviting a scalding spa day daily, fun, right? But seriously, you risk burns, violate plumbing regulations, and ignore unrelated safety standards.
This puts yourself and others in real danger. Don’t do it.
Can Removing the Valve Affect Water Heater Efficiency?
Removing the anti-scald valve won’t considerably affect your water heater’s efficiency. Many anti scorching myths and temperature myths confuse users, but the valve mainly controls output temperature, not the heater’s energy consumption or performance.
How Do Anti-Scald Valves Work in Different Plumbing Systems?
Anti-scald valves regulate water temperature by mixing hot and cold water, adjusting to pressure changes in plumbing systems. You’ll find variations based on system type, but all aim to prevent sudden temperature spikes effectively.
Are There Legal Regulations About Anti-Scald Valves in Bathrooms?
Like a watchdog, legal compliance enforces safety standards for anti-scald valves in bathrooms. You’ll need to follow local codes ensuring your installations protect users from burns, meeting mandatory temperature controls and plumbing regulations.
Conclusion
Removing your anti-scald valve might seem intimidating, but with the right tools and careful steps, it’s straightforward. While it protects you from burns, a faulty valve can restrict your comfort. By shutting off water, carefully dismantling parts, and inspecting connections, you guarantee safety and functionality.
Remember, skipping proper removal risks damage; investing time now means smooth water flow later. You’re not just removing a valve—you’re restoring control to your bath experience. Properly removing your anti-scald valve ensures both safety and comfort in your bathtub.