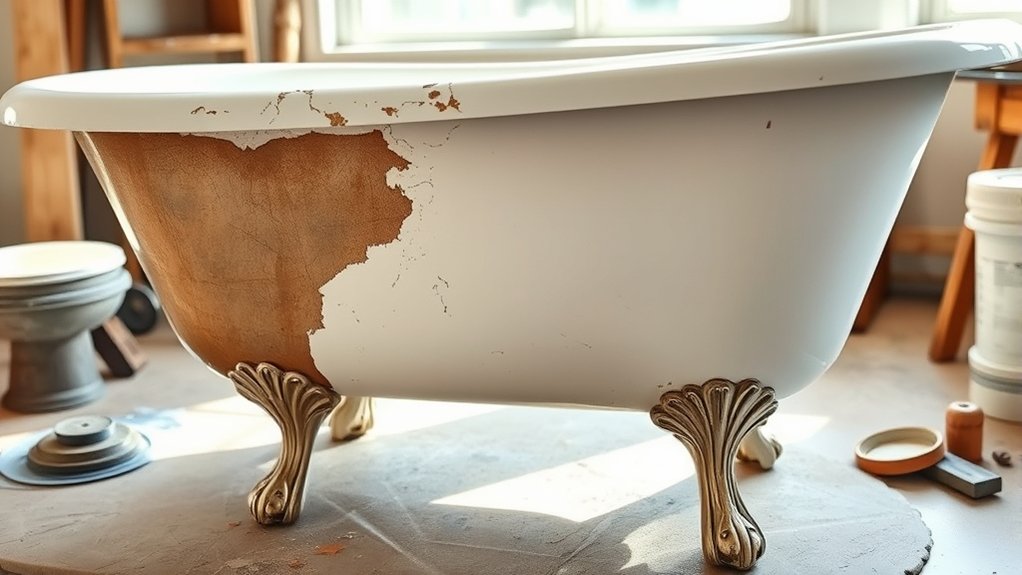
Refinishing a cast iron clawfoot bathtub may seem straightforward, yet the process demands careful preparation and precision to achieve lasting results. This method involves tackling stubborn rust, thoroughly sanding the surface, and applying the right primers and enamel coats while managing curing conditions.
Skipping any step can compromise the finish, so understanding each phase in detail is essential. If you want your tub to look pristine and durable for years, following the proper refinishing steps is crucial.
Key Takeaways
- Thoroughly clean and remove soap scum, rust, and stains from the tub surface before sanding with medium-grit sandpaper.
- Use high-quality epoxy or enamel refinishing kits, including respirator mask, gloves, sandpaper, and appropriate brushes or spray tools.
- Apply an etching primer followed by a bonding primer evenly, ensuring no drips for strong paint adhesion.
- Paint with multiple thin coats of enamel paint formulated for cast iron, allowing each coat to dry fully before the next.
- Cure the refinished tub at consistent room temperature and low humidity for at least seven days before use.
Gather Tools and Materials for Refinishing Your Cast Iron Clawfoot Tub
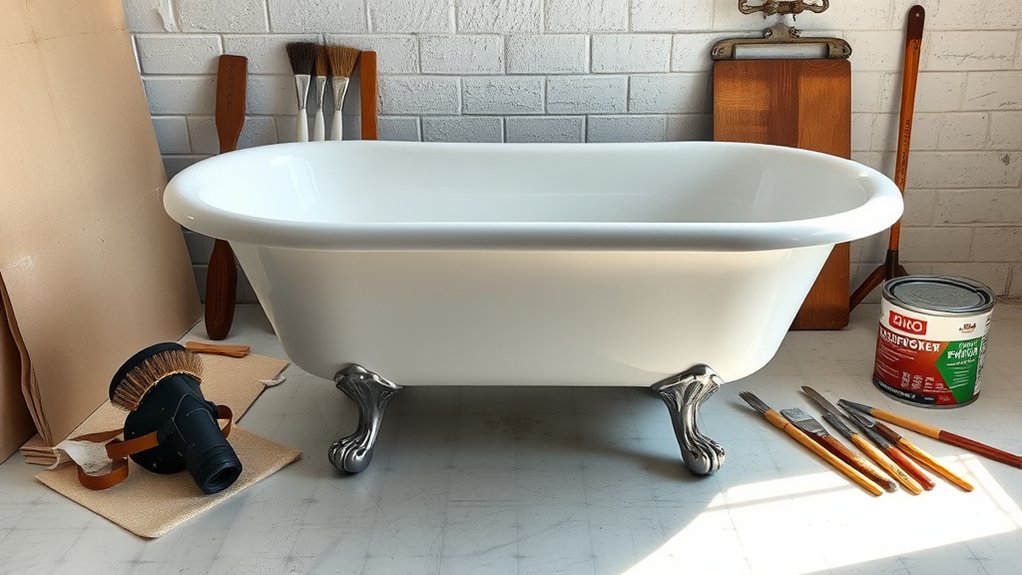
Where do you begin when refinishing a cast iron clawfoot tub? Start by gathering the right tools and materials to ensure a professional finish. Choosing materials carefully is crucial: opt for high-quality epoxy or enamel refinishing kits designed specifically for cast iron surfaces.
You’ll need a respirator mask, protective gloves, sandpaper, and paintbrushes or spray equipment. Budget considerations play a vital role. While premium products cost more upfront, they offer better durability and adhesion, saving you money on future repairs.
Avoid cheap materials that might peel or crack quickly. Plan your purchases by comparing product reviews and prices to balance cost and quality effectively. By assembling all necessary supplies before you begin, you set yourself up for a smoother, more successful refinishing process.
Prepare Your Clawfoot Tub by Cleaning and Sanding Thoroughly
Once you’ve gathered all the necessary tools and materials, the next step is to thoroughly clean and sand your clawfoot tub. Begin by removing soap scum, dirt, and grease with a heavy-duty cleaner. For stubborn stains, apply a specialized stain removal product designed for cast iron surfaces.
Address any rust spots promptly using a rust treatment solution to halt corrosion and prepare the surface for refinishing. After cleaning, sand the entire tub with medium-grit sandpaper to roughen the enamel, which ensures proper adhesion of the primer and paint.
Focus on smoothing out imperfections without damaging the cast iron beneath. Wipe down the tub with a damp cloth to eliminate dust and residue. This meticulous preparation is crucial for achieving a durable, professional-quality finish.
Apply Primer and Paint for a Durable, Glossy Finish
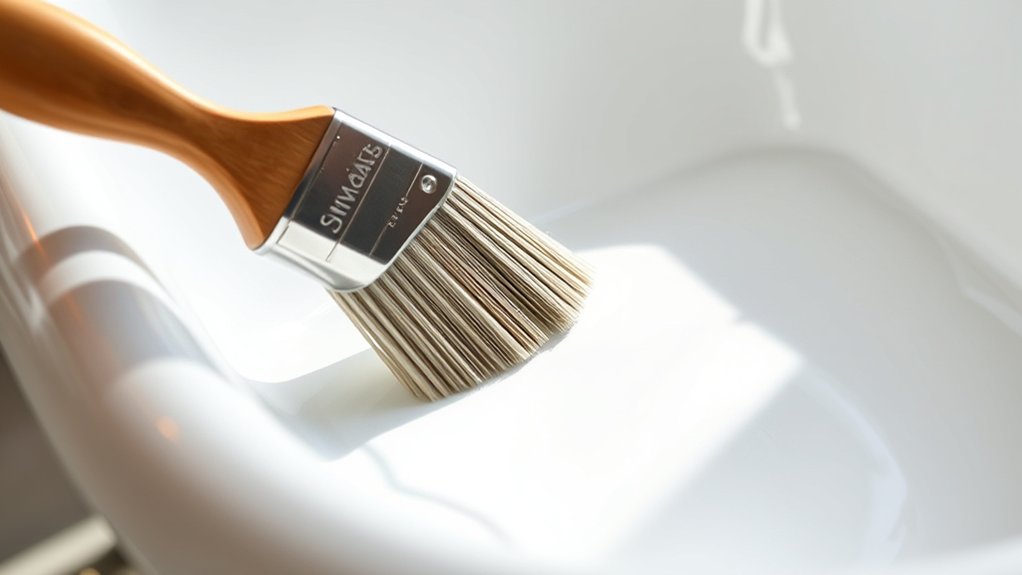
A high-quality primer is essential for creating a strong bond between your clawfoot tub’s surface and the paint, ensuring a long-lasting, glossy finish. Apply the primer evenly, focusing on smooth coverage without drips.
After it dries, use enamel paint formulated for cast iron to achieve a finish comparable to sparkly sinks or glossy grates. Multiple thin coats build durability and shine better than one thick coat.
| Step | Product Type | Purpose |
|---|---|---|
| 1 | Etching Primer | Promotes adhesion |
| 2 | Bonding Primer | Seals surface |
| 3 | Enamel Paint Coat 1 | Base glossy layer |
| 4 | Enamel Paint Coat 2 | Enhances durability |
| 5 | Enamel Paint Coat 3 | Final sparkly finish |
Follow manufacturer drying times exactly for optimal results.
Cure and Maintain Your Refinished Cast Iron Clawfoot Tub
Although the paint on your clawfoot tub may look dry to the touch, you’ll need to cure it properly to guarantee lasting durability and shine. Allow the finish to cure for at least seven days without exposing the surface to water or heavy use.
During this period, maintain consistent room temperature and low humidity to prevent imperfections. After curing, clean the tub gently using non-abrasive cleaners to preserve the glossy finish and avoid matte textures that can dull the surface.
If you want to enhance the tub’s aesthetic, consider placing a recycled wood bath tray nearby to add warmth and sustainable style. Regular upkeep, combined with mindful curing, ensures your refinished cast iron clawfoot tub remains a durable and elegant centerpiece for years to come.
Fix Common Refinishing Problems and How to Solve Them
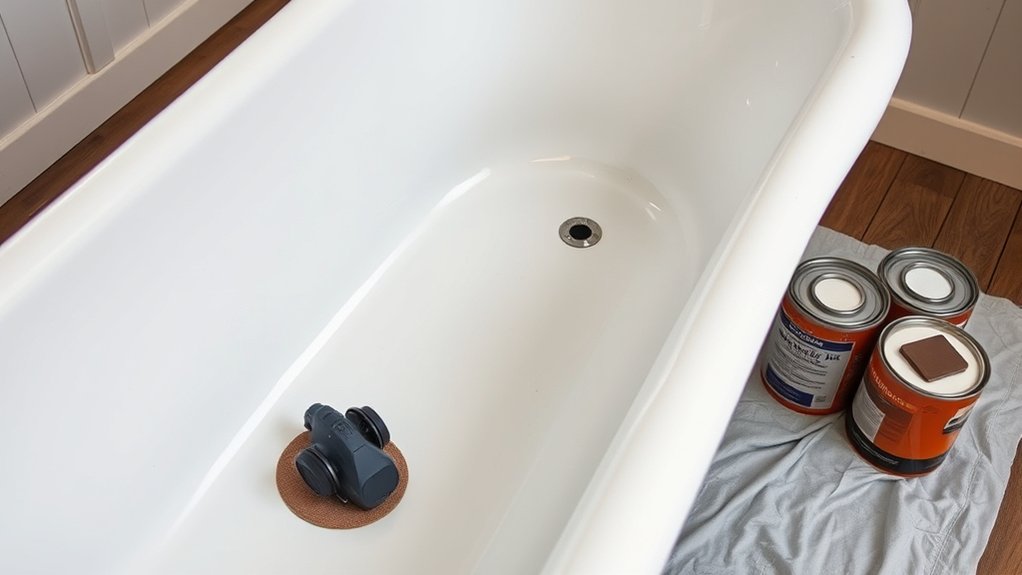
How do you tackle common issues that arise during the refinishing process of your cast iron clawfoot tub? Addressing problems like cracks, rust, or uneven finishes promptly is crucial.
Focus on crack repair by filling and sanding cracks before applying primer. Prevent rust by thoroughly removing old rust and applying a rust-preventive primer.
Below is a quick reference for common problems and their solutions:
| Problem | Solution |
|---|---|
| Cracks | Use epoxy filler, sand smooth, prime |
| Rust Spots | Remove rust, apply rust-preventive primer |
| Uneven Finish | Sand lightly, apply thin, even coats |
| Peeling Paint | Remove loose paint, sand, recoat |
| Surface Bubbles | Sand bubbles, clean, reapply paint |
Frequently Asked Questions
How Long Does a Professional Refinishing Job Typically Last?
You can expect professional refinishing to last 10-15 years, depending on long term durability and maintenance frequency.
If you clean gently and avoid harsh chemicals, you’ll preserve the finish’s strength and appearance much longer.
Can Cast Iron Clawfoot Tubs Be Safely Used During the Refinishing Process?
Sure, you can bathe in a chemical cocktail if you enjoy safety hazards! Seriously, don’t use the tub during refinishing; contaminants exposure risk is high.
Follow strict environmental considerations and proper disposal methods to stay safe and eco-friendly.
What Are the Environmental Impacts of Refinishing Materials Used?
You’ll find the environmental impact of refinishing materials varies, but many include volatile organic compounds that affect air quality.
Considering the materials lifecycle helps you choose eco-friendlier options with lower emissions and longer durability.
Is It Better to Refinish or Replace a Damaged Clawfoot Tub?
You’ll find refinishing offers excellent durability at a fraction of replacement cost considerations, making it ideal if the tub’s structure is sound. However, replacement suits severe damage or outdated plumbing, despite higher expenses and longer installation time.
Are There Any Health Risks Associated With Refinishing Chemicals?
Chemical exposure during refinishing acts like a hidden storm, posing health risks such as respiratory irritation.
You must manage eco impact carefully and follow strict disposal concerns to protect yourself and the environment effectively.
Conclusion
Refinishing your cast iron clawfoot tub is like giving an old friend a fresh start—each careful step builds a lasting bond between you and your tub. By thoroughly prepping, priming, and applying multiple thin enamel coats, you ensure a durable, glossy finish that stands the test of time.
Stay patient, follow precise techniques, and maintain proper care to keep your tub looking stunning for years. Your effort transforms wear into timeless elegance.
With these steps, your cast iron clawfoot bathtub will regain its beauty and charm, making refinishing a cast iron clawfoot bathtub a rewarding and worthwhile project.
Leave a Reply