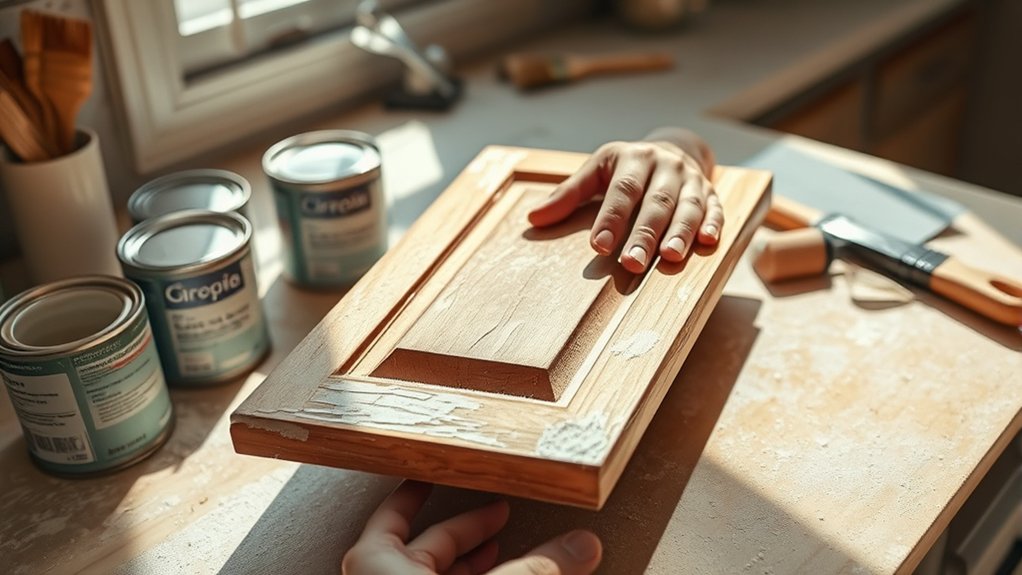
How Hard Is It to Repaint Kitchen Cabinets
Repainting kitchen cabinets demands more than just a fresh coat of paint—it requires careful preparation, patience, and attention to detail.
Kitchen cabinet repainting involves removing hardware, cleaning thoroughly, sanding surfaces, and choosing the right primer and paint for durability.
The process can be time-consuming and technically challenging if you want a smooth, lasting finish.
But how do you know if the effort is worth it or when to contemplate professional help?
How Hard Is It to Repaint Kitchen Cabinets?
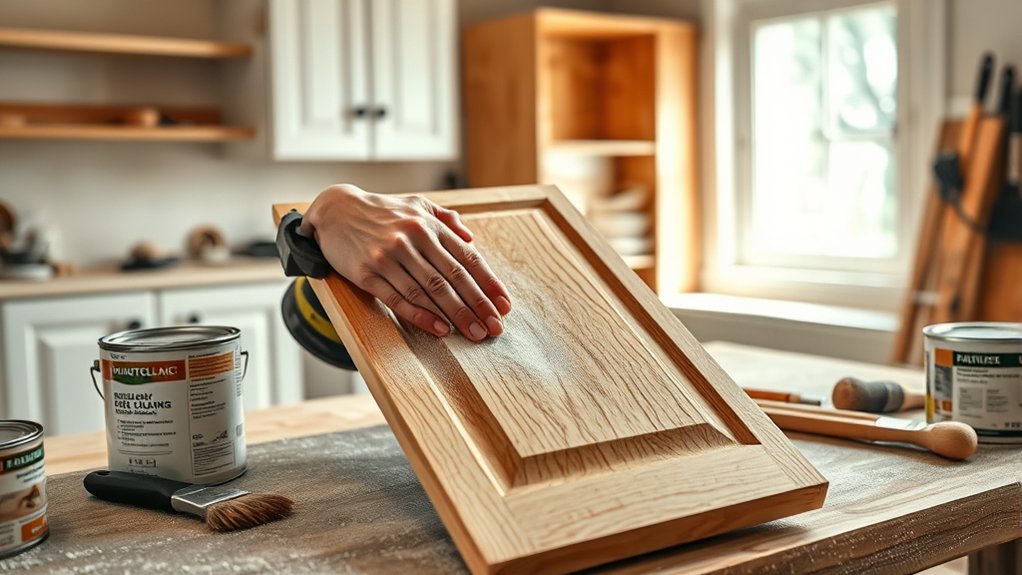
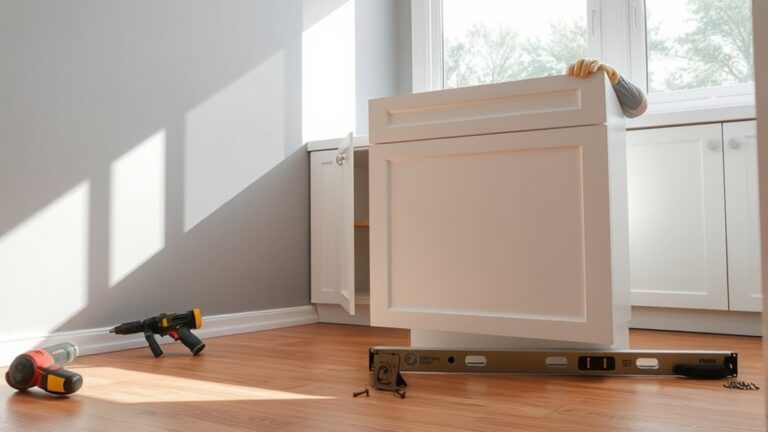
How challenging is it to repaint kitchen cabinets? It demands patience, attention to detail, and careful budget planning. You’ll need to remove all hardware and doors, sand surfaces thoroughly, and apply primer before painting.
Achieving a smooth, durable finish requires multiple coats and proper drying times. While the process is time-consuming, you can control costs by incorporating smart recycling ideas, like repurposing old cabinet hardware or using leftover paint from previous projects.
A smooth, durable finish takes multiple coats and drying, with cost savings from recycling hardware and leftover paint.
Planning your budget upfront helps you avoid unexpected expenses, especially if you opt for quality paint and primers designed for cabinetry. Though physically demanding, repainting cabinets isn’t technically difficult if you follow steps precisely.
You’ll also want to maintain a clean, dust-free workspace to ensure the best results. Overall, the challenge lies in methodical execution and time management, but with solid preparation and budget planning, you can transform your kitchen effectively without professional help.
What Tools and Materials Do You Need to Repaint Kitchen Cabinets?
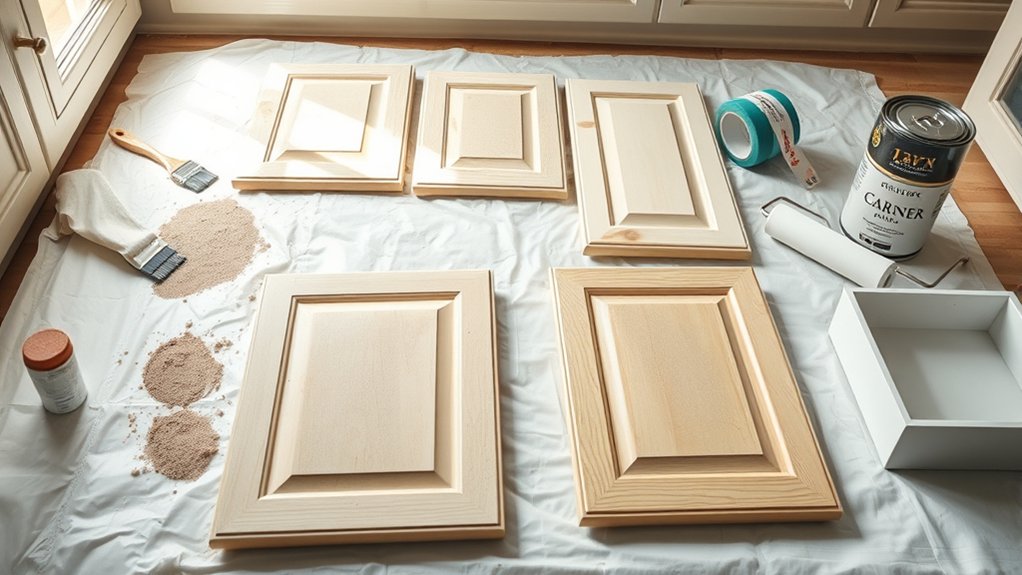
Successfully repainting your kitchen cabinets starts with gathering the right tools and materials that match the demands of the job. Choosing budget friendly options without compromising quality ensures a smooth process.
Here are the essentials you’ll need:
- Sanding Tools A good quality sanding block or an electric sander helps remove old finishes and smooth surfaces. Opt for a tool only model if you want to save without sacrificing performance.
- Primer and Paint Use a high-adhesion primer designed for cabinetry and a durable, kitchen-grade paint, preferably semi-gloss or satin for easy cleaning and longevity.
- Painting Accessories Include angled brushes for edges, foam rollers for flat surfaces, painter’s tape, and drop cloths to protect your workspace.
How to Properly Prep Kitchen Cabinets Before Painting
Before you start painting, you need to thoroughly clean and degrease your cabinets to remove any residue that could affect paint adhesion.
Next, sanding creates a smooth surface and helps the primer bond properly. Applying a quality primer seals the wood and guarantees your paint job lasts longer and looks professional.
Cleaning And Degreasing
Why is cleaning and degreasing your kitchen cabinets essential before painting? Proper surface preparation ensures paint adhesion and a smooth finish. Without thorough cleaning and degreasing, dirt, grease, and residues can prevent paint from sticking, leading to peeling or uneven coverage.
Follow these steps for effective cleaning and degreasing:
- Use a degreasing cleaner or a mixture of warm water and trisodium phosphate (TSP) to break down oils and grime.
- Scrub all cabinet surfaces with a non-abrasive sponge, focusing on corners and edges where buildup accumulates.
- Rinse thoroughly with clean water to remove any residue, then let the cabinets dry completely before proceeding.
This precise cleaning and degreasing step is crucial for optimal surface preparation and a lasting paint job.
Sanding And Priming
A thorough sanding and priming process lays the foundation for a durable and smooth paint finish on your kitchen cabinets. Begin by sanding the cabinet surfaces with fine-grit sandpaper (around 220 grit) to remove the existing finish and create a slightly rough texture. This step is essential for proper paint adhesion.
After sanding, clean off all dust with a tack cloth or vacuum. Next, apply a high-quality primer designed for kitchen cabinets, ideally a bonding or stain-blocking type. Priming seals the wood, covers imperfections, and prevents stains from bleeding through the paint.
Use smooth, even strokes and allow the primer to dry fully before lightly sanding again to maintain prep techniques that guarantee a flawless final coat. Proper sanding priming prep techniques will greatly enhance your repainting results.
Which Paint Types Work Best for Kitchen Cabinets?
You’ll want to choose paint that stands up to frequent cleaning and moisture, making durability key for kitchen cabinets. Satin and semi-gloss finishes provide the best balance of toughness and easy maintenance without showing imperfections.
Understanding these options helps you select a paint that keeps your cabinets looking fresh for years.
Durable Paint Options
Selecting the right paint type is essential for ensuring your kitchen cabinets withstand daily wear and tear while maintaining a smooth, attractive finish. When considering durable coatings, you should focus on options with proven longevity comparisons for cabinetry use.
Here are three top paint types to consider:
- Acrylic Alkyd Enamel combines oil’s durability with water-based ease, offering a tough, smooth finish that resists chipping.
- Urethane-Modified Acrylic provides exceptional durability and chemical resistance, ideal for heavy-use kitchens.
- Oil-Based Paint is known for its hard, glossy finish and excellent adhesion, though it requires longer drying times and stronger fumes.
Choosing one of these paints ensures your cabinets stay pristine longer, reducing the need for frequent touch-ups or repainting.
Finish Types Explained
How do different paint finishes impact the durability and appearance of your kitchen cabinets? Finish types play an essential role in how your cabinets resist wear and how they look over time.
For kitchen cabinets, semi-gloss and satin finishes are ideal because they balance durability with an attractive sheen. Semi-gloss offers a smooth, reflective surface that’s easy to clean and withstands moisture, while satin provides a softer shine with good resistance to scratches.
Matte finishes, though trendy, can show stains and wear more easily and aren’t as practical. When choosing finish types, consider your preferred color options too. Some finishes enhance color depth, making hues appear richer.
Ultimately, selecting the right finish type ensures your cabinets stay beautiful and functional for years.
How to Paint Cabinets for a Smooth, Long-Lasting Finish
Why does achieving a smooth, long-lasting finish on your kitchen cabinets matter? A flawless finish not only enhances your kitchen’s aesthetic appeal but also ensures durability against daily wear. Before painting, remove all cabinet hardware to avoid smudges and allow even coverage. Consider color psychology. Choosing a hue that complements your kitchen’s vibe can transform the space entirely.
To get that perfect finish:
- Prep Thoroughly: Sand cabinets to remove old paint and create a smooth surface. Clean off dust and grease to help paint adhere better.
- Prime Properly: Use a high-quality primer designed for cabinets; it seals the surface and prevents stains from bleeding through.
- Paint Carefully: Apply thin, even coats with a high-quality brush or sprayer, sanding lightly between coats for a smooth texture.
Following these steps ensures your cabinets look professional and withstand everyday use, letting your kitchen shine for years.
Common Challenges When Repainting Kitchen Cabinets
What makes repainting kitchen cabinets particularly challenging? First, you must carefully balance your budget reuse strategy. While repainting can save money compared to replacement, unexpected costs like primer, sanding supplies, and quality paint can add up quickly. You’ll need to plan thoroughly to avoid overspending.
Second, dealing with surface preparation is crucial. Old finishes require thorough cleaning and sanding to ensure new paint adheres well. Skipping this step risks peeling or uneven texture.
Third, choosing the right colors amid evolving color trends can be tricky. You want a look that feels fresh now but remains timeless, preventing early repainting.
Additionally, working around hardware and cabinet removal can be time-consuming and physically demanding.
Lastly, achieving an even, drip-free finish without brush marks demands patience and skill. Understanding these challenges helps you prepare properly, ensuring your kitchen cabinets not only look great but also stand the test of time.
How to Fix Mistakes and Touch Up Painted Cabinets
Even with careful preparation and painting, mistakes can happen, and touch-ups are often necessary to keep your cabinets looking flawless. Addressing errors promptly prevents costly rework and helps you stick to your pricing and scheduling plans.
Here’s how to fix mistakes and touch up painted cabinets effectively:
- Identify the issue: Pinpoint chips, drips, or uneven spots. Lightly sand the area with fine-grit sandpaper to smooth imperfections without damaging surrounding paint.
- Clean the surface: Wipe down the sanded spot with a damp cloth to remove dust and debris, ensuring proper adhesion for touch-up paint.
- Apply touch-up paint: Use a small brush or foam applicator with matching paint. Apply thin coats, allowing each layer to dry fully before adding another to blend seamlessly.
Following these steps maintains your project’s quality and helps keep your painting timeline and budget intact.
How Much Can You Save Repainting Kitchen Cabinets Yourself?
How much can you realistically save by repainting your kitchen cabinets yourself? Taking on this project can significantly cut costs, especially when budget constraints limit your options. Hiring a professional often includes labor and material markups, while DIY lets you control expenses and experiment with current color trends without overspending.
Here’s a quick comparison of typical expenses:
| Expense Category | Estimated Cost DIY vs. Pro |
|---|---|
| Paint & Supplies | $100 – $200 (DIY) vs. $300+ (Pro) |
| Labor | $0 (DIY) vs. $500+ (Pro) |
| Additional Tools | $50 – $100 (DIY) vs. Included (Pro) |
When Should You Hire a Pro Instead of DIY?
When might you need to hire a professional instead of tackling kitchen cabinet repainting yourself? If your remodel budgeting is tight but you want flawless results, a pro can save you costly mistakes. Also, complex color coordination demands an expert’s eye to ensure harmony with your kitchen’s overall design.
Consider these scenarios:
- Extensive Surface Damage: If cabinets have deep scratches, warping, or water damage, professionals can expertly repair and prep surfaces you might miss.
- Intricate Color Coordination: When you’re mixing multiple shades or matching existing décor, a pro ensures precise color matching and consistent finish.
- Time Constraints: If you lack time or experience, hiring a pro speeds up the process without sacrificing quality.
Hiring a professional guarantees a durable, high-quality finish while keeping your remodel budgeting efficient by avoiding redo costs and ensuring expert color coordination.
Frequently Asked Questions
How Long Does It Take for Painted Cabinets to Fully Cure?
It takes painted cabinets about 7 days to fully cure. You should follow recoat scheduling carefully, and perform bake time testing if using heat-cured finishes, ensuring durability and a flawless finish before heavy use or further coats.
Can I Repaint Over Laminate or Veneer Cabinets?
You can repaint laminates, but you’ll face veneer challenges like poor adhesion. Sand thoroughly, use a high-quality primer, and choose paint designed for slick surfaces to ensure your finish stays durable and smooth over time.
What Is the Best Way to Remove Cabinet Hardware Without Damage?
Removing hardware without damage is like defusing a bomb; you need steady hands. Use a screwdriver that fits perfectly, apply gentle pressure, and place painter’s tape around screws for cabinet protection.
This prevents scratches and keeps everything pristine.
Are There Eco-Friendly Paints Suitable for Kitchen Cabinets?
You can choose eco friendly paints like water-based acrylics or low-VOC enamels for cabinet finishes. These options provide durability, resist moisture, and minimize toxins, making them ideal for your kitchen cabinets while supporting a healthier environment.
How Do Humidity and Temperature Affect Cabinet Painting Results?
You’ll want to control humidity effect carefully. Over 60% humidity can cause paint to dry unevenly. Temperature impact matters too; ideal is 65-75°F, ensuring smooth finishes without bubbling or cracking on your kitchen cabinets.