How Install Kitchen Cabinets
When you install kitchen cabinets, you start by thoroughly preparing your workspace and walls to ensure a precise fit. Proper preparation is essential for a smooth installation process. You’ll need to locate and mark studs accurately, then measure and outline cabinet placement with exacting detail.
Assembling cabinets beforehand saves time during mounting, but the real challenge lies in leveling and securing them properly. Getting these foundational steps right is critical—so let’s explore how to approach each phase systematically.
Prepare Walls and Workspace for Cabinets
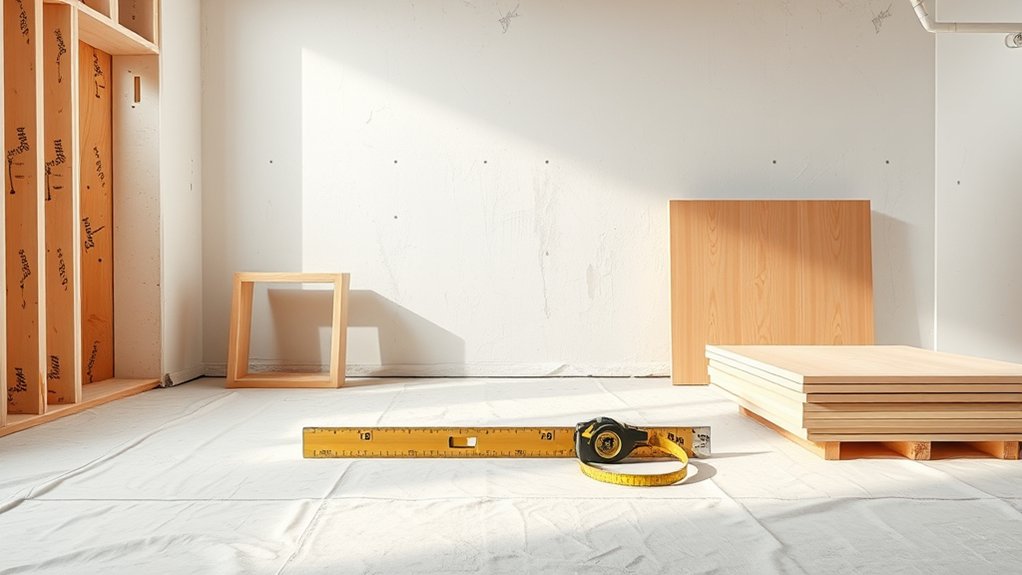
Where should you begin when preparing walls and workspace for kitchen cabinets? Start by clearing the area completely, removing all appliances, fixtures, and existing cabinetry. This eliminates obstacles and gives you unobstructed access.
Begin by fully clearing the area, removing appliances, fixtures, and old cabinets for unobstructed access.
Next, inspect the walls for damage or unevenness; patch holes and sand rough patches to ensure a flat, stable surface. Be cautious of misleading safety signs. Some walls may contain hidden electrical wiring or plumbing behind drywall.
Use a stud finder to detect these, but verify with a voltage detector or pipe locator to avoid hazards. When handling unfamiliar materials like older drywall or plaster, wear protective gear and work slowly to prevent dust inhalation or structural damage.
Finally, clean the workspace thoroughly; dust and debris can interfere with cabinet installation. Organizing your tools and materials nearby will streamline the process. Proper preparation establishes a solid foundation, minimizes risks, and ensures your kitchen cabinets mount securely and align precisely.
Locate and Mark Wall Studs
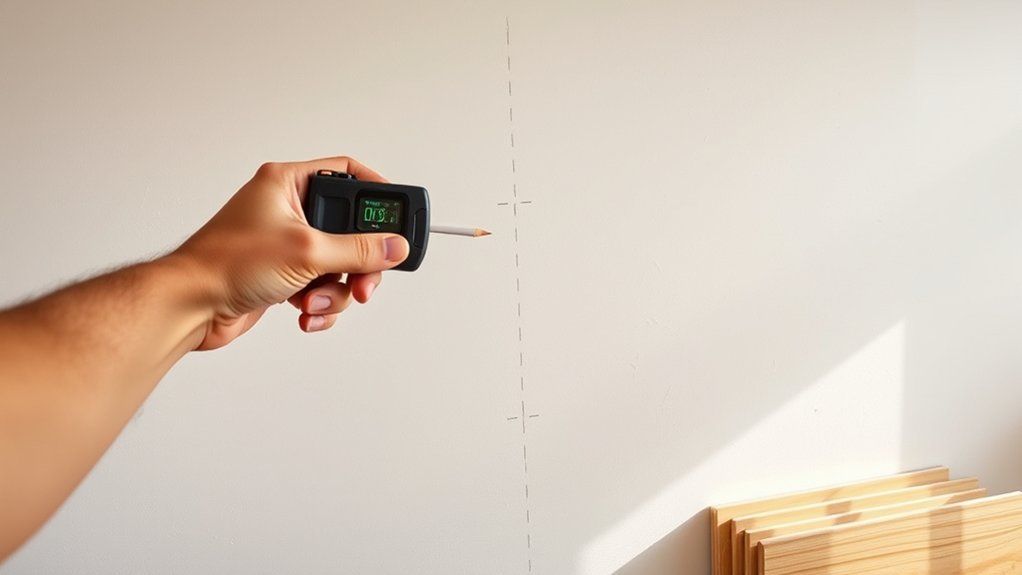
How do you accurately locate wall studs for your kitchen cabinet installation? Identifying stud positions is critical for secure wall stud alignment, which ensures that your cabinets will hold firm through cabinet finishing and everyday use. Follow these steps:
- Use a stud finder: Sweep the device horizontally across the wall to detect changes in density, indicating stud locations. Mark each stud with a pencil at both top and bottom.
- Confirm stud spacing: Studs typically appear every 16 or 24 inches on center. Measure and verify consistent spacing between marks to avoid errors.
- Tap and listen: Gently tap the wall with a hammer or knuckle. A solid sound confirms a stud, while a hollow tone indicates drywall only.
Marking studs precisely ensures that your cabinet finishing effort is supported by a stable frame. Accurate wall stud alignment prevents future shifting and maintains cabinet integrity.
Measure and Mark Cabinet Placement
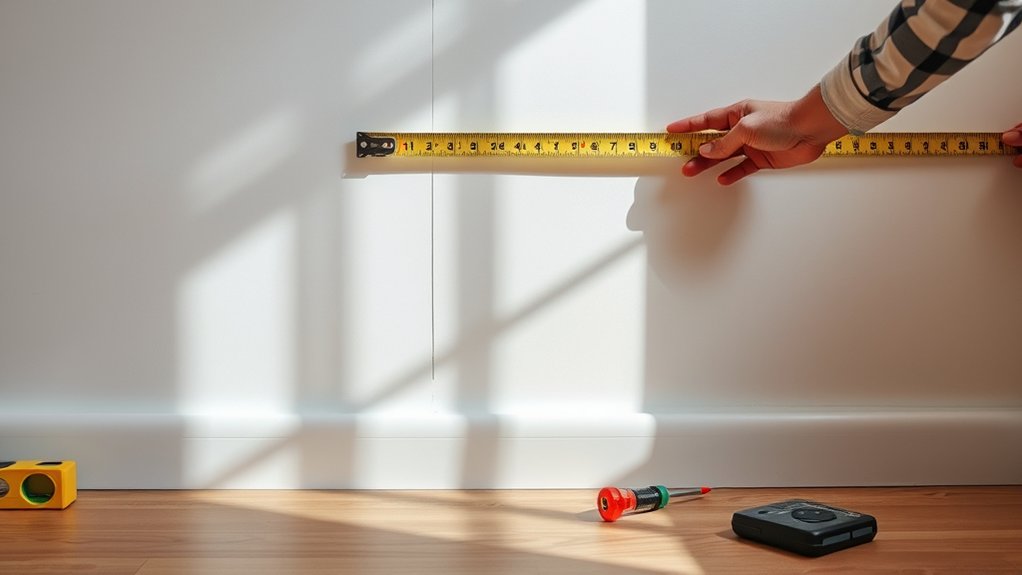
Gather a tape measure, pencil, and level before you start measuring the wall dimensions accurately. Measure the total length and height where the cabinets will be installed, noting any obstacles or outlets.
Then, mark the exact cabinet locations on the wall to ensure proper alignment during installation.
Tools Needed
Why is precision essential when measuring and marking cabinet placement? Accurate measurements ensure your cabinets fit perfectly, avoiding costly mistakes that affect your planning budget and delay sourcing materials. To achieve this precision, you need the right tools.
Here are the three essential tools you’ll need:
- Tape Measure Use a high-quality steel tape for exact measurements.
- Level A laser or bubble level guarantees horizontal and vertical accuracy.
- Pencil and Masking Tape Mark cabinet outlines clearly without damaging walls.
Using these tools methodically allows you to mark precise cabinet positions, ensuring a smooth installation process. This step directly impacts your planning budget by minimizing errors and streamlining sourcing materials, so invest time in careful measurement before proceeding.
Measuring Wall Dimensions
Where exactly will your kitchen cabinets fit on the wall? Start by measuring wall dimensions accurately to ensure a precise cabinet layout. Use a tape measure to record the total wall length, height, and any obstructions like windows or outlets.
Measure from floor to ceiling, noting any unevenness. Document these measurements systematically.
| Measurement Type | Purpose |
|---|---|
| Wall Length | Determines total cabinet run length |
| Wall Height | Sets upper cabinet installation height |
| Obstruction Locations | Avoids conflicts with fixtures |
| Floor Level | Ensures cabinets sit level |
Accurate measuring wall dimensions is critical for planning cabinet layout. These measurements guide cabinet selection and placement, reducing errors before installation begins.
Marking Cabinet Locations
How do you guarantee your cabinets fit perfectly on the wall? Start by accurately marking cabinet locations. Treat your kitchen wall like a storefront display. Each cabinet needs precise placement to ensure visual harmony and functionality. Follow these steps:
- Measure and mark the baseline 54 inches from the floor, the standard height for upper cabinets.
- Using a level, draw vertical lines where each cabinet edge will sit, referencing your color swatches to visualize the alignment and ensure the finish complements surrounding surfaces.
- Double-check all measurements, confirming consistent spacing and alignment across the entire wall.
Assemble Cabinets Before Installation
Start by organizing all cabinet components to assure you have every part on hand. Carefully follow the manufacturer’s assembly instructions step-by-step to maintain structural integrity.
This preparation will streamline the installation process and prevent errors.
Organize Cabinet Components
Why is organizing cabinet components essential before installation? Proper organization ensures you efficiently handle cabinet finishes, avoid damage, and streamline assembly. Before you begin, sort all parts according to their function and location.
Follow these steps to organize effectively:
- Separate Cabinet Finishes: Group panels and doors by finish and style to prevent mixing different textures or colors.
- Inventory Cabinet Accessories: Lay out hinges, handles, shelves, and hardware separately, ensuring each piece matches its designated cabinet.
- Label Components: Use tags or markers to identify parts corresponding to your kitchen layout, minimizing confusion during installation.
Follow Assembly Instructions
When should you assemble your kitchen cabinets to guarantee accuracy and stability? You should complete assembly before installation. This approach lets you verify that all cabinet materials are intact and properly aligned, preventing costly errors during mounting.
Begin by consulting the manufacturer’s detailed assembly instructions, which specify hardware placement and structural supports. Use a level and measuring tape consistently to maintain precision.
Following these steps ensures your cabinets will withstand daily use without warping or misalignment. Incorporate budgeting tips by assembling in a controlled environment, avoiding rushed on-site work that can lead to damage or wasted materials.
This methodical preparation saves money and time, ensuring a professional finish and optimal cabinet performance throughout your kitchen remodel.
Install and Level Upper Cabinets
How do you ensure your upper cabinets are perfectly aligned and secure? Start by preparing the installation area, accounting for recessed lighting and countertop materials that may affect cabinet placement. Here’s a precise method:
- Mark a Level Reference Line: Use a laser level or straightedge to draw a horizontal line on the wall at the bottom edge of the upper cabinets, considering the height of your countertop materials to ensure proper clearance.
- Locate and Mark Studs: Find studs with a stud finder along the installation path. Mark their positions clearly to ensure your cabinets are anchored securely.
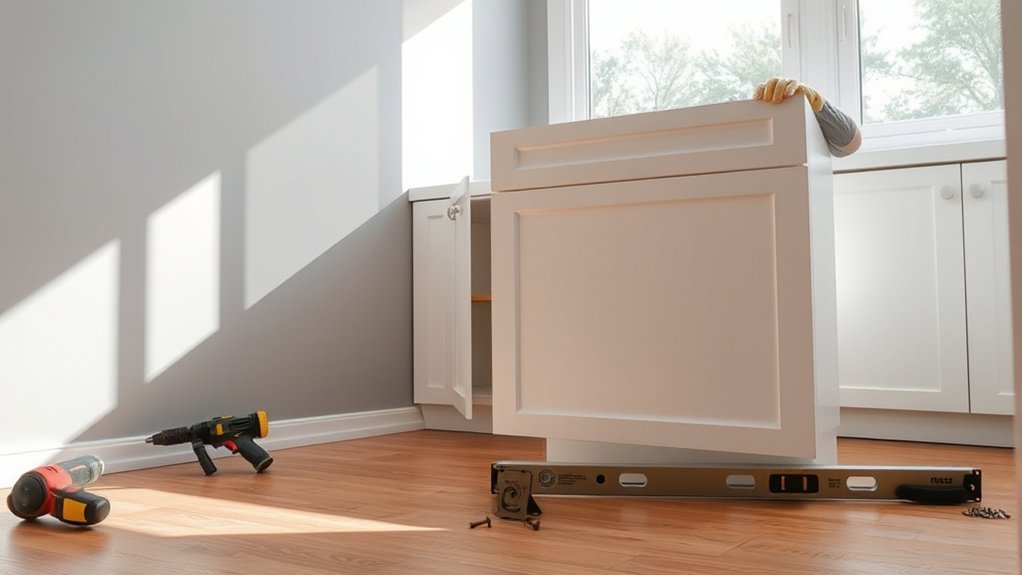
- Position and Secure Cabinets: Lift each cabinet, align its bottom with the reference line, and screw through the back into studs. Use a level to check both horizontal and vertical alignment continuously, adjusting as necessary.
Attach and Level Base Cabinets
Where should you begin to attach and level base cabinets for a flawless fit? Start by marking your reference line on the wall, ensuring it aligns with your floor’s highest point to accommodate any unevenness. Secure the first cabinet tightly to the wall studs using screws, checking that it’s perfectly level front-to-back and side-to-side.
Use shims strategically to correct any gaps between the cabinet and floor or wall. This step is critical for maintaining cabinet alignment across the entire layout.
Keep budget planning in mind by measuring twice and minimizing waste; precise installation avoids costly adjustments later. Also, consider color theory when positioning cabinets: lighter base cabinets can open space visually, while darker hues ground the design.
Accurate leveling supports both aesthetics and function, ensuring doors and drawers operate smoothly. Methodically repeat this process for each base cabinet, verifying levelness and alignment before moving on, which guarantees a consistent, professional foundation for your kitchen renovation.
Secure Cabinets and Make Adjustments
Why is securing your cabinets firmly to the wall essential before proceeding? It ensures stability, prevents shifting, and maintains alignment. To secure cabinets effectively and make adjustments, follow these steps:
Securing cabinets firmly ensures stability, prevents shifting, and keeps everything perfectly aligned before continuing.
- Fasten Cabinets: Use 3-inch screws through the cabinet’s mounting rails into wall studs. Drive screws at the top and bottom of each cabinet, ensuring a tight grip without over-tightening, which could damage the cabinet.
- Check Alignment: Use a level across cabinet tops and between adjoining cabinets. Adjust by slightly loosening screws and shifting cabinets until perfectly aligned.
- Fill Gaps: If gaps exist between cabinets or walls, insert shims to align edges flush. Tighten screws to lock the position, then trim excess shim material.
Install Doors, Hardware, and Finish Cabinets
With your cabinets securely fastened and perfectly aligned, you can move on to installing the doors and hardware. Begin by mounting the doors on their hinges, ensuring consistent door spacing to allow for smooth operation and aesthetic uniformity. Use a spacer block to maintain equal gaps between doors and cabinet frames.
Next, focus on hardware alignment: attach handles or knobs at measured points to guarantee symmetry and ease of use. Check each screw for tightness to prevent future loosening.
| Step | Tool Needed | Key Focus |
|---|---|---|
| Mount Doors | Screwdriver | Door Spacing |
| Adjust Hinges | Level & Spacer Block | Alignment Accuracy |
| Attach Hardware | Drill/Driver | Hardware Alignment |
| Final Inspection | Measuring Tape | Uniform Gaps |
Finish by cleaning surfaces and applying touch-up paint or sealant for durability and a polished look.
Frequently Asked Questions
What Tools Are Essential for Installing Kitchen Cabinets?
You’ll need essential tools like a drill, level, stud finder, and clamps. Master cabinet installation basics by focusing on accurate measuring and secure fastening. These guarantee precise alignment and sturdy support during your cabinet installation process.
How Do I Choose the Right Type of Cabinets for My Kitchen?
You’ll choose cabinet materials based on durability and moisture resistance, like plywood or MDF. Match design styles, such as modern, traditional, or shaker, to your kitchen’s aesthetics.
Evaluate finishes and hardware to ensure cohesive functionality and visual appeal.
Can I Install Kitchen Cabinets on Uneven Walls?
Yes, you can install kitchen cabinets on uneven walls. Use shims to level the cabinet mounting surface, ensuring precise alignment.
Measure carefully, secure a mounting ledger if needed, and adjust as you fasten for a stable, flush fit.
How Long Does a Typical Kitchen Cabinet Installation Take?
You’ll find install timing varies by cabinet styles and project complexity, typically taking 4 to 8 hours for standard kitchens.
Precise measurements, leveling, and securing each cabinet methodically affect overall duration.
What Safety Precautions Should I Follow During Installation?
You should always wear safety gloves and eye protection to prevent injuries from sharp tools and flying debris.
Secure cabinets properly, use stable ladders, and keep your workspace clean to maintain safe, efficient installation conditions.