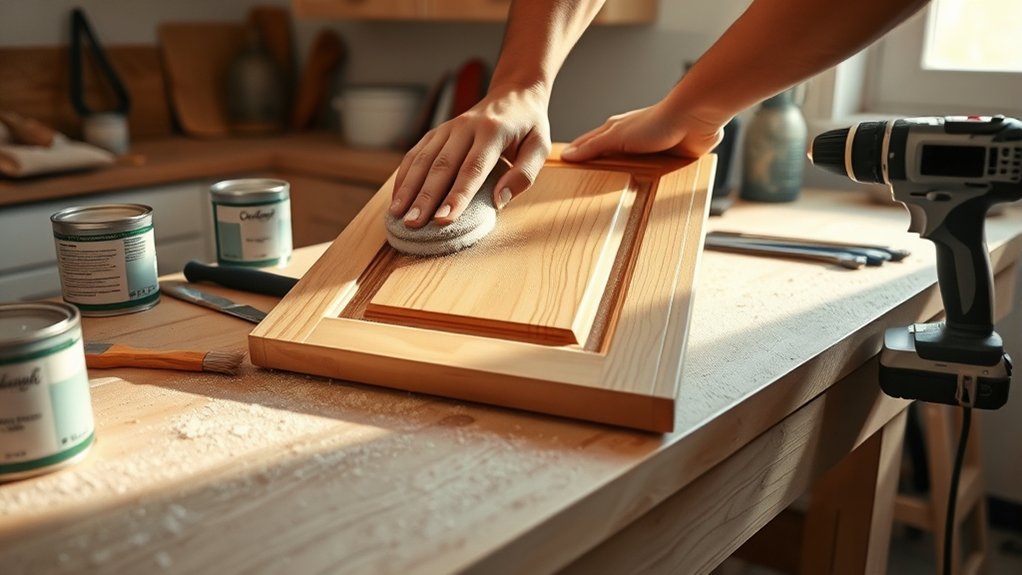
How Do You Refurbish Kitchen Cabinets
Refurbishing your kitchen cabinets is like restoring the foundation of a well-built home—it requires careful inspection and precise preparation to ensure lasting results.
When refurbishing kitchen cabinets, you’ll start by identifying wear, moisture damage, and structural issues.
Then, methodically remove doors and hardware without causing harm.
From selecting the right sandpaper grit to applying thin, even coats of paint or stain, each step demands attention to detail.
Understanding these processes will set the stage for a successful transformation.
When Should You Refurbish Kitchen Cabinets
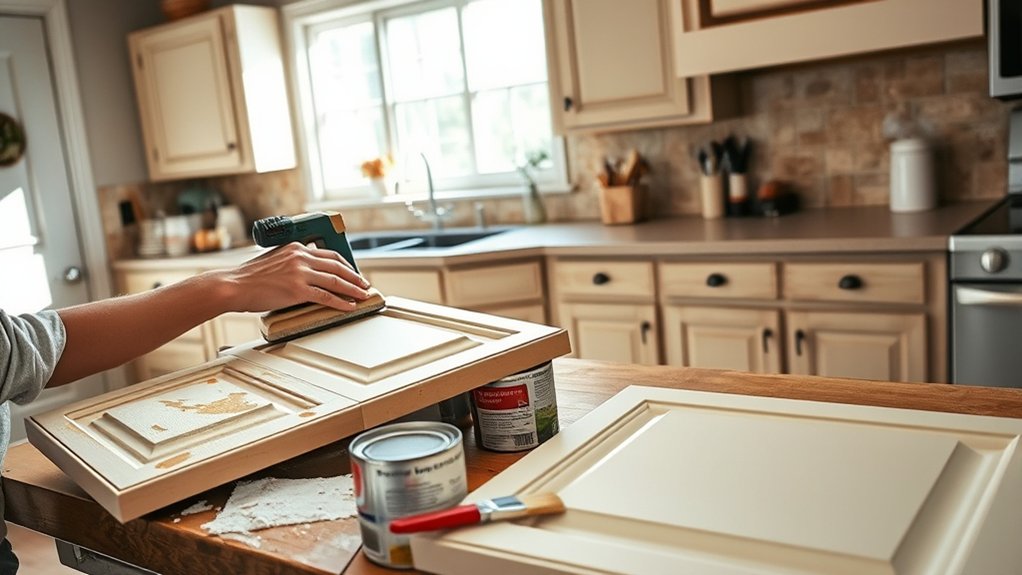
You should refurbish your kitchen cabinets when you notice visible wear such as peeling paint, warped surfaces, or loose hinges that affect functionality. Proper refurbishment timing is essential to prevent further deterioration and costly replacements.
Ideally, plan your maintenance scheduling based on the cabinet materials’ lifespan. Wood typically requires refurbishment every 7 to 10 years, while laminate surfaces might need attention sooner. Regularly assessing your cabinets for structural integrity and surface condition helps you establish an effective maintenance schedule.
This proactive approach ensures you address minor issues before they escalate, maintaining both aesthetics and utility. By adhering to a precise refurbishment timeline, you optimize resource use and extend cabinet longevity.
Additionally, factoring in environmental conditions like humidity and kitchen usage frequency influences your refurbishment timing. Staying disciplined with maintenance scheduling allows you to preserve cabinet performance, enhancing kitchen functionality and appearance systematically without premature replacement.
How to Inspect Cabinets for Damage and Prep Needs
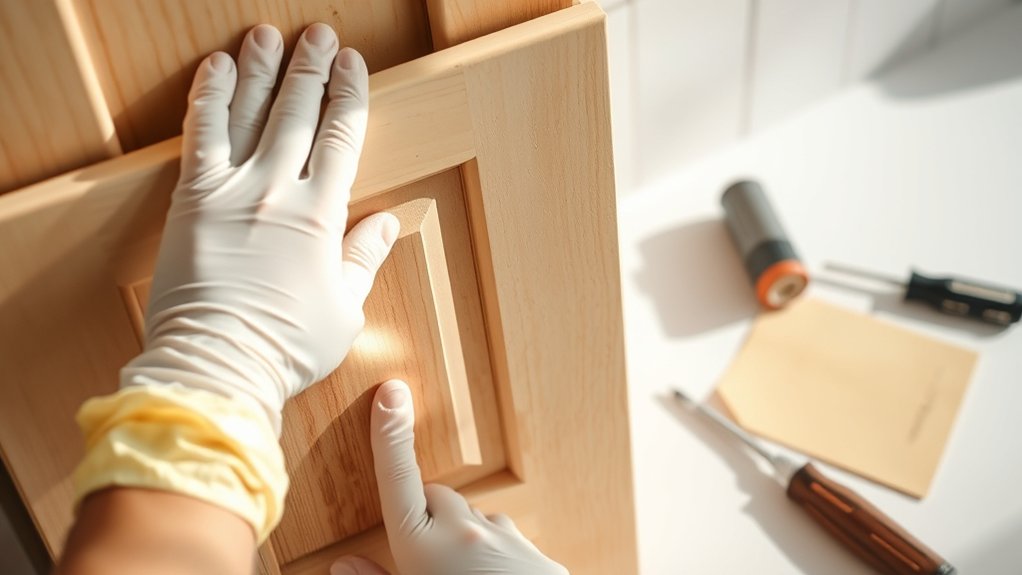
Before starting any refurbishment work, thoroughly inspecting your kitchen cabinets for damage and preparation needs guarantees a successful outcome. Begin by examining all surfaces for signs of wear such as scratches, chips, or water damage.
Check joints and corners for structural integrity and ensure hinges are firmly attached without wobble. Look for mold or mildew, especially near sinks, which requires immediate treatment.
Avoid diverting attention to unrelated topics like random ideas about design trends during this inspection phase; focus solely on physical cabinet conditions. Assess whether sanding or filling is necessary to smooth imperfections and note areas needing primer or sealant.
Confirm you have the proper tools and materials ready based on your findings. This precise evaluation prevents overlooking critical repairs and streamlines subsequent steps, ensuring that your refurbishment proceeds efficiently and yields durable, high-quality results.
How to Remove Cabinet Doors and Hardware Safely
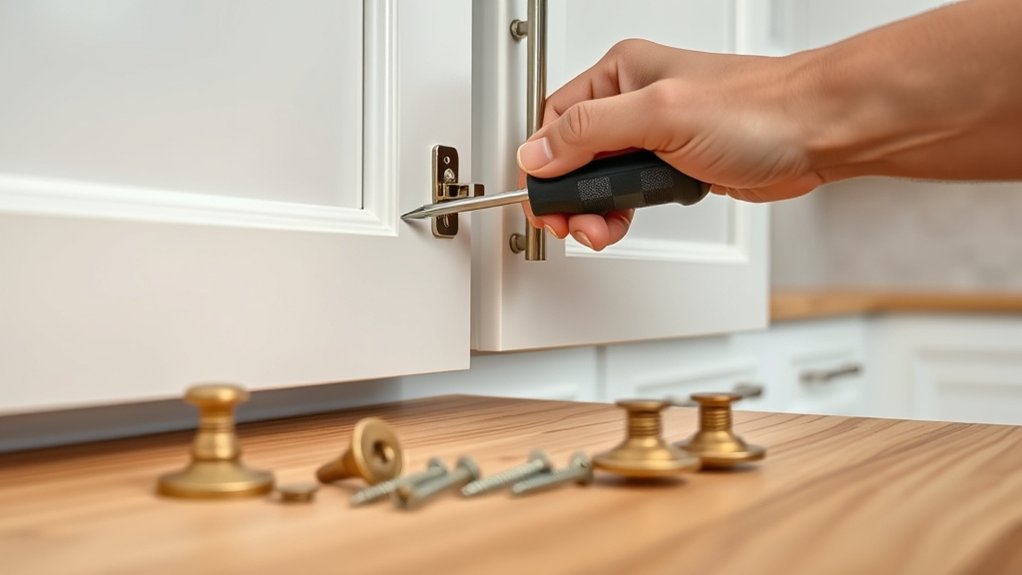
How exactly do you remove cabinet doors and hardware without causing damage? Start by opening each door fully and supporting it with one hand to prevent sudden drops. Use a screwdriver to carefully unscrew the hinges, working methodically to avoid stripping screws. Always loosen screws gradually; never force them out.
When removing hardware such as handles or knobs, grip firmly and unscrew completely before attempting to pull them off. Safety first: wear protective gloves to avoid cuts from sharp edges and safety goggles to protect eyes from debris. Place all screws and small parts in labeled containers to keep track.
If hinges are painted over, score the paint gently with a utility knife around the screws to prevent chipping. When lifting doors off hinges, hold securely and set them down on a padded surface to avoid dents. By following these precise steps, you ensure smooth removing doors and hardware while preserving cabinet integrity.
Tools and Materials Needed for Cabinet Refurbishing
Which tools and materials should you gather to guarantee a successful cabinet refurbishing project? Begin with a quality set of screwdrivers and a drill to remove and reattach hardware efficiently. You’ll need various grades of sandpaper (120 to 220 grit) for prepping surfaces compatible with new finishes.
Invest in a high-quality paintbrush or foam applicator designed for smooth, even coating. Select a durable primer and paint or stain formulated for cabinetry to ensure longevity and adherence. Drop cloths and painter’s tape protect surrounding areas from overspray or drips.
For hardware updates, acquire matching screws and new handles or knobs that complement your chosen cabinet styles. A respirator mask and gloves are essential for safe handling of chemicals and dust. Lastly, keep clean rags and mineral spirits handy for quick cleanup and surface preparation.
Assembling these precise tools and materials will streamline your refurbishing process, ensuring the new finishes highlight your cabinets’ style flawlessly.
How to Clean and Sand Kitchen Cabinets for a Smooth Finish
Why does proper cleaning and sanding matter when refurbishing kitchen cabinets? Thorough cleaning removes grease, dirt, and residues that interfere with paint or stain adhesion. Start by applying a degreasing cleaner with a microfiber cloth, focusing on corners and edges. Use precise cleaning techniques such as circular motions and repeated wiping to ensure all contaminants are eliminated.
After drying, inspect surfaces for imperfections.
Next, sanding creates a uniform, smooth surface that enhances finish durability. Begin with medium-grit sandpaper (120-150 grit) to strip old finishes, then progress to fine-grit (220 grit) for smoothing. Perform sanding checks frequently by running your hand over the cabinet surfaces to detect rough spots or missed areas.
Pay special attention to detail around molding and recessed panels. Use a sanding block or orbital sander for flat areas, and sand carefully by hand in intricate spots. Finally, vacuum and wipe down the cabinets with a tack cloth to remove all dust before painting or staining.
Choosing the Best Paints and Primers for Kitchen Cabinets
You’ll need to select paint specifically formulated for cabinets, such as acrylic latex or alkyd-based options, to guarantee durability and a smooth finish.
Pair your paint with a high-quality primer designed for adhesion and stain blocking, like a shellac or bonding primer. Choosing the right combination will enhance coverage, prevent peeling, and extend the lifespan of your cabinetry.
Types Of Cabinet Paint
How do you select the ideal paint and primer combination to assure durable, smooth, and professional-looking kitchen cabinets? Understanding types of cabinet paint is crucial. Avoid unrelated topics or off topic ideas that don’t focus on paint characteristics.
You want paints that provide adhesion, durability, and the right finish. Acrylic latex, oil-based, and alkyd paints differ in drying time, hardness, and cleanup requirements.
| Paint Type | Characteristics |
|---|---|
| Acrylic Latex | Water-based, quick drying, flexible |
| Oil-Based | Durable, smooth finish, longer cure |
| Alkyd | Hybrid, durable, easy to clean |
| Enamel | Hard, glossy, resistant to wear |
Choosing the right paint ensures long-lasting cabinets without peeling or chipping, setting a solid foundation before primer application.
Best Primer Options
Selecting the best primer for kitchen cabinets hinges on factors like adhesion, stain-blocking ability, and compatibility with your chosen paint. You’ll want a primer that ensures strong primer compatibility, especially if you plan to use oil-based or water-based paints.
For cabinets, bonding primers with excellent adhesion to slick surfaces like laminate or previously painted wood are ideal. Consider stain applicability carefully—choose a stain-blocking primer to prevent tannins, water stains, or grease from bleeding through your topcoat.
Shellac-based primers excel at stain coverage but may require specific topcoat compatibility. Alternatively, high-quality latex primers provide good adhesion and stain resistance with easier cleanup. Ultimately, select a primer formulated for cabinetry or trim to guarantee durability, smooth finish, and optimal paint performance.
How to Apply Paint and Avoid Common Mistakes
Applying paint to kitchen cabinets demands careful preparation and technique to ensure a smooth, durable finish. Begin by using high-quality brushes or a fine foam roller designed for cabinetry to minimize brush strokes and texture.
Apply thin, even coats, allowing proper drying time between layers to prevent drips and uneven coverage. Maintain a wet edge to avoid lap marks, working systematically across each panel.
Avoid common mistakes like skipping sanding between coats, which compromises adhesion, or overloading your brush, which causes runs. Ensure adequate ventilation to speed drying and reduce dust contamination.
Resist rushing the process; patience ensures professional results.
For two word discussion ideas, focus on “paint consistency” and “application technique” to refine your approach. This subtopic not relevant to other H2s centers strictly on paint application, so avoid hardware installation or primer selection details here.
How to Pick and Install Stylish New Cabinet Hardware
You’ll start by selecting hardware that complements your cabinet style and overall kitchen design, focusing on material, finish, and shape.
Next, measure and mark precise locations for your handles to ensure alignment and functionality.
Finally, use the correct drill bit and screws to securely install each piece, maintaining consistency across all cabinets.
Choosing Hardware Styles
How do you guarantee your new cabinet hardware complements both the style and function of your kitchen? Start by assessing your kitchen’s overall design and existing elements like cabinet lighting, which affects hardware visibility and ambiance.
Choose hardware finishes that harmonize with your fixtures. Matte black pairs well with modern LED under-cabinet lights, while brushed nickel suits softer, warm lighting.
Consider the cabinet material and color. Polished finishes highlight darker cabinets, whereas satin or antique finishes soften lighter wood tones.
Focus on ergonomic design to ensure ease of use, particularly in frequently accessed areas. By aligning hardware finishes with your cabinet lighting and kitchen style, you enhance both aesthetic appeal and practicality, creating a cohesive, functional workspace without sacrificing visual impact.
Installing Cabinet Handles
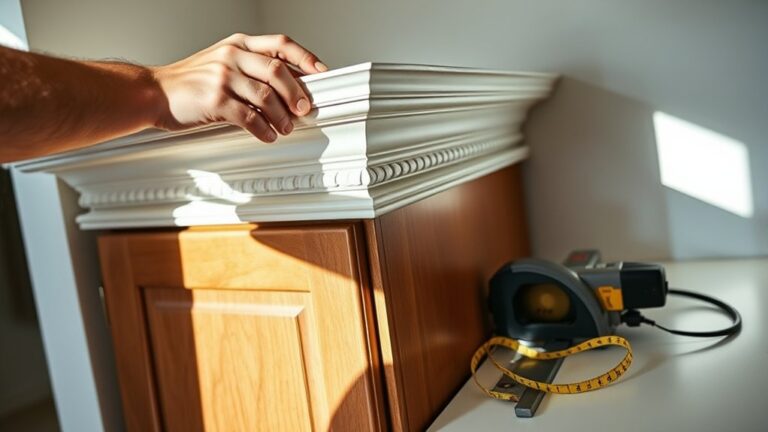
Before installing new cabinet handles, carefully measure and mark the exact placement to guarantee uniformity across all doors and drawers. Use a template or jig to ensure consistent hole spacing and alignment.
When replacing hinges, check for any interference that might affect handle placement. For upgrading drawers, confirm the handle size complements the drawer’s proportions and allows easy grip.
Drill pilot holes at the marked points to prevent wood splitting. Insert screws through the inside of the cabinet door or drawer front, then secure the handle tightly without overtightening, which can strip holes.
Finally, test each handle to ensure stability and smooth operation. Accurate measurement and precise installation not only improve aesthetics but also enhance cabinet functionality and durability.
How to Seal and Protect Refurbished Kitchen Cabinets
Why is sealing your refurbished kitchen cabinets essential? Sealing protects your work from moisture, stains, and wear, ensuring durability and maintaining the finish’s integrity. Without a proper seal, cabinets risk damage and frequent touch-ups.
Sealing your refurbished cabinets shields them from moisture and wear, preserving durability and finish quality.
Follow these steps to seal and protect effectively:
- Choose Sealant: Opt for a polyurethane or water-based acrylic sealer for optimal protection and minimal yellowing.
- Prepare Surface: Lightly sand the cabinets with fine-grit sandpaper to enhance adhesion, then clean off dust thoroughly.
- Apply Coats: Use a high-quality brush or sprayer to apply thin, even coats. Allow each coat to dry completely before applying the next.
- Final Sanding: Between coats, lightly sand with ultra-fine grit to ensure a smooth finish and better sealant bonding.
This subtopic not relevant to other H2s brings two word discussion ideas like “surface prep” and “sealant types” for precision. Proper sealing guarantees your refurbished cabinets stay flawless longer.
Frequently Asked Questions
How Much Does It Typically Cost to Refurbish Kitchen Cabinets?
You’ll typically spend $1,000 to $5,000 refurbishing kitchen cabinets, depending on materials and labor. Consider discussion ideas like updating cabinet hardware for cost efficiency and style, balancing budget with quality refinishing techniques.
How Long Does the Cabinet Refurbishing Process Usually Take?
Like a meticulous scribe in the Renaissance, you’ll find timing considerations essential; the cabinet refurbishing process usually takes one to two weeks, with project sequencing, sanding, priming, painting, dictating precise, efficient workflow and minimizing downtime.
Can I Refurbish Cabinets With Veneer or Laminate Surfaces?
You can refinish veneer and laminate cabinets, but you’ll need specialized primers and paints for proper adhesion.
Post application care involves avoiding moisture and abrasive cleaners to maintain durability and appearance over time.
What Are Eco-Friendly Paint Options for Kitchen Cabinets?
You’ll want to choose eco friendly cabinet paints like low-VOC or zero-VOC water-based acrylics. These reduce harmful emissions, provide durable coverage, and guarantee a safer environment while maintaining excellent adhesion and color retention on your kitchen cabinets.
How Do Refurbished Cabinets Compare to New Cabinets in Durability?
Refurbished cabinets often match new ones in durability comparison if you use quality materials and finishes. However, material longevity depends on existing wood condition and refinishing techniques, so expect slightly reduced lifespan versus brand-new, engineered cabinetry.