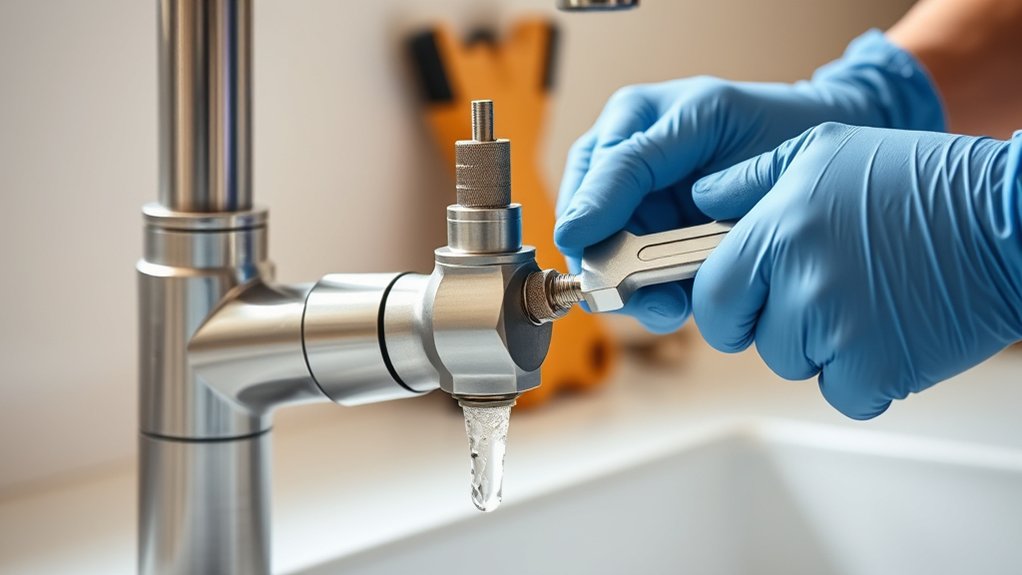
How Do I Fix a Leaky Delta Kitchen Faucet
If you’ve noticed your Delta kitchen faucet leaking, the first step is pinpointing exactly where the drip is coming from—whether it’s the handle, spout, or base. Identifying the source helps you focus your repair efforts effectively.
Before you start, make sure to turn off the water supply and gather the necessary tools and replacement parts. Taking these precautions will prevent water damage and make the process smoother.
Addressing worn O-rings and seals often solves the issue, but improper reassembly or missed leaks can cause problems. Understanding these key steps will help you tackle the repair efficiently.
Find Out Where Your Delta Faucet Is Leaking
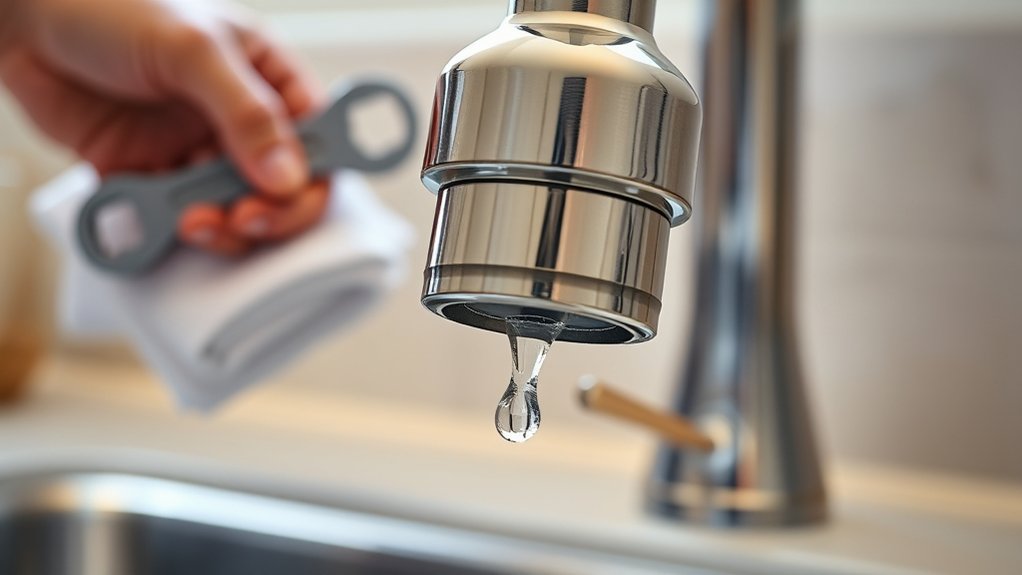
Where exactly is your Delta faucet leaking? Pinpointing the leak’s location is the first step in effective delta troubleshooting. Check common spots: the base where the faucet meets the sink, around the handle, or the spout.
Leaks at the base often indicate worn-out O-rings or seals, while drips from the spout suggest cartridge issues. Inspect for visible water trails or pooling. Turn on the water and watch closely to identify slow drips or steady leaks.
Don’t overlook faucet aesthetics; corrosion or mineral buildup can hint at hidden leaks or worn components. Understanding the leak’s precise location helps you decide whether a simple seal replacement or cartridge swap is necessary.
Avoid guessing. Accurate diagnosis prevents unnecessary repairs and preserves your faucet’s sleek look. Use this methodical approach to quickly isolate the problem, setting the stage for a targeted, efficient fix.
Gather the Right Tools and Parts for Delta Faucet Repair
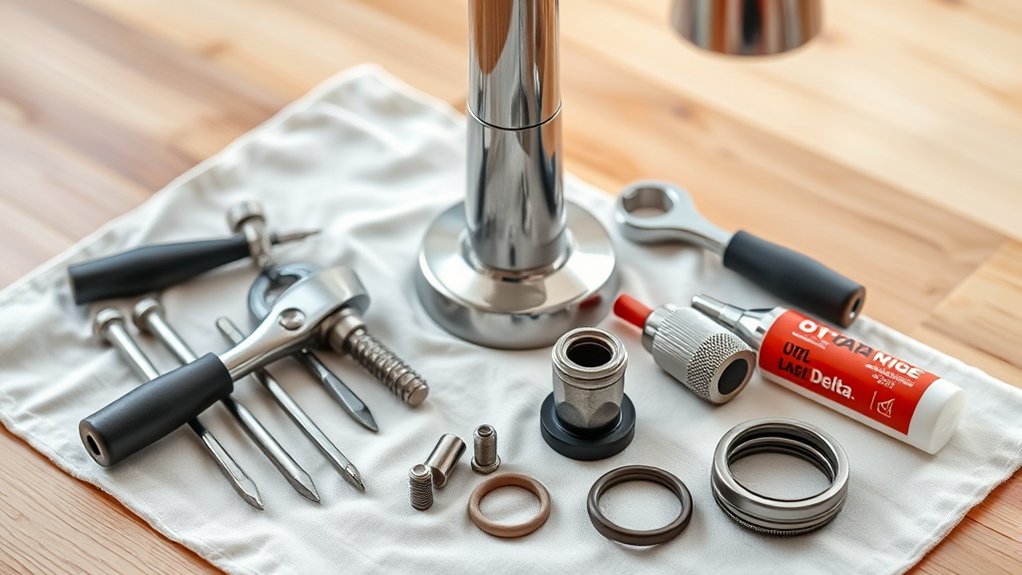
How do you guarantee a smooth Delta faucet repair? Start by gathering the right tools and compatible parts. Ensuring tools compatibility with your specific Delta model prevents damage and streamlines the process. Also, don’t forget proper seal lubrication to maintain a watertight fit and extend seal life.
Here’s what you need to prepare:
- Delta-Compatible Repair Kit: This includes replacement cartridges, O-rings, and seals designed for your faucet model.
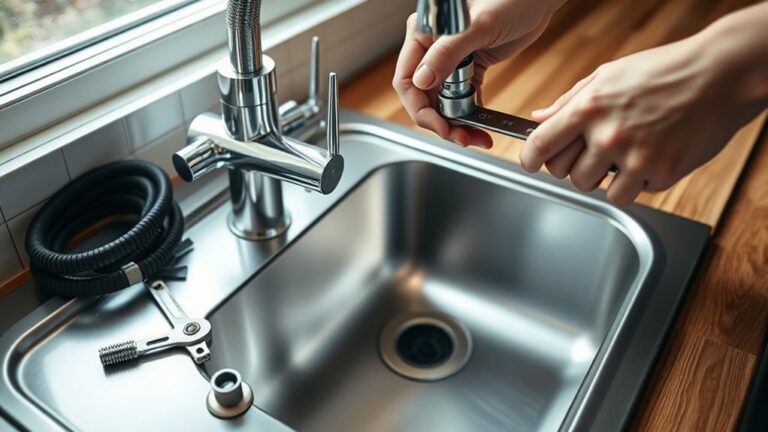
- Precision Tools: Adjustable wrench, hex keys, and a flathead screwdriver sized for your faucet’s screws and fittings.
- Plumber’s Grease: Use this for seal lubrication to reduce friction and prevent leaks.
Having these on hand minimizes interruptions and ensures each component fits perfectly. Proper tools compatibility and applying seal lubrication are critical steps to fix your leaky Delta kitchen faucet efficiently and reliably.
Turn Off Water and Prep Your Workspace
Before you begin any repairs, turn off the water supply to your Delta faucet to prevent flooding and water damage. Locate the shut-off valves under the sink and turn them clockwise until fully closed. If your valves are stuck or absent, shut off the main water supply to your home.
Open the faucet to drain residual water and relieve pressure, minimizing drip causing during the repair.
Next, clear and prepare your workspace. Place a towel or bucket under the sink to catch any remaining water. Organize your tools and replacement parts nearby for easy access.
This preparation helps you work efficiently and reduces the risk of losing small components.
Remove the Faucet Handle to Access Internal Parts
To access the internal parts of your Delta kitchen faucet, start by removing the handle carefully. The faucet’s conceptual design often hides the securing screw under a decorative cap, which may vary depending on your model’s color options. Follow these steps for precise removal:
Begin by carefully removing the handle, revealing the hidden securing screw beneath a decorative cap.
- Locate and gently pry off the decorative cap on the handle using a flathead screwdriver or a similar tool to reveal the securing screw.
- Use the appropriate screwdriver or Allen wrench to unscrew and remove the handle fastener.
- Firmly but carefully pull the handle straight off to expose the internal cartridge and other components.
Handle removal is crucial for troubleshooting leaks and aligns with the faucet’s modular design, allowing targeted repairs. Keep track of all components to ensure proper reassembly. This step sets the stage for inspecting and replacing worn parts without damaging the finish or mechanisms beneath your Delta faucet’s diverse conceptual designs and color options.
Inspect and Replace Worn O-Rings and Seals
Once you’ve removed the handle and exposed the cartridge, inspect the O-rings and seals for signs of wear, cracks, or mineral buildup. These components are crucial in maintaining a watertight seal and preventing drips. Use a magnifying glass if needed to detect even small imperfections.
If you notice damage or hardening, replace the O-rings and seals with exact matches from your Delta faucet model. Apply plumber’s grease to the new O-rings before installation to ensure smooth operation and extend their lifespan.
Following a regular maintenance schedule, such as inspecting these parts every six months, helps avoid leaks and prolongs faucet life. Properly replaced and lubricated seals effectively eliminate leaks caused by worn components.
This targeted approach to drip prevention minimizes water waste and prevents more extensive repairs, keeping your kitchen faucet functioning reliably. Always handle parts gently to avoid damage during replacement.
Clean and Reassemble the Cartridge to Stop Drips
Carefully remove the cartridge to avoid damaging any components. Clean all parts thoroughly to remove debris and buildup that cause leaks.
Reassemble the cartridge properly, then test the faucet to ensure the drip has stopped.
Remove Cartridge Carefully
A crucial step in fixing a leaky Delta kitchen faucet is removing the cartridge without causing damage. You’ll need to handle the cartridge carefully to avoid the need to replace cartridge components prematurely. Follow these steps:
- Turn off the water supply and remove the handle by loosening the set screw.
- Use pliers or a cartridge puller to gently extract the cartridge, applying steady, even force.
- Perform a thorough gasket inspection; damaged or worn gaskets must be replaced to ensure a proper seal and stop drips.
Avoid twisting or forcing the cartridge excessively to prevent damage. Once removed, you’ll be ready to clean and reassemble the cartridge or replace cartridge parts as needed for a leak-free faucet.
Clean Cartridge Components
How do you effectively clean the cartridge components to stop drips? Begin by soaking the cartridge in white vinegar for 15-20 minutes to dissolve mineral buildup that impairs drip prevention. Use a soft brush or cloth to gently remove debris, especially around the seals and valve seats.
Avoid harsh abrasives that could damage delicate parts. Inspect O-rings and seals for wear or cracks; replace if necessary to maintain proper water pressure control. Rinse all components thoroughly with clean water before drying.
Cleaning restores smooth cartridge function, ensuring water pressure flows correctly to prevent leaks. Proper maintenance of these components is essential to stop drips, prolong cartridge life, and maintain faucet efficiency. Always handle parts carefully to avoid damage during cleaning.
Reassemble And Test
Where should you begin when reassembling the cartridge to guarantee a drip-free faucet? Start by inspecting all components for wear or damage, especially O-rings and seals. Clean each part thoroughly to remove debris that causes leaks and noise troubleshooting issues.
Then, follow these steps:
- Align the cartridge correctly with the faucet body, ensuring the tabs and slots match precisely.
- Secure the retaining clip and reinstall the cartridge, applying finish options that protect against corrosion.
- Tighten the bonnet nut evenly to avoid distortion, then reattach the handle and test for leaks.
Turn the water supply back on slowly and observe for any drips or unusual sounds. Proper reassembly combined with cleaning effectively stops drips and resolves noise troubleshooting concerns.
Repair Leaks at the Faucet Spout and Base
Start by pinpointing whether the leak is coming from the spout or the base. Check for worn seals and replace them to restore a tight seal.
Finally, tighten any loose connections to prevent further dripping.
Identify Leak Source
Why is your Delta kitchen faucet leaking at the spout or base? Identifying leaks accurately is essential before proceeding with repairs. Follow these troubleshooting steps to isolate the leak source efficiently:
- Inspect the spout connection: Check for loose or damaged O-rings inside the spout assembly. A worn O-ring often causes drips from the spout.
- Examine the base area: Look for water pooling around the faucet base, indicating a faulty cartridge or loose mounting nuts.
- Test water pressure: Turn on the faucet and observe if leaks increase under pressure, helping pinpoint internal component failures.
Replace Worn Seals
How can you effectively stop leaks at the faucet spout and base? Start by replacing worn seals, a common cause of these leaks. Use your multitool selection wisely. Choose tools designed for delicate plumbing tasks to avoid damaging the faucet assembly.
First, turn off the water supply, then carefully disassemble the faucet to access the seals. Remove old seals, inspect the area for debris, and install new, manufacturer-recommended seals to ensure a tight fit.
Reassemble the faucet and restore water flow to test for leaks. Adopting leak prevention habits, like regular maintenance and prompt replacement of worn seals, will extend your faucet’s lifespan and prevent future drips.
This targeted approach ensures efficient repairs without unnecessary part replacements or damage.
Tighten Loose Connections
After replacing worn seals to address leaks, the next step is to check for any loose connections at the faucet spout and base. Tightening these connections ensures a secure fit, preventing water waste and promoting water saving tips. Use a wrench or adjustable pliers and proceed carefully to avoid damaging eco friendly materials like brass or stainless steel.
- Inspect the spout and base for movement or gaps.
- Gently tighten mounting nuts and supply line connections.
- Test for leaks by running water and observing the tightened areas.
Addressing loose connections not only stops leaks but also enhances faucet longevity and efficiency. Consistently applying these steps supports sustainable water use and preserves your faucet’s integrity.
Test Your Delta Faucet to Confirm the Leak Is Fixed
When can you be sure your Delta kitchen faucet is no longer leaking? After tightening loose connections and completing any necessary repairs, it’s essential to conduct a thorough test to confirm the leak diagnosis and ensure the problem is resolved.
Start by turning on both hot and cold water handles individually and observe the faucet base, spout, and under the sink for any signs of water drips or moisture. Pay close attention to previously affected areas.
Next, run the water at various pressures to simulate typical usage. This helps verify the integrity of seals and connections under different conditions.
If you detect no leaks, wipe the faucet dry and check again after 10-15 minutes to catch slow drips. Confirming no water accumulation or dampness ensures your delta faucet repair was successful.
This methodical testing step prevents future water damage and guarantees your faucet functions optimally post repair.
When to Call a Plumber for Persistent Delta Faucet Leaks
Why does your Delta kitchen faucet keep leaking despite multiple fixes? Persistent leaks often indicate underlying issues beyond simple DIY repairs. At this point, you should consider calling a professional. Don’t let plumber hesitation hold you back. Expert intervention can prevent water damage and costly replacements.
Persistent Delta faucet leaks signal deeper problems—expert help can stop damage and costly repairs.
Here are three clear signs it’s time to call a plumber:
- Repeated leaks: If you’ve replaced cartridges or seals multiple times without success, the problem may be internal or structural.
- Warranty coverage: Check if your Delta faucet is still under warranty. A plumber can help document issues and ensure you don’t void coverage by attempting complex repairs yourself.
- Complex diagnostics: When leaks stem from hidden corrosion, cracked valves, or damaged supply lines, only a licensed plumber has the tools and expertise to diagnose and fix these problems effectively.
Addressing persistent leaks promptly ensures long-term faucet performance and protects your home’s plumbing system.
Frequently Asked Questions
What Causes a Delta Faucet to Drip Intermittently?
Like a clock with a loose gear, your Delta faucet’s drip timing falters due to a worn valve loom or debris buildup. You’ll want to inspect and clean these parts to restore precise water control and stop the drip.
How Often Should I Replace My Delta Faucet Cartridge?
You should replace the cartridge every 1-2 years or when leaks occur despite seal replacement. Regular inspection helps you identify wear early, ensuring smooth operation and preventing water damage from persistent drips or reduced water flow.
Can Hard Water Damage Delta Faucet Components?
Yes, hard water can damage your Delta faucet components by causing mineral buildup. This buildup restricts water flow and wears out seals.
Regular cleaning with vinegar or a descaling solution helps prevent damage and maintains performance.
Are Delta Faucet Repair Parts Compatible Across Models?
Like a knight’s armor, Delta parts vary by model compatibility. You can’t always swap components freely. Always check your specific faucet’s model number to ensure the parts fit perfectly and maintain your faucet’s smooth operation.
How Do I Maintain My Delta Faucet to Prevent Leaks?
You should regularly clean aerators and cartridges, check seals, and flush lines. Use water filtration to reduce sediment buildup.
These maintenance tips ensure smooth operation and prevent leaks in your Delta faucet over time.