How Do I Replace a Kitchen Sink Faucet
To replace your kitchen sink faucet, start by shutting off both the hot and cold water supplies to prevent leaks. This is an essential first step to avoid water damage.
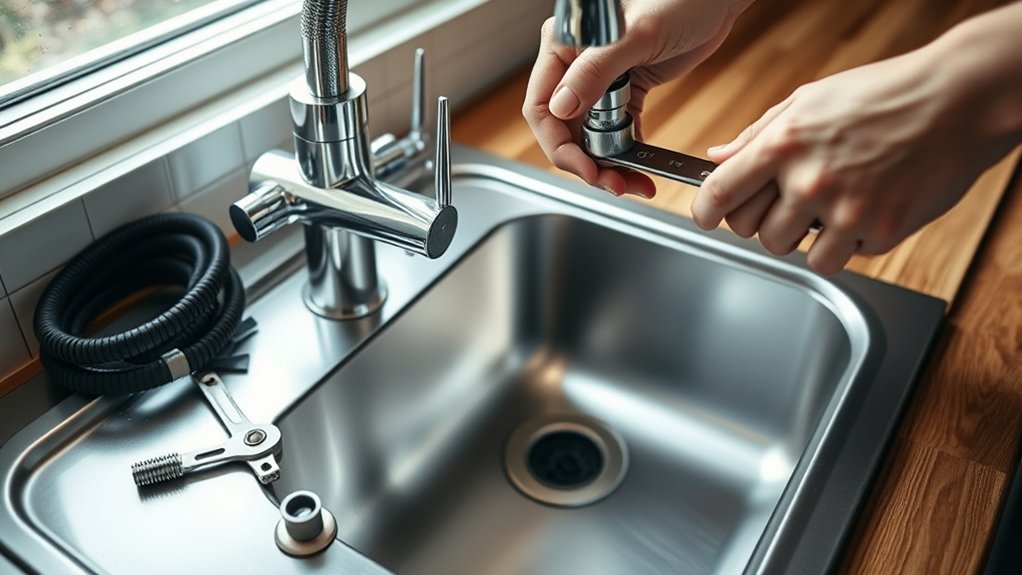
You’ll need specific tools like an adjustable wrench and a basin wrench to remove the old faucet safely. If the mounting nuts are stuck, applying penetrating oil can help loosen them.
Proper preparation and precise steps will ensure a smooth installation. However, there are key details you must follow closely to avoid common pitfalls.
Turn Off Water Supply for Your Kitchen Faucet
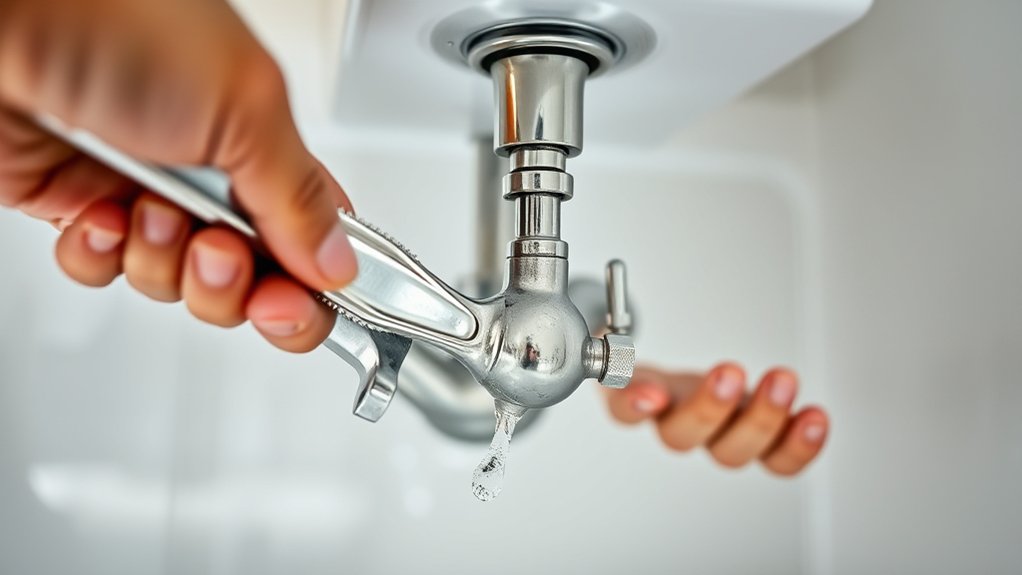
Before you begin replacing your kitchen sink faucet, you need to turn off the water supply to prevent leaks and water damage. Locate the shutoff valves under the sink, typically one for hot water and one for cold. Turn each valve clockwise until fully closed.
Always shut off your kitchen sink’s water supply by turning the valves clockwise before starting faucet replacement.
If you can’t find individual shutoff valves, turn off the main water supply to your home. Avoid the irrelevant topic of water pressure adjustments or unrelated issues like pipe corrosion at this stage; focus solely on shutting off water flow.
After closing the valves, open the faucet to release any residual water and confirm the supply is off. If water continues to flow, double-check the valves or main supply, as incomplete closure can cause leaks during faucet removal.
This step is essential to ensure a safe, dry workspace and prevent costly water damage. Do not proceed to other tasks until you’ve verified the water supply is completely shut off.
Gather the Right Tools for Faucet Replacement
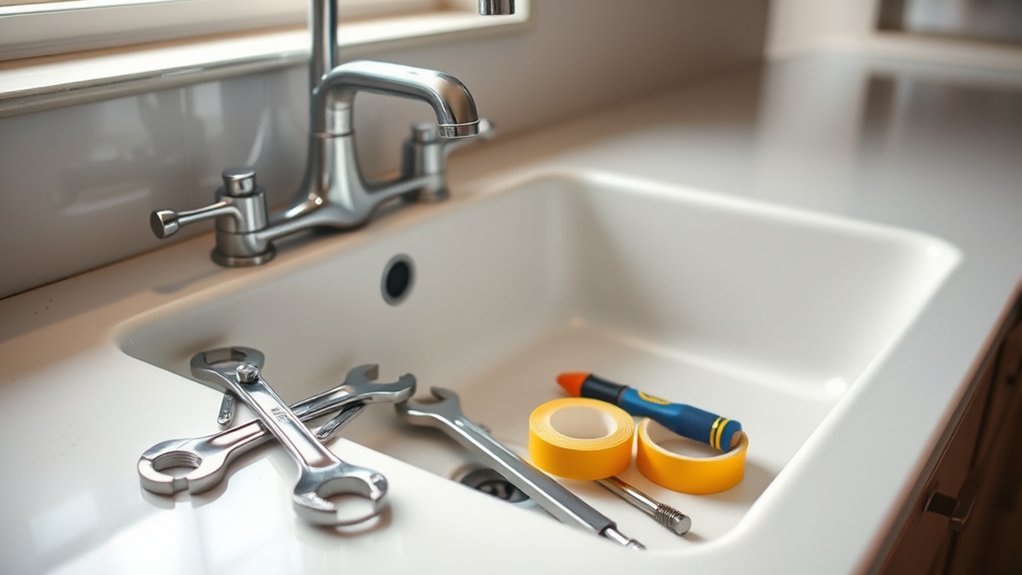
With the water supply securely shut off, you can focus on assembling the necessary tools to replace your kitchen sink faucet efficiently. Start by gathering an adjustable wrench, basin wrench, plumber’s tape, bucket, and a screwdriver set. These tools are essential for loosening nuts, sealing connections, and handling mounting hardware.
Before proceeding, review advice for installation specific to your chosen faucet style. Different faucet types, such as single-handle, double-handle, or pull-out spray, may require specialized tools or adapters. Confirm compatibility with your sink to avoid unexpected challenges.
Keep plumber’s tape handy for sealing threaded connections to prevent leaks. A basin wrench is indispensable for reaching nuts in tight spaces under the sink. Have a bucket ready to catch residual water during disconnection.
Remove the Old Kitchen Faucet (And What to Do If It’s Stuck)
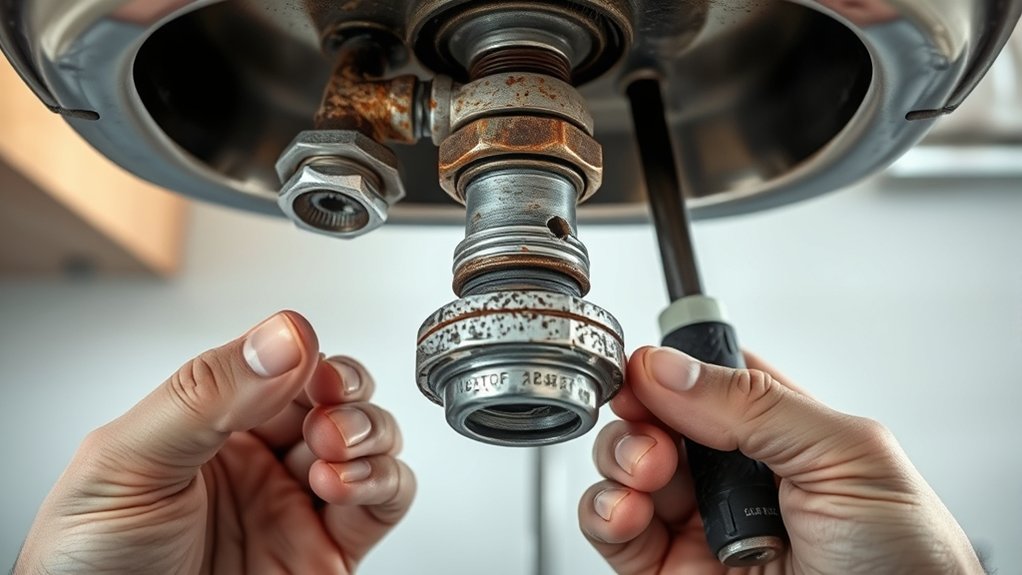
How do you safely remove your old kitchen faucet without causing damage? Start by turning off the water supply and disconnecting supply lines. Then, use a basin wrench to loosen mounting nuts securing the old faucet.
If you encounter stuck screws, apply penetrating oil and let it sit for 10–15 minutes before attempting removal again. For stubborn hardware, gently tap with a hammer to break corrosion.
- Turn off water supply valves to prevent leaks.
- Disconnect supply lines with an adjustable wrench.
- Use a basin wrench to access tight mounting nuts.
- Apply penetrating oil to stuck screws and wait.
- Tap gently with a hammer if screws remain stuck.
Prepare Your Kitchen Sink for the New Faucet
Start by turning off the water supply to prevent leaks during installation.
Next, clear the sink area completely to give yourself unobstructed access.
Finally, ensure the old faucet is fully removed and the mounting surface is clean before proceeding.
Turn Off Water Supply
Before you begin removing your old faucet, locate and shut off the water supply valves beneath the sink. Turning off water is a critical safety precaution to prevent leaks or flooding during replacement. Typically, you’ll find two valves, one for hot water and one for cold.
Turn each valve clockwise until fully closed. Confirm the water is off by opening the faucet; no water should flow.
Follow these safety precautions:
- Use a wrench if valves are tight, but avoid overtightening.
- Place a bucket under the valves to catch residual water.
- Wear gloves to protect your hands from sharp edges.
- Ensure electrical devices near the sink are unplugged.
- Double-check both hot and cold valves are fully closed before proceeding.
Taking these steps ensures a safe, controlled environment for faucet replacement.
Clear Sink Area
After shutting off the water supply and confirming no flow, clear the sink area to create an accessible workspace for removing and installing your faucet. Remove all dishes, sponges, and accessories from the sink and surrounding countertop.
Thoroughly clean the sink basin, especially around the drain, to clear drain obstructions and eliminate any soap residue that could interfere with your work. Use a mild detergent and a soft cloth to wipe the surfaces. Ensure the sink is completely dry to prevent slipping hazards and to provide better visibility.
Also, check under the sink and organize the plumbing connections and cleaning supplies to avoid accidental disturbances during installation. This preparation will streamline the faucet replacement process and reduce the risk of damage or mess.
Remove Old Faucet
How do you safely detach your old faucet without damaging the sink or plumbing? Start by turning off the water supply valves beneath the sink and opening the faucet handle to relieve pressure. Then, disconnect the water supply lines using an adjustable wrench.
Remove the mounting nuts securing the old faucet to the sink’s underside. Once loose, lift the old faucet and faucet handle from the sink.
Follow these steps carefully:
- Turn off water supply valves completely
- Open faucet handle to drain residual water
- Use correct-size wrench to avoid stripping nuts
- Loosen mounting hardware from beneath sink gently
- Remove old faucet and clean sink surface before installing new faucet
These actions will help you remove the old faucet efficiently without causing damage.
Install Your New Kitchen Faucet Step-by-Step
Where do you start when installing a new kitchen faucet? Begin by reviewing your faucet design carefully. Different models may require specific mounting methods or additional components, so ensure you have all parts and tools ready.
Position the faucet base into the sink holes, aligning it precisely to avoid installation pitfalls such as misalignment or unstable mounting.
Next, secure the faucet underneath the sink using the provided mounting hardware. Tighten nuts steadily, avoiding over-tightening which can damage the sink or faucet.
Check that the faucet remains level and correctly oriented throughout this process.
Install any additional components included with your faucet design, such as spray hoses or soap dispensers, following manufacturer instructions.
Keep the workspace accessible and organized to prevent confusion or accidental damage.
Connect Water Lines and Check for Leaks
First, securely connect the hot and cold water lines to the faucet’s inlet valves using a wrench without overtightening.
Next, turn on the water supply and test the faucet for proper water flow.
Finally, carefully inspect all connections for any visible leaks and tighten fittings as needed.
Secure Water Line Connections
Why is securing water line connections essential before finishing your faucet installation? Properly secure hoses to prevent leaks and ensure long-term functionality. Tight connections avoid water damage and reduce maintenance needs.
Follow these steps precisely:
- Hand-tighten connections first, then use a wrench for a firm fit without overtightening.
- Verify that rubber washers or O-rings are correctly seated to maintain a watertight seal.
- Use plumber’s tape on threaded fittings to enhance leak prevention.
- Inspect hoses for any wear or damage before installation; replace if necessary.
- Align hoses to minimize stress and avoid kinking, which can cause failure over time.
Test Faucet Water Flow
After securing your water line connections, the next step is to test the faucet water flow by connecting the water supply lines and checking for leaks. Turn on the shutoff valves slowly to restore water pressure.
Then, activate the faucet handles to allow water to flow through both hot and cold lines. Observe the water flow for consistent pressure and temperature.
While you test faucet operation, keep an eye on all connection points for any signs of moisture or dripping. If the water flow is weak or irregular, double-check the supply lines for kinks or blockages.
Ensure the aerator is installed properly to maintain optimal flow. Testing the faucet at this stage confirms that installation is secure and that the water flow meets expected performance standards.
Inspect For Visible Leaks
How can you be certain your faucet installation is leak-free? After connecting the water lines, perform a thorough leak inspection by turning on the water supply and observing all joints closely. Focus on seal integrity at each connection point to prevent future water damage.
During your inspection, check these critical areas:
- Tightness of compression fittings and supply line connections
- Condition and proper placement of rubber or silicone washers
- Absence of water droplets around the faucet base and under the sink
- Secure mounting of the faucet to avoid movement that compromises seals
- Functionality of shutoff valves to isolate leaks quickly
Address any signs of moisture immediately to maintain a fully sealed, reliable faucet setup.
Test Your New Kitchen Faucet
Typically, you’ll want to turn on the water supply slowly before testing your new kitchen faucet. This gradual approach prevents sudden pressure surges that could stress connections.
Open both hot and cold handles fully to flush out any debris and ensure smooth water flow. Check for steady, consistent streams without sputtering, which indicates proper aerator installation and no internal blockages.
Next, evaluate faucet ergonomics by operating the handles and spout to confirm ease of use and comfortable reach within your sink area. Make any necessary adjustments to optimize user interaction.
While testing, observe water conservation features, such as aerators or flow restrictors, to verify they function correctly, supporting effective water saving tips.
Finally, inspect all visible joints and connections under the sink once more for leaks during operation. If everything runs smoothly, you’ve successfully tested your new kitchen faucet and ensured it meets performance and efficiency standards.
Troubleshoot Common Faucet Installation Issues
Where should you begin when your new kitchen faucet doesn’t perform as expected? Start by addressing basic issues related to faucet compatibility and installation accuracy. Use two word discussion ideas like “leak detection” and “flow restriction” to guide your troubleshooting.
Check these common problems systematically:
Systematically check common faucet issues to ensure proper function and resolve performance problems efficiently.
- Leak detection: Inspect all connections for tightness and proper sealing.
- Flow restriction: Remove aerators and clean debris affecting water flow.
- Mounting stability: Verify the faucet is securely fastened to prevent movement.
- Water supply: Confirm supply valves are fully open and lines are free of kinks.
- Valve operation: Test hot and cold handles for smooth, correct function.
Frequently Asked Questions
What Types of Kitchen Faucets Are Best for Water Conservation?
You should choose faucets equipped with water saving aerators and low flow cartridges. These components reduce water use without sacrificing pressure, ensuring efficient conservation.
Look for models certified for water efficiency to maximize savings.
How Do I Choose a Faucet Style That Matches My Kitchen Decor?
You don’t want a sleek faucet clashing with rustic decor. Match your faucet style by analyzing decor trends and selecting finish options that complement existing materials.
Prioritize cohesive lines, textures, and color palettes for seamless integration.
Can I Install a Kitchen Faucet Myself Without Prior Plumbing Experience?
Yes, you can install a kitchen faucet yourself without prior plumbing experience by carefully following step-by-step instructions and using appropriate tools.
Make sure to turn off the water supply and ensure all connections are tight to prevent leaks.
What Are the Most Common Materials Used in Kitchen Faucets?
You’ll find kitchen faucets mainly made from brass, stainless steel, and zinc alloys. Common finishes include chrome, brushed nickel, and oil-rubbed bronze. They are often designed to support water filtration systems for cleaner, better-tasting water.
How Often Should I Replace My Kitchen Sink Faucet?
You should consider replacement intervals of 10-15 years for your kitchen sink faucet. Follow maintenance tips like cleaning aerators and checking for leaks to extend its lifespan and ensure optimal function before replacing.