A Designer Has to Apply Floor Molding
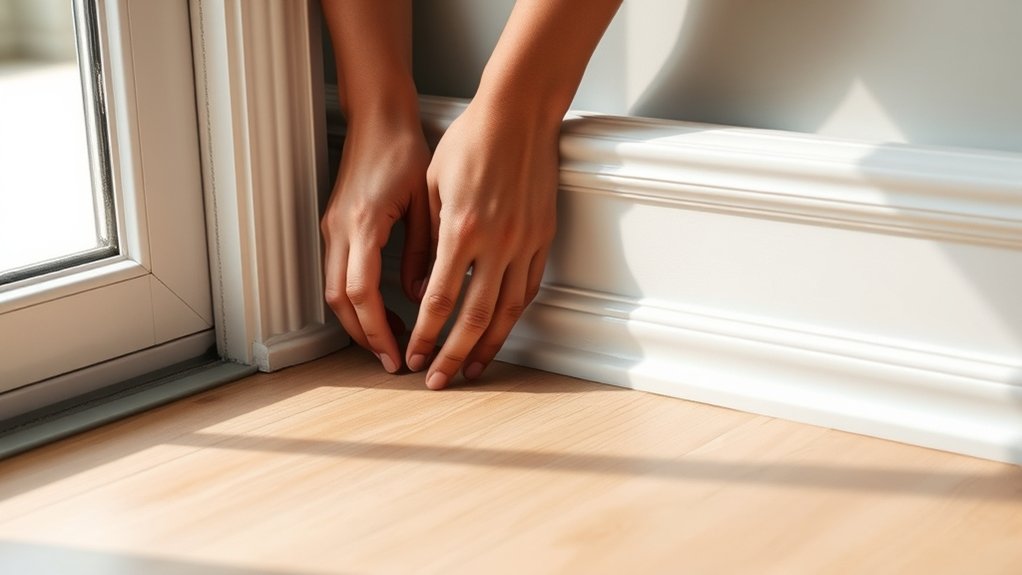
It’s no coincidence that floor molding often goes unnoticed until it’s missing or poorly installed; floor molding is essential because it anchors a room’s design and protects your walls. You’ll quickly realize its importance once it’s absent or done wrong.
When you apply molding with care, measuring precisely and choosing the right style, you create a seamless transition that elevates both form and function.
But getting this balance right requires more than just cutting and nailing—there’s an art to making molding truly enhance your space.
Key Takeaways
- Measure accurate corner angles precisely using templates to ensure perfect molding cuts and seamless joints.
- Select molding materials and styles that complement room decor, functionality, and durability needs.
- Use appropriate tools like a miter saw, coping saw, and rubber mallet for precise cutting and fitting.
- Dry-fit molding pieces before nailing, then fill gaps with wood filler or caulk for a smooth finish.
- Paint molding with primer and multiple thin coats, finishing with satin or semi-gloss for a polished look.
Why Floor Molding Matters: Style, Protection, and Finishing Touches
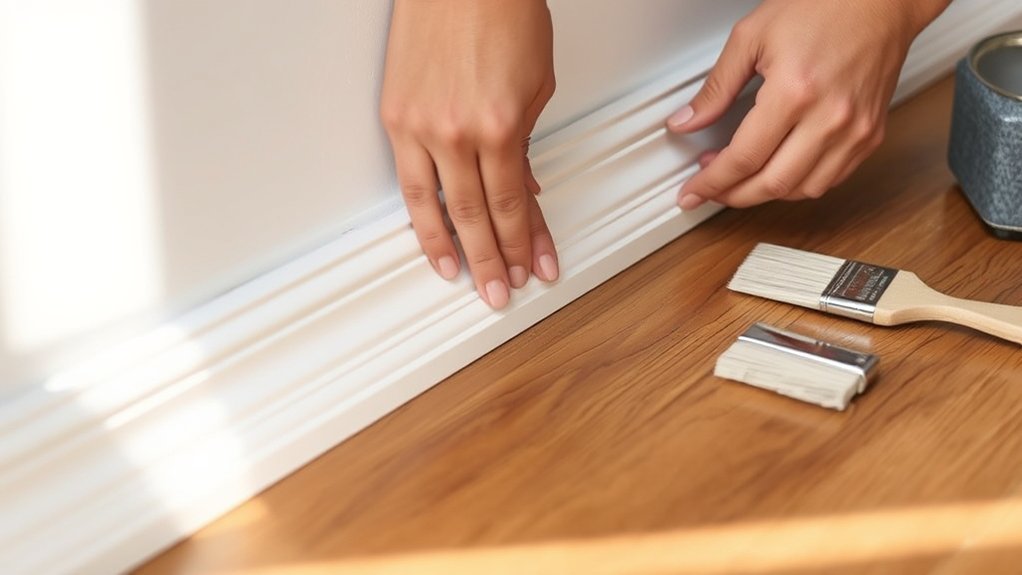
Why does floor molding play such a pivotal role in interior design? Because it seamlessly bridges the gap between your walls and floors, preventing style misalignment that can disrupt your room’s harmony.
You’ll find that well-chosen molding adds a polished finishing touch, elevating the overall aesthetic. Beyond looks, it protects your walls from scuffs and damage, especially in high-traffic areas.
Even if you’re working with budget constraints, investing in floor molding can be a cost-effective way to enhance your space’s character without overwhelming expenses. When done right, molding subtly anchors the room’s design, balancing form and function.
Skipping this detail often leaves a space feeling incomplete, but applying it thoughtfully ensures your interior feels cohesive and refined.
How to Choose the Right Floor Molding Style for Your Space
You’ll want to choose floor molding that complements your room’s decor, whether it’s sleek and modern or classic and ornate. Think about how the space is used. Durability and ease of cleaning might matter more in high-traffic areas.
Balancing style with function ensures your molding enhances both the look and practicality of your room.
Match Molding With Decor
How do you guarantee your floor molding enhances rather than clashes with your room’s overall style? Start by carefully observing your existing decor accents, whether sleek modern lines or ornate traditional details. Choose molding profiles that echo these elements to create a seamless visual flow.
For instance, simple, clean-edged moldings suit minimalist spaces, while intricate, layered designs complement classic interiors. Don’t forget budget planning; quality molding can vary widely in cost, so select materials that fit your financial parameters without sacrificing style.
Also, consider color and finish: matching or subtly contrasting your molding with wall paint and flooring unifies the design. By thoughtfully aligning your molding choices with decor accents and budget, you ensure your space feels cohesive and thoughtfully curated.
Consider Room Functionality
Where should your attention lie when selecting floor molding for different rooms? Focus on room functionality first. High-traffic areas like hallways demand durable, easy-to-clean moldings that resist wear, while bedrooms allow for more ornate styles.
Kitchens and bathrooms require moisture-resistant materials to prevent damage. Assessing these needs helps you avoid design flaws that compromise both aesthetics and utility. Also, consider budget constraints carefully; investing in premium moldings in functional zones ensures longevity, saving you from frequent replacements.
Conversely, less-used spaces can accommodate cost-effective options without sacrificing style. By aligning molding choices with each room’s purpose, you create a cohesive yet practical environment, balancing form and function seamlessly throughout your home.
Matching Floor Molding Styles to Hardwood, Tile, and Carpet Floors
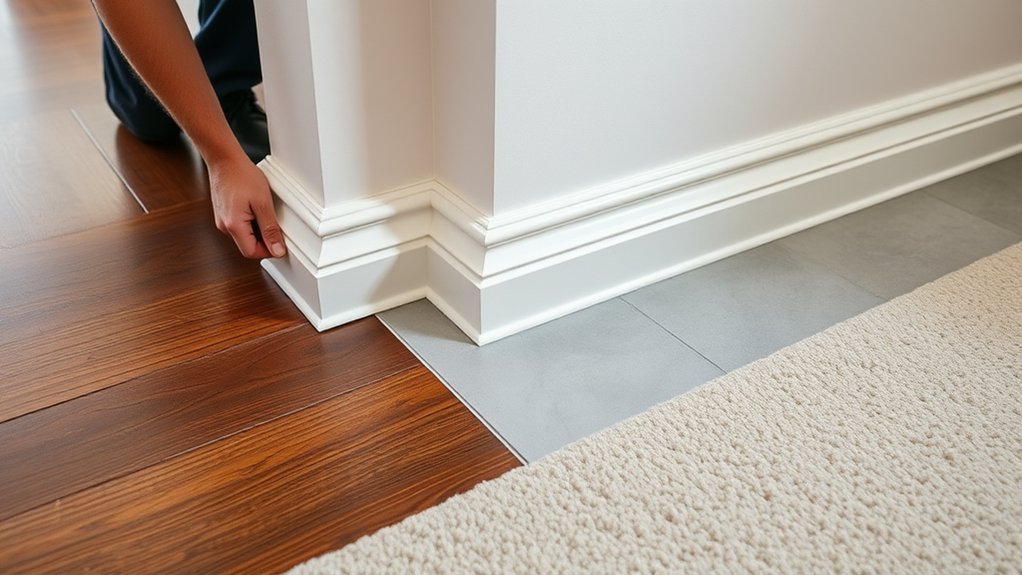
When you select floor molding, consider how it complements your hardwood, tile, or carpet floors. For hardwood, sleek wooden moldings enhance natural grains, while tile calls for moisture-resistant options with clean lines.
Carpeted rooms benefit from flexible moldings that snugly fit without disrupting texture or flow.
Hardwood Floor Molding Options
Why settle for generic trim when your floor molding can enhance the character of every room? When selecting hardwood floor molding, you want profiles that complement the wood’s grain and color. Think colonial or ogee styles for traditional warmth, or sleek, square edges for modern minimalism.
Consider how flooring subsidies or budget constraints impact your choices. Engineered wood moldings offer cost-effective elegance without sacrificing durability.
Match the molding’s species or stain closely to your hardwood flooring to create seamless transitions. Avoid overly ornate profiles that clash with the floor’s natural beauty.
Tile Floor Molding Choices
How do you choose the perfect floor molding to complement tile flooring while ensuring a seamless shift to hardwood or carpet? First, consider molding profiles that echo the tile’s clean lines, enhancing tile harvesting patterns without disrupting grout durability.
Opt for metal or rubber transition strips when moving from tile to hardwood. These materials accommodate slight height differences and protect grout edges.
For a polished look, select moldings in neutral tones or subtle wood grains that harmonize with hardwood hues. Avoid bulky trims that overshadow tile’s sleekness; instead, choose low-profile, minimalist designs that maintain aesthetic flow.
Prioritize moldings that allow for tile expansion and contraction, preserving grout integrity. Thoughtful selection ensures a cohesive, durable transition, elevating your floor’s overall design quality.
Carpet Floor Molding Tips
Where should you begin when matching floor molding styles to blend carpet seamlessly with hardwood and tile? Start by selecting molding that complements the carpet’s texture and color without overwhelming adjacent hard surfaces.
Pay close attention to potential design misalignment; subtle shifts in molding height or profile can disrupt the visual flow between carpet and harder floors. Choose materials resistant to stains, especially near carpet edges, to maintain a pristine look over time.
Avoid dark stains on moldings adjacent to light carpets to prevent visible discoloration. Opt for profiles that accommodate carpet thickness, ensuring a smooth transition that prevents tripping hazards. By balancing aesthetics with functional considerations, you create a cohesive, elegant boundary that highlights the distinct qualities of each flooring type without compromise.
Essential Tools and Materials for Installing Floor Molding
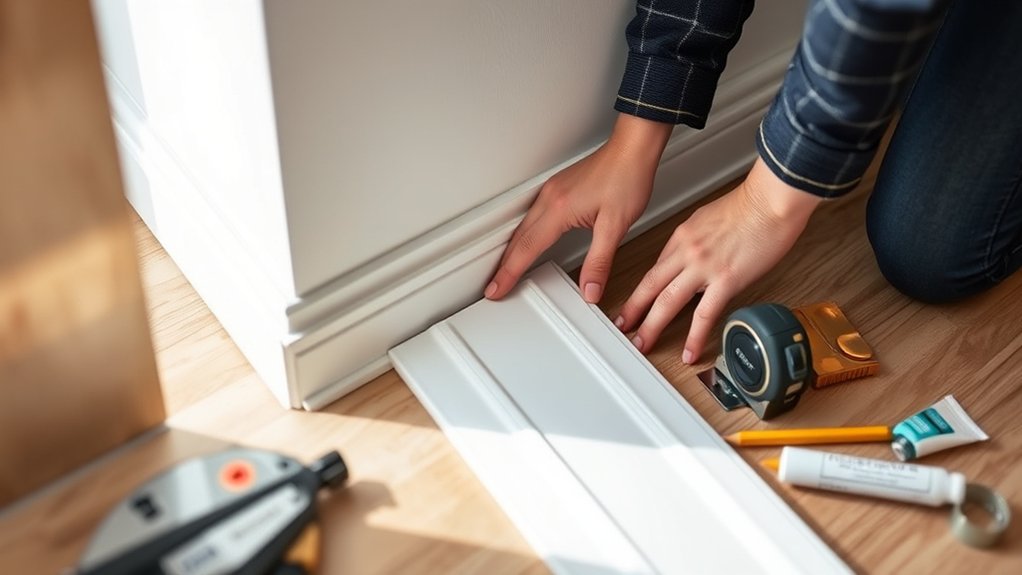
What tools and materials will you need to guarantee a seamless floor molding installation? Start by selecting moldings that balance budget considerations with material durability. Wood offers warmth but requires upkeep, while PVC provides longevity and moisture resistance.
Equip yourself with a miter saw for precise angled cuts, a measuring tape for accuracy, and a level to ensure straight placement. You’ll also need a nail gun or hammer with finishing nails to secure the molding firmly.
Don’t forget wood filler and sandpaper to smooth imperfections, plus a high-quality adhesive for added stability on tricky surfaces. Finally, choose paint or stain that complements your design palette.
Installing Floor Molding Step-by-Step: A Practical Guide
With all your tools and materials ready, you can begin the precise process of installing floor molding. Start by measuring the wall length and marking the molding to fit snugly. Use a level to ensure straight alignment, which supports noise reduction by sealing gaps.
Apply adhesive or nails carefully, optimizing your budget by avoiding excessive materials. Work methodically around corners and doorways for a seamless finish.
| Step | Action | Tip |
|---|---|---|
| 1 | Measure & Mark | Double-check measurements |
| 2 | Align & Level | Prevent noise gaps |
| 3 | Secure Molding | Use adhesive or nails |
| 4 | Inspect & Clean | Save materials, cut waste |
Following these steps ensures a flawless installation, balancing aesthetics with budget optimization.
Cutting and Fitting Floor Molding: Tips for a Perfect Fit
You’ll want to start by measuring angles with precision to ensure each cut fits perfectly against the wall. Using the right tools, like a miter saw or coping saw, helps you achieve clean, accurate cuts every time.
Mastering techniques for seamless joints will elevate your molding from functional to flawless.
Measuring Accurate Angles
How do you ensure each piece of floor molding fits seamlessly into corners and edges? Start by prioritizing measurement accuracy. Use angle templates to capture the exact corner angle, whether it’s a standard 90° or an irregular angle.
Mark your molding carefully, then cut precisely to avoid gaps.
Here’s a quick guide to common angle measurements and their corresponding cuts:
| Corner Type | Angle Measured | Cut Angle (Each Piece) |
|---|---|---|
| Inside Corner | 90° | 45° |
| Outside Corner | 135° | 67.5° |
| Irregular Corner | 110° | 55° |
| Wall End | 180° | 90° |
Choosing the Right Tools
Although selecting the right tools might seem straightforward, it’s essential to equip yourself with precise cutting instruments and fitting accessories to achieve flawless molding installation. Start with a quality miter saw or a sharp miter box and handsaw; these ensure clean, accurate cuts that respect your measured angles.
Consider a coping saw for intricate joints and a rubber mallet for gentle fitting without damaging the molding’s surface. Budget constraints may limit your choices, but investing in durable tools pays off with professional results and reduces waste.
Don’t forget fine-grit sandpaper or a sanding block to smooth edges. As you select tools, keep color trends in mind. Tools with ergonomic grips and sleek designs enhance your workspace’s aesthetic, reflecting your style and professionalism.
Techniques for Seamless Joints
Where do flawless floor molding joints begin? They start with precise measurement and careful cutting. Avoid incorrect seaming by ensuring your miter saw is set at the exact angle, typically 45 degrees for corners.
When fitting, hold each piece snugly without forcing; forcing often causes creative misalignment, ruining the clean line you want. Use a coping saw to refine inside corners, matching profiles perfectly.
Dry-fit pieces before nailing to confirm alignment and adjust minor gaps. If gaps appear, fill them with wood filler or caulk, then sand smooth for an invisible joint.
How to Paint and Finish Your Floor Molding Like a Pro
Why settle for a rushed paint job when you can achieve a flawless finish that highlights your floor molding’s craftsmanship? Start by applying a conceptual critique to your space. Consider lighting and wall colors to select a molding shade that complements your design through color theory principles.
Sand the molding lightly to create a smooth surface, then apply a high-quality primer for better adhesion. Use a fine, angled brush to paint carefully along edges, avoiding drips or uneven strokes.
Multiple thin coats trump one thick layer, ensuring durability and an even sheen. Once dry, finish with a satin or semi-gloss topcoat to protect the paint and enhance the molding’s elegant profile. This meticulous approach guarantees your molding stands out like a professional’s touch.
Avoid These Common Floor Molding Mistakes
How can you guarantee your floor molding enhances rather than detracts from your space? Avoiding common mistakes is key. First, don’t treat floor molding as an unrelated topic separate from the room’s overall design; it should complement your style, not clash.
Skipping proper measurements leads to awkward gaps or misaligned joints. Always measure twice and cut precisely. Avoid gaps between molding and the wall by filling and sanding edges smoothly.
Don’t neglect caulking; it prevents random distractions like visible seams or uneven surfaces. Lastly, avoid choosing colors that overpower or fade into the background. Your molding should subtly frame the floor and walls, not compete with them.
Stay focused, and your floor molding will elevate your design beautifully.
How Floor Molding Protects Your Walls and Floors
Ever wondered what keeps your walls and floors from showing wear and tear in high-traffic areas? Floor molding acts as a subtle but powerful barrier, shielding base walls from scuffs, dents, and impacts.
It also guards your floors by covering expansion gaps, preventing debris buildup that can cause damage over time. Beyond aesthetics, floor molding addresses moisture concerns by creating a sealed edge, reducing the risk of water infiltration that might warp wood or promote mold growth.
Additionally, it plays a role in termite prevention by closing vulnerable gaps where pests could enter. These two word discussion ideas highlight molding’s functional importance, ensuring your interiors maintain their pristine condition while supporting long-term durability and pest resistance.
Properly installed molding protects both surfaces seamlessly, preserving your home’s beauty and structural integrity.
Creative Ways to Use Floor Molding to Enhance Your Room
While floor molding serves a vital protective role, it also offers an unexpected opportunity to elevate your room’s design. By thinking beyond traditional uses, you can transform simple baseboards into striking visual features without breaking your budget. With creative budgeting, you’ll find ways to incorporate unique elements that reflect your style.
Consider these ideas to enhance your room with floor molding:
- Paint molding in quirky patterns to add playful texture and color.
- Layer molding profiles for a custom, dimensional effect.
- Use contrasting colors to frame the floor and define spaces.
- Install molding slightly higher on walls to create an elegant wainscoting effect.
These techniques turn molding into a design asset, making your space feel thoughtfully composed and distinctively yours.
Frequently Asked Questions
How Long Does It Typically Take to Install Floor Molding?
The installation duration typically ranges from two to four hours, depending on your material selection and room size. You’ll find hardwood takes longer than MDF, so plan accordingly for a precise, polished finish.
Can Floor Molding Be Installed Over Existing Baseboards?
Certainly, you can carefully create a charming baseboard transition by installing floor molding over existing baseboards.
Just consider flooring compatibility and ensure the molding complements your space’s style, maintaining seamless, sophisticated surfaces without sacrificing structural stability or aesthetic appeal.
What Is the Average Cost of Floor Molding Installation?
You’ll find conceptual pricing for floor molding installation ranges from $3 to $8 per linear foot, depending on materials and complexity. Installation timelines typically span one to three days, ensuring precise, aesthetic results tailored to your space.
Are There Eco-Friendly Materials for Floor Molding?
Of course, you can’t live without eco-friendly floor molding because hugging trees is trendy! Choose sustainable materials like bamboo, reclaimed wood, or cork; they’re stylish, durable, and proudly save the planet while framing your floors beautifully.
How Do You Remove Old Floor Molding Without Damage?
You’ll want to use gentle removal techniques like scoring caulk, sliding a putty knife behind the molding, and prying carefully with a crowbar wrapped in cloth to ensure damage prevention and preserve both the wall and floor surfaces.
Conclusion
You might see floor molding as a simple border, but it’s much more—it’s where style meets protection, function meets beauty. When you measure carefully and choose materials thoughtfully, you transform plain edges into seamless transitions that elevate any room.
Don’t let gaps or mismatched finishes dull your space. Instead, embrace molding as the subtle yet powerful detail that anchors your design.
By paying attention to every detail, you marry form and function with effortless elegance, making floor molding an essential element in your design.