How Install Kitchen Sink
Installing a kitchen sink is a crucial part of any kitchen renovation, requiring careful attention to detail. It’s like fitting a puzzle piece into an intricate design—each measurement and connection must be exact.
You’ll start by selecting the right sink size and style, then prepare your workspace carefully. From removing the old sink to sealing and tightening connections, every step demands precision.
Before moving on, consider how each detail impacts the overall function, ensuring a smooth, leak-free setup. Proper installation guarantees both aesthetics and durability in your kitchen.
Choose the Right Kitchen Sink Based on Size & Style
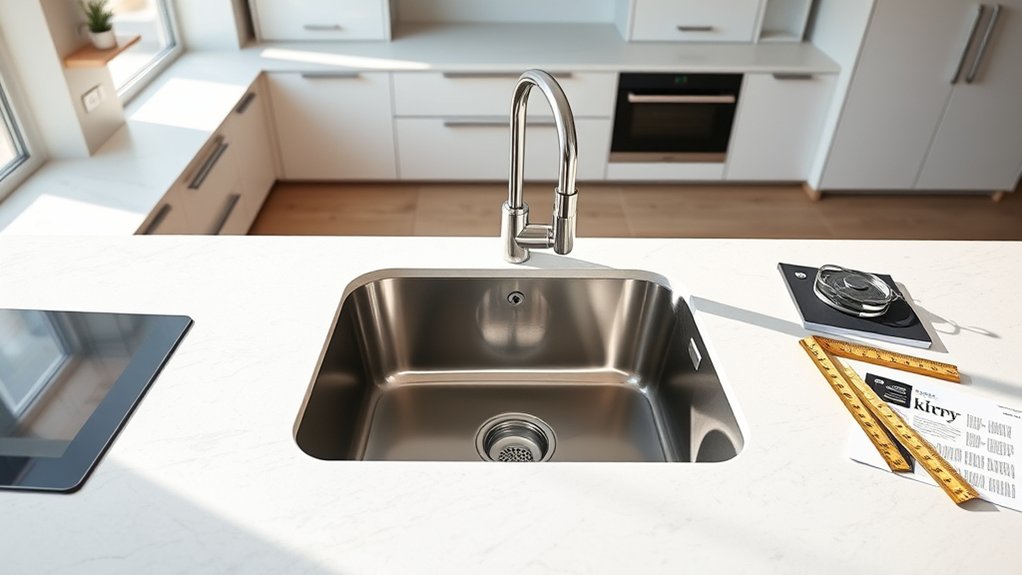
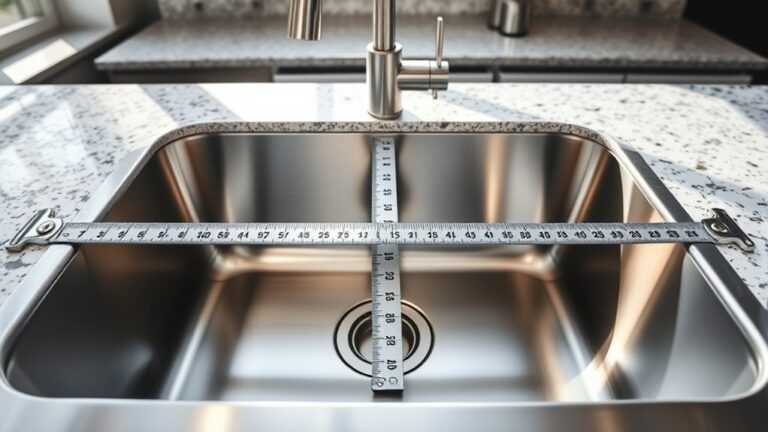
How do you determine the best kitchen sink for your space? Start by measuring your countertop cutout and cabinet dimensions to ensure compatibility. Select a sink size that balances functionality with available space. Too large may crowd your workspace, too small limits usability. Consider depth as well; deeper basins accommodate larger pots but require more under-sink clearance.
Next, factor in budget considerations. High-end materials like stainless steel or granite composite offer durability but come at a premium. Laminate or acrylic options are cost-effective but may sacrifice longevity. Align your choice with current style trends to maintain a cohesive kitchen design. Popular trends favor under-mount sinks for seamless countertops or farmhouse styles for rustic appeal. Match finishes with faucets and hardware to enhance visual consistency.
Get Your Tools Ready for Installation
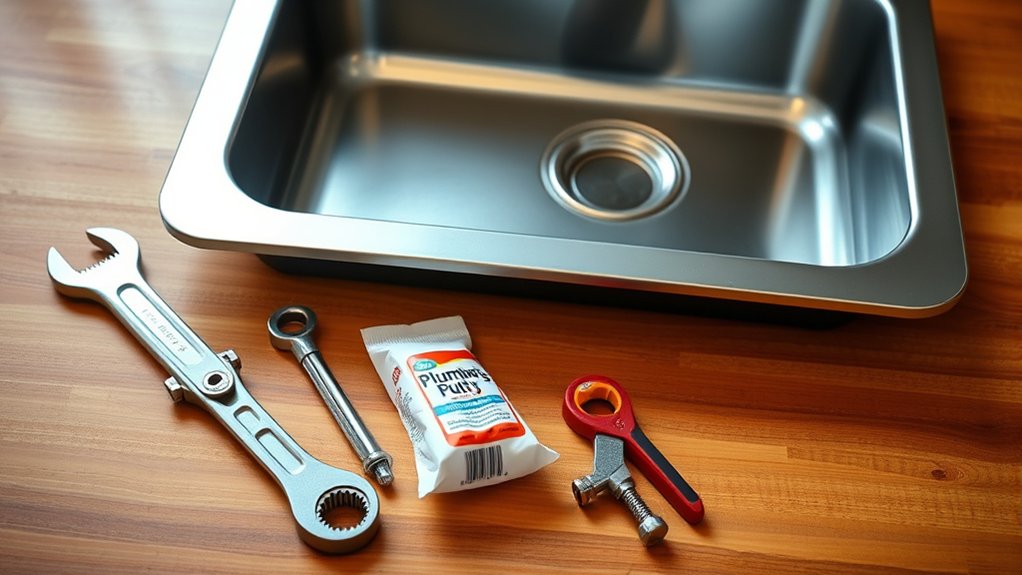
Before diving into the installation, gather all the necessary tools to streamline the process and avoid interruptions. Essential tools include a basin wrench, adjustable wrench, plumber’s putty, silicone caulk, screwdriver set, tape measure, and pipe wrench. Confirm you have a bucket and towels for water drainage.
Practice proper tools etiquette by inspecting each tool for damage and cleanliness before use; this ensures safety and efficiency. Organize your tools within easy reach to maintain a smooth workflow.
Consider budget considerations when purchasing tools. If you’re installing a sink for the first time or only occasionally, renting specialized tools like a basin wrench may be more cost-effective than buying. However, investing in quality tools can save time and reduce errors.
Clear and Prep Your Countertop and Cabinets
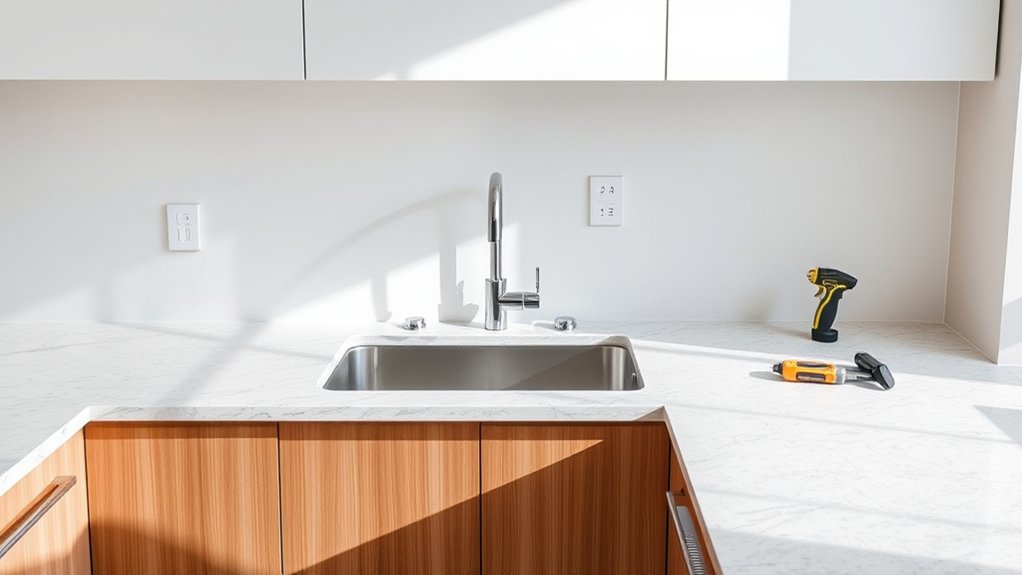
Start by removing all items from your countertop to create a clear workspace. Next, clean the surface thoroughly to ensure proper adhesion of sealants and prevent debris interference.
Finally, inspect the cabinets underneath for any damage that could affect the sink installation.
Remove Items From Counter
Clear every item from your countertop and cabinets around the sink area to create an unobstructed workspace. To remove items efficiently, focus on counter organization by grouping similar objects and relocating them temporarily. This step prevents damage and ensures smooth installation.
| Task | Purpose |
|---|---|
| Remove small objects | Avoid interference, clear space |
| Empty cabinets | Prevent damage during work |
| Organize relocated items | Facilitate easy reinstallation |
Begin by removing utensils, dish racks, and cleaning supplies from the counter. Next, clear cabinet contents beneath the sink to avoid accidental spills or damage. Finally, store these items in a designated area, maintaining counter organization.
This methodical removal process prepares your workspace for the next installation phase, reduces clutter, and enhances safety during your kitchen sink project.
Clean Surface Thoroughly
A clean and dry surface is essential for securing your new kitchen sink properly. Begin by wiping down the countertop and cabinet areas where the sink will sit, removing dust, grease, and any residue. Use a mild detergent and a non-abrasive cloth to avoid damaging surfaces.
Ensure no moisture remains, as it can compromise adhesive or sealant bonds. Avoid introducing any irrelevant topic or unrelated idea during this step; focus solely on thorough cleaning. Skipping this process can lead to poor adhesion and leaks.
After cleaning, inspect the area visually to confirm all contaminants are removed. This preparation ensures an optimal seal and prevents installation issues, allowing your kitchen sink to fit securely and function effectively once installed.
Inspect Cabinets For Damage
Once you’ve thoroughly cleaned the surface, turn your attention to the cabinets beneath the countertop. Begin by performing a detailed damage assessment to identify any structural weaknesses or water damage.
Inspect cabinets carefully, focusing on joints, corners, and areas near plumbing fixtures. Examine the cabinet materials closely, noting if they’re wood, plywood, or particleboard, as each reacts differently to moisture.
Conduct a corrosion check on any metal components or fasteners, especially around pipes and under sinks. Use a flashlight and a moisture meter if available, to detect hidden issues.
Document any damage or signs of wear that could affect the sink installation. Addressing these problems early ensures a secure, long-lasting setup and prevents future complications during or after installing your kitchen sink.
Remove the Old Sink and Disconnect Plumbing
First, shut off the water supply valves under the sink to prevent leaks. Next, use a wrench to disconnect the water lines and drain pipes carefully.
Once all plumbing connections are detached, you can lift out the old sink safely.
Turn Off Water Supply
Safety demands you turn off the water supply before removing the old sink and disconnecting the plumbing. Locate the main shut-off valve under the sink or, if unavailable, the home’s primary water valve. Turn the valve clockwise to stop water flow completely.
After turning off water, open the faucet to relieve pressure and drain residual water from the lines. This step prevents unexpected leaks and water damage during removal. Always follow these safety precautions to avoid accidents and ensure a dry working area.
Verify that water is fully off by checking that no water flows when the faucet is opened. By strictly adhering to these steps, you maintain control of the water system, ensuring a safe, efficient transition to the sink removal phase.
Detach Sink Plumbing
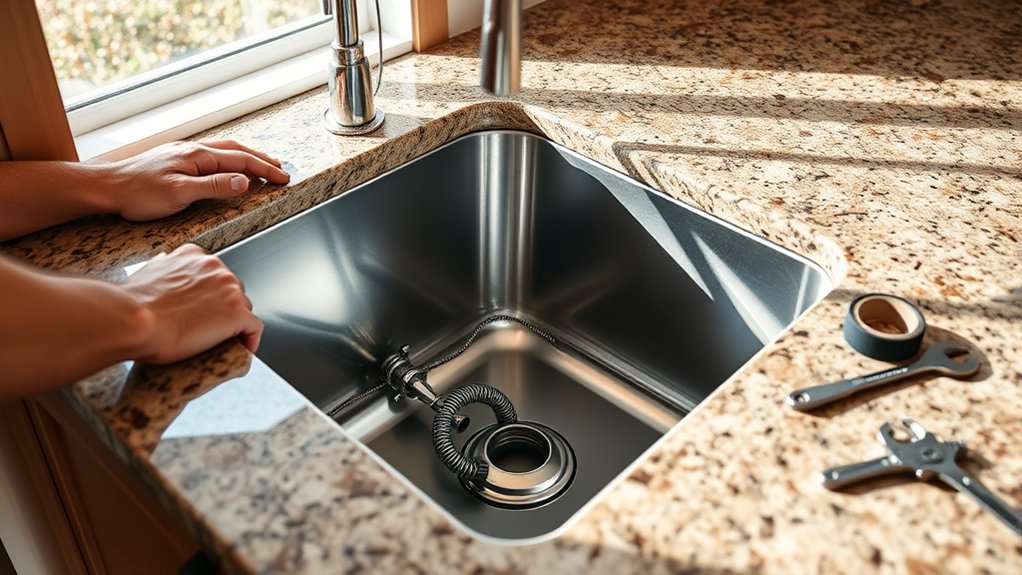
Begin detaching the sink plumbing by loosening the slip nuts on the drain pipes using an adjustable wrench or channel-lock pliers. Carefully unscrew the nuts connecting the P-trap and drain tailpiece, catching any residual water with a bucket.
Next, disconnect the water supply lines by loosening the compression nuts at the faucet valves. Be cautious to avoid damaging the fittings, as these components are often reused in sink reinstallations.
Once all connections are freed, gently lift the old sink out of its mounting. Inspect the plumbing for wear or damage before proceeding.
Detaching plumbing correctly ensures a smooth transition during sink reinstallations, minimizing leaks and alignment issues. Keep all hardware organized to facilitate reassembly or replacement as needed.
Secure the Sink With Mounting Clips and Seal Edges
How do you guarantee your kitchen sink stays firmly in place while preventing leaks? Start by securing it with mounting clips designed for mounting stability. Position each clip evenly around the sink’s perimeter, typically underneath the countertop. Tighten the clips gradually and evenly to avoid warping or shifting. This ensures the sink remains securely fastened during use.
Next, focus on edge sealing to prevent water infiltration. Apply a continuous bead of high-quality silicone sealant along the sink’s edge where it meets the countertop. Use a caulking tool or your finger to smooth the sealant, ensuring full contact without gaps or bubbles. Allow the sealant to cure per manufacturer instructions before exposing the area to water. Proper edge sealing complements mounting stability by creating a watertight barrier, protecting the countertop and cabinetry from moisture damage.
Following these steps precisely will secure your sink firmly and safeguard against leaks.
Position and Fasten Your New Kitchen Sink
A well-aligned kitchen sink guarantees both functionality and a professional finish. Begin by carefully lowering the sink into the countertop cutout, ensuring it fits snugly without forcing. Align the sink edges with the countertop for optimal design aesthetics, maintaining consistent gaps to avoid uneven surfaces.
Check that the sink is level using a carpenter’s level; adjust with shims if necessary. Once satisfied, secure the sink by tightening the mounting clips underneath, following manufacturer specifications to avoid damaging the countertop. Avoid overtightening, which can warp or crack the sink rim.
Ensure the sink’s position doesn’t interfere with cabinet doors or drawers. Proper positioning also influences water usage efficiency. Correct alignment prevents water pooling or splash-back. Finally, inspect the sealant bead for uniformity, enhancing both water resistance and visual appeal.
This precise installation step sets the foundation for effective faucet connection and overall kitchen sink performance.
Connect Kitchen Sink Faucet and Water Supply Lines
Start by securing the faucet connections according to the manufacturer’s instructions. Next, attach the water supply lines tightly to prevent leaks, using plumber’s tape if necessary.
Finally, turn on the water and check all connections carefully for any signs of leakage.
Preparing Faucet Connections
Where should you begin when connecting your kitchen sink faucet to the water supply lines? Start by inspecting the new faucet’s threaded connections and ensure all washers and O-rings are properly seated to prevent leaks.
Next, clean the faucet mounting holes and surrounding sink area to remove debris that might interfere with a secure fit. If your setup includes a garbage disposal, review its maintenance requirements to avoid damaging the faucet connections during installation.
Confirm the hot and cold water lines are correctly identified on the faucet assembly to match your supply lines. Finally, hand-tighten all fittings first before using tools to avoid cross-threading or overtightening, which can cause damage.
Proper preparation streamlines the connection process and ensures a durable, leak-free faucet installation.
Attaching Water Supply Lines
How do you guarantee a secure connection when attaching the water supply lines to your kitchen sink faucet? First, ensure the water supply valves are fully shut off. Align the flexible supply lines with the faucet’s threaded inlets and hand-tighten the nuts.
Then use an adjustable wrench to snug them, avoiding overtightening to prevent damaging the threads or compromising garbage disposal safety. Check that the lines aren’t kinked or twisted, as this can affect water flow and complicate future drainpipe maintenance.
If your kitchen sink includes a garbage disposal, verify the connection doesn’t interfere with its mounting assembly. Properly secured water supply lines reduce leaks and ensure reliable operation.
Testing For Leaks
When should you test for leaks after connecting your kitchen sink faucet and water supply lines? Perform leak testing immediately after tightening all connections but before sealing the sink or closing the cabinet. This timing ensures you can address any issues promptly without dismantling sealed components.
Follow these steps for effective leak testing and cabinet inspection:
- Turn on both hot and cold water valves gradually.
- Visually inspect all connections for drips or moisture.
- Use a dry cloth to check for hidden leaks around fittings.
- Open the cabinet doors and thoroughly inspect under the sink for any signs of water accumulation or dampness.
Conducting a detailed cabinet inspection during leak testing helps prevent water damage and confirms your installation is secure and reliable.
Connect Kitchen Sink Drain Pipes and Garbage Disposal
Why should you carefully align the drain pipes and garbage disposal before securing them? Proper alignment ensures a tight seal and prevents leaks or clogs. Begin by positioning the disposal unit beneath the sink drain hole, then connect the disposal’s outlet to the drainpipe using the provided flange and gasket.
Tighten all slip nuts by hand, then secure with a wrench to avoid overtightening. When you install drainage components, verify that pipes have slight downward slopes toward the main drain to promote flow and prevent backups.
Next, connect the dishwasher drain hose to the disposal’s inlet if applicable, ensuring the hose clamp is firmly in place. Before finalizing the drain connections, complete the disposal wiring by following the manufacturer’s instructions: connect the power supply wires to the disposal’s terminals, ground properly, and secure the cover plate.
Double-check all connections for fit and alignment before moving on to testing.
Test for Leaks and Check All Connections
Where should you focus your attention to ensure your kitchen sink installation is leak-free? Start by thoroughly testing all connections and joints. This step is crucial for avoiding costly repairs that can disrupt your budget planning.
Follow these steps precisely:
- Turn on the water supply and let both hot and cold water run.
- Inspect all visible joints, including drain pipes and garbage disposal connections.
- Use a dry cloth to identify moisture or drips around fittings.
- Tighten any loose connections with a wrench, but avoid overtightening to prevent damage.
Clean Up After Installation and Maintain Your Sink
How do you guarantee your kitchen sink remains functional and visually appealing after installation? Start by adopting rigorous cleanliness habits. Wipe down all surfaces with a non-abrasive cleaner to remove installation residues and prevent grime buildup. Immediately clean any sealant excess to maintain watertight joints.
Regularly inspect and clean the drain strainer to avoid clogging and ensure efficient waste disposal. Dispose of food scraps properly; avoid pouring grease or coffee grounds down the sink, as they can obstruct pipes and damage the disposal system.
Run cold water during and after using the waste disposal to solidify grease and flush debris. Schedule periodic deep cleaning of the drain and disposal unit using manufacturer-approved products to prolong their lifespan.
Finally, check the sink for leaks or corrosion monthly. Promptly address any issues to prevent water damage. By maintaining these habits, you ensure your kitchen sink operates efficiently and stays in optimal condition over time.
Frequently Asked Questions
What Types of Kitchen Sinks Are Best for Heavy Use?
You’ll find stainless steel and fireclay sinks best for heavy use materials, with stainless steel offering durability and noise absorbing features when thicker gauges are chosen.
Fireclay resists scratches and mutes sound effectively, perfect for busy kitchens.
How Do I Choose a Sink Material to Match My Kitchen Decor?
When choosing materials, analyze your kitchen’s style and color palette. Match decor by selecting sink materials like stainless steel for modern or fireclay for traditional that complement finishes and textures. Ensure functional durability aligns with your aesthetic preferences.
Can I Install a Kitchen Sink Without Professional Plumbing Skills?
You can install a kitchen sink yourself, but 60% of DIY plumbing fails require professional fixes. Understanding risks of DIY plumbing is essential.
Learn how to hire a plumber to avoid costly water damage and code violations.
What Are Common Signs My Kitchen Sink Needs Replacement?
Common signs you need a kitchen sink replacement include persistent leaks, rust, cracks, and stains. Heavy use sinks show wear faster.
Choose the best materials like stainless steel or granite composite for durability and longevity.
How Do I Prevent Mold Buildup Around My Kitchen Sink?
While bright countertops gleam, hidden cabinet moisture invites mold. You’ll prevent mold buildup by sealing sink edges, fixing leaks promptly, ensuring proper ventilation, and using moisture barriers inside cabinets for effective mold prevention and lasting sink area protection.