Are Shower Panels Easy to Install
You might assume installing a shower panel is a simple upgrade, but it often involves more than just mounting it on the wall. Factors like your bathroom’s plumbing layout, wall material, and whether the unit requires electrical connections can complicate the process.
Even if you have basic plumbing skills, ensuring a secure, watertight fit demands precision. Before you start, it’s important to understand what the installation truly entails and when it’s better to seek professional help.
Key Takeaways
- Shower panels require basic plumbing skills and common tools, making DIY installation feasible for simple models.
- Proper wall assessment and precise mounting are crucial to ensure secure, level installation without leaks.
- Complex panels with advanced features often need professional installation to meet code and warranty requirements.
- Safety gear and waterproof sealants are essential for safe, durable installation and preventing water damage.
- Hiring a professional reduces troubleshooting, ensures compliance, and protects the panel’s warranty and longevity.
What Are Shower Panels and How Do They Work
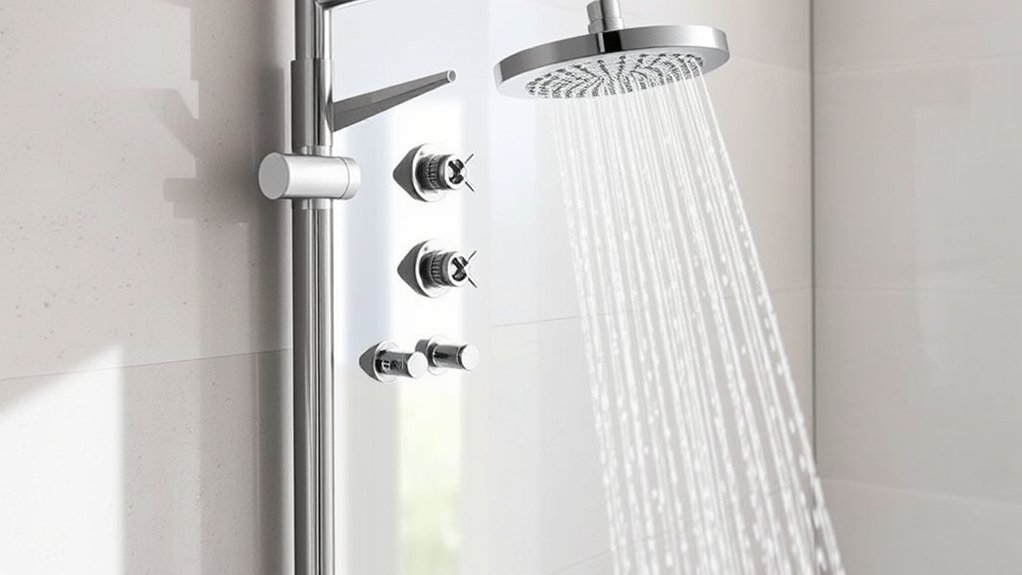
How do shower panels function to enhance your bathroom experience? Shower panels integrate multiple water outlets, such as overhead showers, body jets, and hand showers, into a streamlined unit. They improve water flow control and provide consistent pressure, elevating your shower’s functionality.
When choosing shower panels, you’ll want to consider panel materials like stainless steel, aluminum, or tempered glass, all selected for durability and water resistance. These materials prevent corrosion and mold buildup, ensuring longevity.
Understanding installation basics, you’ll find that most panels mount directly onto existing plumbing, minimizing wall damage. Clarity on plumbing compatibility and water resistance standards is key before installation. This knowledge ensures you select a panel that delivers a reliable, maintenance-free shower system tailored to your bathroom’s specifications.
How to Prepare Your Bathroom for a Shower Panel
Before installing a shower panel, you need to assess your bathroom’s existing plumbing and wall structure. This evaluation ensures compatibility and avoids costly modifications.
Consider pre-installation aesthetics to align the panel style with your bathroom design. Budget considerations are crucial to select materials and tools without overspending.
| Step | Action | Notes |
|---|---|---|
| Inspect Plumbing | Check water pressure and lines | Confirm hot/cold supply locations |
| Wall Structure Check | Verify wall type and support | Ensure wall can hold panel weight |
| Measure Space | Measure shower area dimensions | Match panel size accurately |
| Plan Aesthetics | Choose panel style and finish | Coordinate with existing decor |
| Budget Assessment | Calculate total costs | Include tools, materials, and labor |
How to Install a Shower Panel Yourself
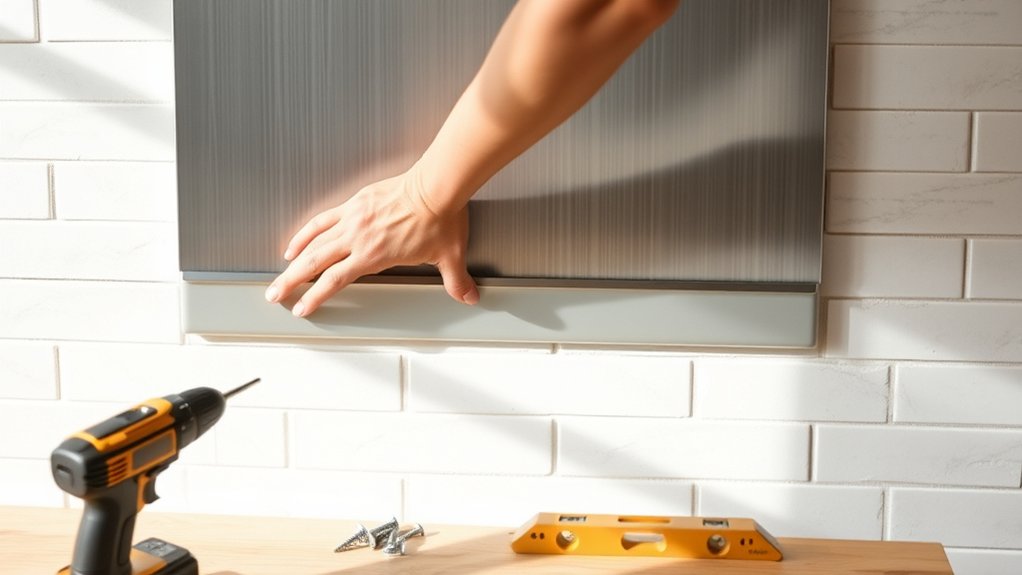
Wondering where to start with installing your shower panel yourself? Begin by reviewing the installation basics: turn off the water supply, remove the old fixtures, and ensure the wall is clean and dry.
Mark the mounting points accurately using the panel’s template to align with your plumbing connections. Secure the panel firmly to the wall with appropriate anchors, ensuring a level fit to maintain design aesthetics.
Connect the water supply lines carefully, checking for leaks before sealing any joints with waterproof silicone. Finally, test the panel’s functions to confirm proper operation.
Paying close attention to precise measurements and secure fittings not only guarantees functionality but also enhances your bathroom’s overall design aesthetics, delivering a professional finish without the need for expert intervention.
Tools and Skills Needed to Install a Shower Panel
You’ll need basic plumbing skills to connect the shower panel to your water supply correctly and avoid leaks. Essential tools include a drill, adjustable wrench, screwdriver, and plumber’s tape for securing fittings.
Having these ready guarantees a smooth and efficient installation process.
Essential Installation Tools
What tools do you need to install a shower panel efficiently? First, gather essential tools: an electric drill with appropriate drill bits, a screwdriver set, a spirit level, a measuring tape, and a wrench or adjustable spanner.
You’ll also need wall anchors and screws compatible with your wall type. Safety precautions are critical. Always wear safety goggles and gloves to protect from debris and sharp edges.
A dust mask is advisable when drilling into tile or cement. Ensure your workspace is dry and free of hazards to avoid slips. Having a silicone sealant and caulking gun on hand helps secure and waterproof the panel.
Basic Plumbing Skills
Although installing a shower panel doesn’t require professional plumbing certification, you should have a basic understanding of plumbing principles and the right tools to connect water supply lines correctly. You’ll need a wrench set, plumber’s tape, pipe cutters, and a level to ensure precise alignment.
Basic carpentry skills also come into play when mounting the panel securely to the wall studs. Pay attention to budget considerations; investing in quality tools upfront saves costly errors and rework.
Familiarize yourself with shut-off valve operation and how to identify hot and cold water lines to prevent installation errors. With these skills and tools, you can confidently handle the installation, ensuring watertight connections and proper functionality without hiring a professional.
Troubleshooting Common Installation Problems
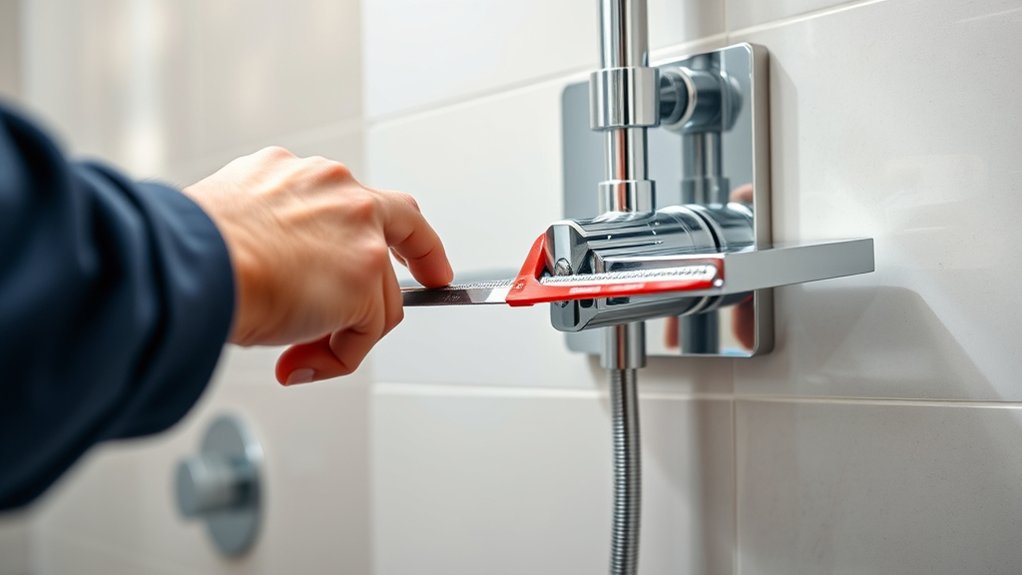
You’ll want to guarantee the panel mounts align perfectly to avoid uneven installation and stress on the unit.
Pay close attention when connecting water lines to prevent leaks or pressure issues.
Finally, apply a proper sealant around edges to stop water from seeping behind the panel and causing damage.
Aligning Panel Mounts
How can you guarantee your shower panel mounts align perfectly during installation? Start by assessing alignment considerations before drilling or fastening. Use a level and measuring tape to mark exact mounting points, ensuring the panel sits flush against the wall.
Avoid panel mounting misalignment by double-checking measurements horizontally and vertically. If the wall surface is uneven, use shims or spacers to correct irregularities before securing mounts.
During installation, loosely attach mounting brackets first, then adjust the panel position for precise alignment. Tighten screws only after confirming perfect placement. This approach prevents stress on the panel and ensures a clean, professional finish.
Managing Water Connections
Once your shower panel mounts are properly aligned and secured, the next step involves managing water connections to guarantee leak-free operation. Begin by identifying the cold water line and ensuring it’s correctly connected to your panel’s corresponding inlet.
Verify that all fittings are tightly secured using appropriate plumbing tape to prevent leaks. Monitor water pressure during connection; excessive pressure can damage seals, while insufficient pressure may impair the panel’s performance.
If you encounter irregular flow or pressure drops, check for blockages or kinks in the supply lines. Use a pressure gauge to confirm that your home’s water pressure falls within the panel’s specified range.
Addressing these factors early helps avoid common installation issues and ensures your shower panel operates efficiently without unexpected interruptions.
Sealing Against Leaks
Where do leaks most commonly occur during shower panel installation? They typically happen at panel joints and around water connections. To prevent this, focus on sealing leaks by applying a high-quality silicone sealant along all seams and connection points.
Ensure that surfaces are clean and dry before you start sealing to maximize adhesion. Waterproofing seams is crucial; use waterproof tape or backing strips beneath the sealant when possible to add an extra layer of protection.
After sealing, let the material cure fully before testing the system with water. Regularly inspect these areas during maintenance to catch any early signs of wear or gaps. By prioritizing proper sealing and waterproofing techniques, you’ll avoid costly water damage and ensure long-lasting performance from your shower panel installation.
When to Hire a Professional Installer
Why should you consider hiring a professional installer for your shower panel? If you lack experience handling plumbing or electrical connections, a professional ensures installation accuracy, preventing future leaks or malfunctions.
Professionals adhere to strict professional ethics, guaranteeing safety and compliance with local codes. Additionally, if your shower panel brand involves complex features or non-standard fittings, professional expertise becomes crucial.
When comparing brands, some require specialized installation techniques, making DIY risky. Hiring a pro saves time and protects your investment, especially if warranty conditions mandate certified installation.
Ultimately, if you want a reliable, code-compliant setup without troubleshooting hassles, engaging a professional installer is the practical choice. It ensures precision and durability, reflecting both your shower panel’s quality and your peace of mind.
Maintaining Your Shower Panel After Installation
Ensuring your shower panel operates smoothly over time requires regular maintenance tailored to its specific components. Begin with care and cleaning by using non-abrasive, pH-neutral cleaners to avoid damaging finishes or seals. Wipe down the panel after each use to prevent water spots and mineral buildup, addressing stain prevention concerns effectively.
Inspect seals and joints monthly for leaks or wear, replacing any compromised parts promptly to maintain water-tight integrity. Clean the nozzles gently with a soft brush to prevent clogging without causing damage. Avoid harsh chemicals or abrasive tools that could degrade materials.
Frequently Asked Questions
Can Shower Panels Increase My Home’s Resale Value?
You can increase your home’s resale value with durable shower panels, as their longevity and modern appeal attract buyers. Their shower panel durability ensures minimal maintenance, positively impacting the resale value through enhanced bathroom aesthetics and function.
Are Shower Panels Compatible With All Types of Water Heaters?
Wondering if your shower panel will work with your water heater? Shower compatibility depends on your heater’s type and pressure.
You’ll want to verify water heater compatibility to ensure consistent flow and temperature control before installation.
What Materials Are Shower Panels Typically Made From?
Shower panels materials typically include aluminum, stainless steel, tempered glass, and high-grade PVC. When selecting, consider installation considerations like weight, corrosion resistance, and compatibility with your existing plumbing to ensure durability and ease of fitting.
Do Shower Panels Help Conserve Water?
Want to save water without sacrificing comfort? Shower panels enhance water conservation by regulating flow and temperature precisely.
Their cost-effective installation ensures long-term savings, making them a practical choice for efficient, eco-friendly bathroom upgrades.
Can Shower Panels Be Customized With LED Lights or Aromatherapy Features?
Yes, you can customize shower panels with custom lighting and scent integration. These features require compatible models and proper wiring or cartridge installation, so you’ll need technical know-how or professional help to assure safe, precise setup.