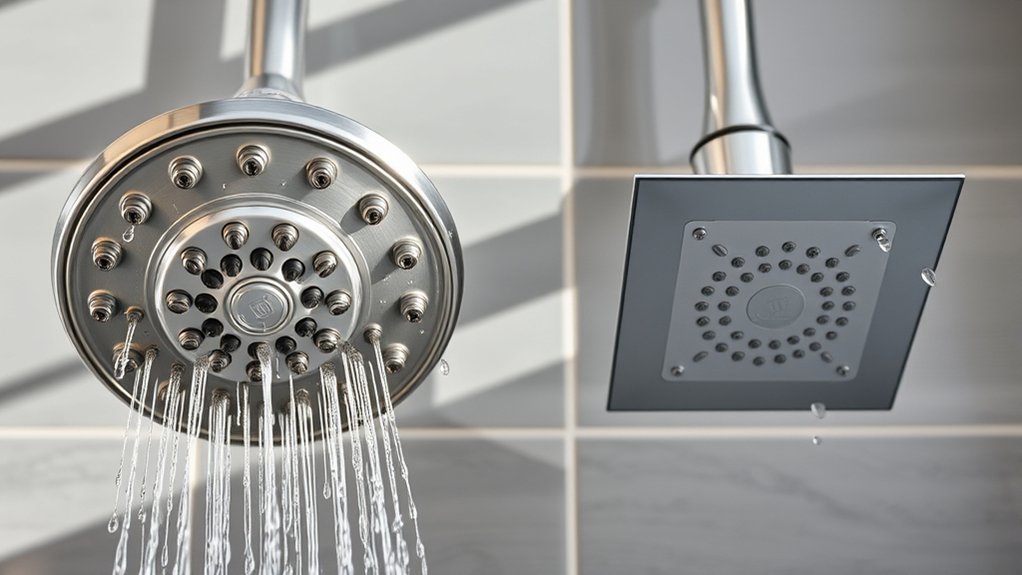
Are Shower Heads One Size Fits All
You might assume shower heads are one size fits all, but that’s rarely the case. Differences in thread types, arm lengths, and water pressure can all impact compatibility and performance. Understanding these details is essential to avoid leaks or poor spray patterns.
Before you pick a new shower head, you need to know exactly what measurements and specifications to check. Otherwise, you risk a frustrating installation or subpar shower experience. Taking the time to verify compatibility ensures a smooth upgrade and better water flow.
Key Takeaways
- Most shower heads in North America use a universal 1/2-inch NPT connection, but thread sizes vary globally and are not always interchangeable.
- Proper measurement of shower arm thread size and pitch is essential to ensure a correct fit and avoid leaks.
- NPT threads are tapered and incompatible with BSP parallel threads without adapters, so verifying thread type is crucial.
- Shower head styles and mounting options vary, affecting compatibility and installation requirements.
- Professional help is recommended if the shower head doesn’t fit or if plumbing issues persist after replacement.
What Are Standard Shower Head Sizes and Connections?
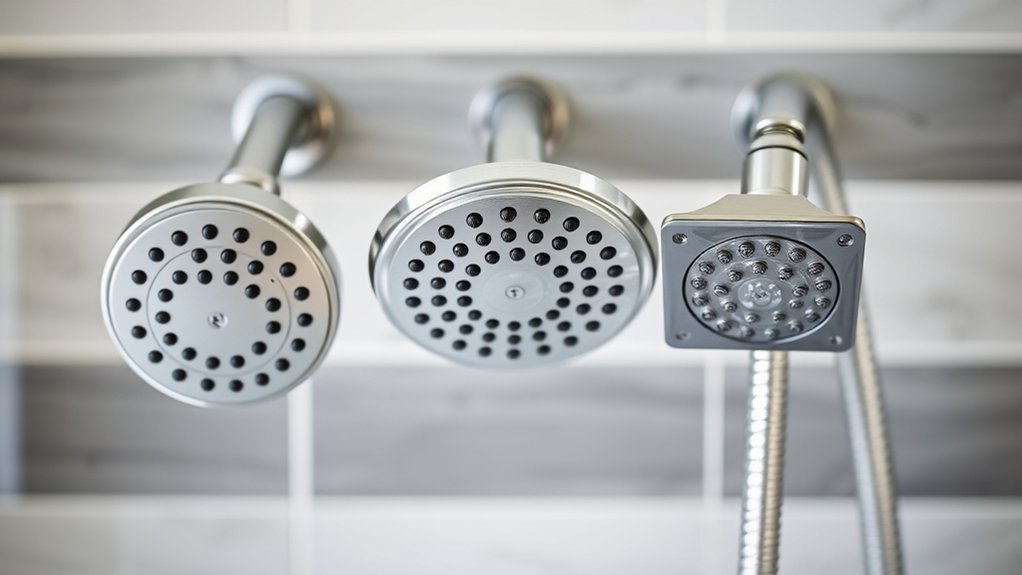
When selecting a shower head, understanding standard sizes and connection types is essential to guarantee compatibility. Most shower heads use a universal 1/2-inch NPT (National Pipe Thread) connection, which fits standard shower arms in North America. This standardization simplifies installation and replacement.
However, you should verify thread sizes to avoid leaks or poor fit. Thread sizes vary globally, so knowing your region’s standard helps. Water pressure also influences your choice; some heads require higher pressure for optimal performance.
Low-pressure systems benefit from designs that maximize flow despite limited pressure. By focusing on these technical details, thread sizes and water pressure, you ensure your new shower head fits perfectly and operates efficiently, avoiding installation issues or inadequate water flow.
How to Measure Your Shower Arm for the Right Shower Head Fit
To guarantee a proper shower head fit, start by measuring the length of your shower arm from the wall to the end. Next, identify the thread size, typically 1/2-inch NPT, to match the connection.
Finally, check the angle of the arm to select a shower head that directs water where you need it.
Measure Shower Arm Length
How do you guarantee your new shower head fits perfectly on your existing shower arm? Start by measuring the shower arm length accurately to avoid arm length gaps that can cause improper fitting or leaks. Use a tape measure to determine the distance from the wall flange to the end of the shower arm.
Ensure measurements accuracy by measuring twice and noting the length in inches or centimeters.
Keep these points in mind:
- Measure from the wall’s surface, not the flange edge.
- Account for any bends or curves in the arm.
- Record the exact length to match compatible shower head fittings.
Precise arm length measurements help you select a shower head that fits snugly, ensuring optimal performance and preventing installation issues.
Identify Thread Size
Why does identifying your shower arm’s thread size matter? Proper thread compatibility ensures a secure, leak-free connection between the shower arm and the shower head.
To measure thread size, first remove the existing shower head. Use a caliper to measure the outer diameter of the male threads on the shower arm. Most residential shower arms use either 1/2-inch or 3/4-inch NPT (National Pipe Thread) standards.
Confirm thread pitch by counting threads per inch or comparing to a thread gauge. Ensuring hardware compatibility prevents installation issues and water leaks.
Once you know your shower arm’s thread size, you can confidently select a shower head that fits precisely, avoiding mismatched parts or the need for adapters. Accurate measurement is critical for optimal performance and ease of installation.
Check Arm Angle
Where exactly your shower arm angles can markedly affect the fit and function of your shower head. Measuring the arm angle ensures proper alignment and optimal water balance. To check this angle, follow these steps precisely:
Use a protractor or angle finder to determine the existing arm angle relative to the wall. Measure the distance from the wall to the end of the shower arm to confirm compatibility with your chosen shower head. Assess whether the current arm angle directs water flow effectively to avoid splashing or uneven water distribution.
Understanding your arm angle helps you select a shower head that fits securely and maintains consistent water balance. Ignoring this step can lead to poor fit, leaks, or compromised performance, so take accurate measurements before purchasing.
What’s the Difference Between NPT and BSP Thread Types?
When connecting shower heads, you’ll encounter two common thread standards: NPT (National Pipe Thread) and BSP (British Standard Pipe). NPT threads use a tapered design, creating a tight seal when threaded, while BSP threads employ a parallel profile, often requiring a sealing washer.
These differences affect thread compatibility—you can’t interchange NPT and BSP fittings without adapters. Using mismatched threads risks leaks and improper valve adjustments, compromising water flow control.
To ensure a secure fit and maintain optimal valve operation, always identify the thread type on your shower arm and head before installation. Understanding these standards helps you avoid costly errors, ensuring your shower head fits correctly and functions efficiently within your existing plumbing system.
Choosing Shower Heads for Low and High Water Pressure
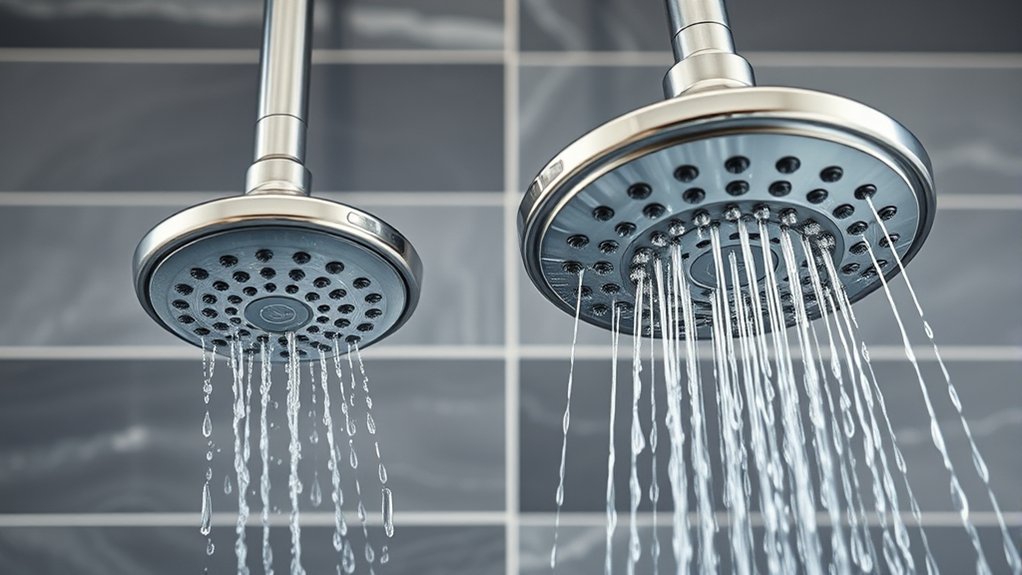
How do you select the right shower head to match your water pressure? Understanding your water pressure is essential for peak performance. Low water pressure requires shower heads designed to maximize flow without compromising spray quality, while high pressure calls for heads that regulate force to prevent discomfort.
Consider these two word discussion ideas to guide your choice:
- Flow Rate: Check the gallons per minute (GPM) rating suitable for your pressure.
- Pressure Regulation: Look for built-in restrictors or regulators for high pressure systems.
- Spray Pattern: Select adjustable patterns that maintain consistency across varying pressures.
These relevant topics help you avoid mismatched setups that reduce efficiency or damage plumbing. Matching shower heads to your water pressure ensures durability, comfort, and water conservation.
Fixed, Handheld, and Dual Shower Heads: Which Fits Your Setup?
Which shower head type best suits your bathroom setup and daily routine? Fixed shower heads offer straightforward installation aesthetics, mounting directly to your wall with minimal complexity. They require low maintenance but lack flexibility.
Handheld shower heads enhance usability by connecting via a hose, providing greater reach and ease for cleaning or rinsing. Their installation aesthetics can be slightly more complex due to additional components but remain manageable.
Dual shower heads combine fixed and handheld units, offering versatile functionality suited for diverse needs. However, their installation aesthetics demand careful planning to ensure seamless integration without clutter. Maintenance increases with dual setups due to more parts.
Consider your space constraints, usage habits, and willingness to engage in upkeep when selecting between fixed, handheld, or dual options for an optimal balance of performance and style.
Wall-Mounted vs. Ceiling-Mounted Shower Heads: What to Choose
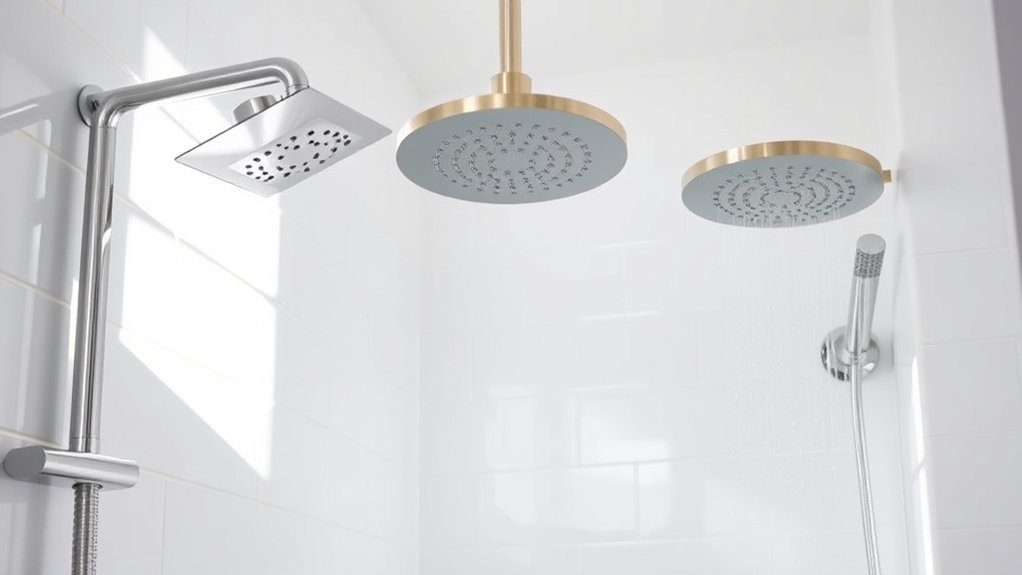
After choosing between fixed, handheld, and dual shower heads, deciding on the mounting style becomes the next key factor. Wall-mounted and ceiling-mounted shower heads differ in installation, water flow, and shower head aesthetics. You’ll want to weigh these factors carefully for optimal performance and style.
Wall-mounted heads offer straightforward installation and direct water flow, ideal for traditional shower stalls. Ceiling-mounted heads provide a rainfall effect, enhancing shower head aesthetics and a spa-like experience.
Both types can incorporate water saving guidance through low-flow designs, reducing consumption without sacrificing comfort.
Your choice impacts water distribution and bathroom design coherence. Select a mounting style that aligns with your plumbing setup and desired shower experience while adhering to water saving guidelines.
Installing a Shower Head Without Changing Your Plumbing
Want to upgrade your shower experience without overhauling your plumbing system? You can install a new shower head by utilizing existing connections designed similarly to a kitchen faucet’s threaded pipe.
Most standard shower arms use a ½-inch NPT thread, allowing you to swap shower heads without modifying plumbing. Before installation, inspect the bathroom tile around the fixture for damage or mold, as this can affect the seal and cause leaks.
Use plumber’s tape on the threads to ensure a tight, watertight connection. Avoid changing the shower arm or pipes, as this requires plumbing expertise.
Tools Needed to Replace a Shower Head Easily
You’ll need a few essential tools to replace your shower head efficiently, including an adjustable wrench and plumber’s tape.
Make certain to use wrenches carefully to avoid damaging fittings or scratching surfaces. Having these tools ready will streamline the replacement process and ensure a secure fit.
Essential Tools Checklist
Which tools do you need to replace a shower head quickly and correctly? Ensuring you have the right equipment streamlines the process and prevents damage. Precision matters, especially when dealing with varying material sourcing and finishes influenced by current color trends in bathroom fixtures.
Here’s a concise checklist:
- Adjustable wrench: Essential for loosening and tightening connections without marring surfaces.
- Teflon tape: Ensures a watertight seal on threaded joints, preventing leaks.
- Soft cloth or rag: Protects the fixture’s finish during tool use, preserving color trends and material integrity.
Equipping yourself with these tools simplifies installation and aligns with best practices in plumbing upgrades. Keeping color trends and material sourcing in mind helps maintain aesthetic consistency while upgrading your shower hardware.
Using Wrenches Safely
How do you guarantee a secure fit without damaging your new shower head? Using wrenches safely is crucial. First, choose an adjustable wrench or a basin wrench that fits your shower arm nut precisely to avoid slipping.
Wrap the connection with a cloth or use a rubber jaw wrench to protect showerhead aesthetics from scratches. Apply steady, controlled torque. Excessive force can deform fittings, compromising water saving features and causing leaks.
Always turn the wrench counterclockwise to loosen and clockwise to tighten, stopping when snug. Avoid overtightening; it can strip threads or crack plastic components. After installation, check for leaks and adjust if necessary.
Proper wrench use ensures a secure, leak-free connection, preserving both functionality and the sleek look of your showerhead.
How Water Flow Rate Affects Shower Head Compatibility
Why does water flow rate matter when choosing a shower head? Because it directly impacts both performance and efficiency. If your shower head’s flow rate doesn’t match your plumbing system, you might experience weak water pressure or excessive water use. Flow rate influences spray patterns, affecting your shower’s comfort and coverage.
Consider these factors for compatibility:
- Water conservation: Lower flow rates reduce water usage but require optimized spray designs to maintain satisfaction.
- Plumbing capacity: Your system must support the shower head’s rated gallons per minute (GPM) to avoid pressure drops.
- Regulatory compliance: Ensure the shower head adheres to local flow rate standards for efficiency and legality.
Matching flow rate ensures you enjoy a balanced shower experience without wasting water or compromising pressure.
When to Call a Plumber for Shower Head Replacement
Ensuring your shower head matches your plumbing’s flow rate is just one step in maintaining ideal performance. You should call a plumber if you notice persistent leaks, inconsistent water pressure, or if your existing shower head doesn’t fit your plumbing setup.
Problems like faulty connections or outdated pipe fittings often require professional expertise beyond simple DIY fixes common with toilet paper or faucet aerators.
| Issue | When to Call a Plumber |
|---|---|
| Low or no water flow | Persistent despite cleaning or replacement |
| Leaks at connection | After tightening fails |
| Incorrect fit or parts | If adapters or replacements don’t work |
A plumber ensures correct installation, preventing damage and optimizing flow, saving you time and costly repairs.
Frequently Asked Questions
Can Shower Heads Help Conserve Water?
Yes, you can conserve water by choosing shower heads designed for conservation trends. These models regulate flow rates efficiently, and their filtration impact ensures cleaner water, enhancing performance while reducing overall water consumption effectively.
Are There Shower Heads With Built-In Filters?
Yes, you’ll find shower heads with built-in filters designed for water filtration. These units reduce chlorine, sediments, and impurities, improving water quality and skin health.
Ensure compatibility with your plumbing before installation for optimal performance.
How Often Should I Replace My Shower Head?
You should replace your shower head every 6 to 12 months, depending on water quality and usage.
Follow a maintenance schedule, cleaning or swapping replaceable components regularly to ensure ideal performance and hygiene.
Do Shower Heads Affect Water Temperature Control?
Yes, shower heads with flow restrictors can impact temperature control by limiting water flow.
Mineral buildup inside the head further disrupts consistent temperature, so you should clean or replace it regularly for optimal performance.
Can I Use a Shower Head With a Water Softener System?
You can use showerheads with water softeners, but ensure compatibility. Some showerheads have built-in filters designed to work with softened water, enhancing performance and preventing mineral buildup.
Check specifications to optimize your water softening system.