Are Shower Heads Easy to Install
You might not realize that most shower heads use a standard ½-inch connection, which makes shower heads easy to install. With just a few basic tools and some plumber’s tape, you can replace your old shower head without much hassle.
However, there are specific steps and common pitfalls that can affect the outcome. Understanding these details can save you time and prevent leaks, so it’s worth getting the process right from the start.
Key Takeaways
- Most shower heads have standard ½-inch threaded connections, making them compatible and easy to install by hand or with basic tools.
- Installation requires simple tools like an adjustable wrench and plumber’s tape for a secure, leak-free fit.
- Removing the old shower head involves turning off water, loosening fittings, and cleaning threads, which is straightforward with proper precautions.
- Applying plumber’s tape correctly and avoiding overtightening are crucial to prevent leaks and ensure proper installation.
- Basic, water-saving, and non-motorized shower heads are the easiest to install, while complex models may require professional help.
What Tools Do You Need to Install a Shower Head?
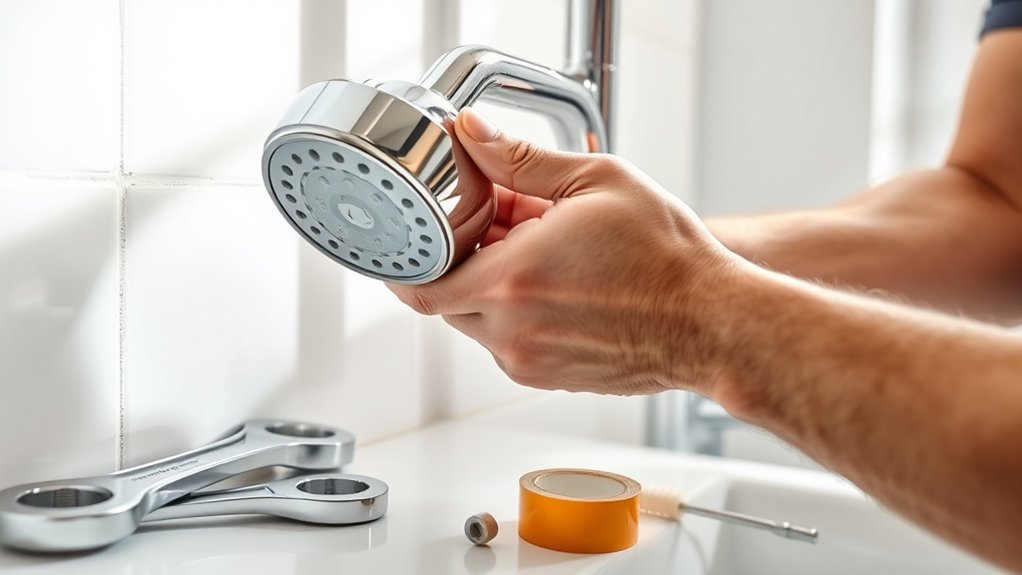
What tools do you need to install a shower head efficiently? Start with an adjustable wrench to tighten fittings securely without damaging them. Have plumber’s tape (Teflon tape) on hand to wrap threads, ensuring a watertight seal and preventing leaks that waste water.
A cloth or rag helps protect the shower arm’s finish when using the wrench. These tools keep installation straightforward while supporting water conservation by preventing drips. Choosing a low-flow shower head complements your efforts, minimizing environmental impact.
Avoid over-tightening, which can damage components and cause leaks. By using these precise tools and techniques, you ensure a durable, leak-free installation that contributes to water-saving goals and reduces unnecessary resource consumption. This practical approach supports both functionality and eco-consciousness.
How to Remove Your Old Shower Head Safely
Start by gathering an adjustable wrench and a cloth to protect your fixtures. Use the wrench to carefully loosen the old shower head by turning it counterclockwise. Applying steady, controlled force will help prevent damage to the plumbing.
Preparing Tools Needed
How do you guarantee a smooth removal of your old shower head without damaging the plumbing? Start by gathering the right tools: an adjustable wrench, plumber’s tape, and a cloth or rag to protect the showerhead aesthetics during removal. These tools help you preserve the fixture’s finish, essential if you plan to reuse it or maintain bathroom style.
Also, prepare a small bucket or container to catch any residual water. Understanding water saving features integrated into your current shower head can guide you in selecting the right replacement.
Ensuring you have these tools ready allows you to work efficiently and avoid costly plumbing damage. Proper preparation minimizes frustration and keeps your installation project on track.
Loosening Old Showerhead
With the right tools at hand, you can now focus on loosening the old showerhead without harming the plumbing or fixture finish. Start by turning off the water supply to avoid complications from high water pressure.
Use an adjustable wrench or pliers to grip the showerhead base firmly. If you encounter resistance, apply penetrating oil and let it sit to loosen any corrosion. Check for loose screws securing the fixture; tightening these can sometimes ease removal.
Avoid excessive force to protect the shower arm threads and wall fittings. Once the showerhead begins to turn, continue carefully until fully detached.
Inspect the shower arm for damage or debris before installing the new head. Proper removal ensures a clean, damage-free surface for your new showerhead installation.
Which Types of Shower Heads Are Easiest to Install?
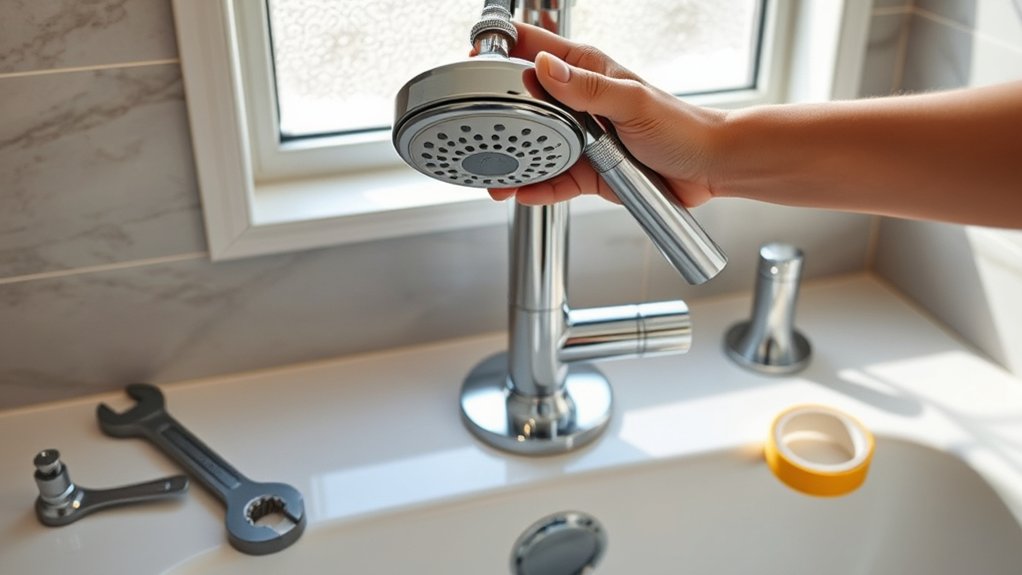
Which types of shower heads will save you time and effort during installation? Generally, standard threaded shower heads with universal ½-inch connections are the easiest to install. These models screw directly onto your existing shower arm without the need for additional tools or modifications.
Opting for designs made from eco friendly materials, like BPA-free plastics or corrosion-resistant metals, guarantees durability and aligns with water saving tips by promoting efficient flow control. Handheld shower heads with simple hose attachments also offer straightforward installation, often requiring just a wrench to secure fittings.
Avoid complex multi-setting or motorized models initially, as they often demand plumbing adjustments or electrical work. Choosing basic, water-saving fixtures lets you upgrade your bathroom efficiently while minimizing installation complexity.
Step-by-Step Guide to Installing a New Shower Head
To install a new shower head, you’ll need basic tools like an adjustable wrench and plumber’s tape. Start by preparing the shower arm, ensuring it’s clean and free of old tape or debris.
Then, follow precise steps to secure the new shower head, preventing leaks and ensuring proper alignment.
Tools Needed Preparation
How do you guarantee a smooth installation of your new shower head? Preparation is key. Having the right tools ready ensures efficiency and protects your bathroom’s interior design, maintaining both function and aesthetics.
Proper installation supports your self care routine by promoting reliable water flow and preventing leaks.
Gather these essential tools before you start:
- Adjustable wrench: for loosening and tightening fittings without damage
- Plumber’s tape: to seal threads and prevent leaks effectively
- Soft cloth: to protect fixtures from scratches during installation
- Old toothbrush: for cleaning threads and removing debris
With these tools on hand, you’ll streamline the process and secure a professional-quality fit that enhances your shower experience.
Installation Process Steps
When should you begin the installation process? Start once you’ve selected the right shower head by understanding how to pick material suited to your water pressure and style preference.
First, turn off the water supply and remove the old shower head using a wrench. Clean the shower arm threads thoroughly to ensure a tight seal. Next, apply plumber’s tape clockwise around the threads to prevent leaks.
Screw the new shower head onto the arm by hand, then tighten it gently with a wrench. Avoid overtightening to protect the fittings. Finally, turn the water back on and test for leaks.
Installing a new shower head is one of the best bathroom upgrades you can do yourself, improving both function and aesthetics with minimal effort.
Using Plumber’s Tape for a Leak-Free Shower Head Seal
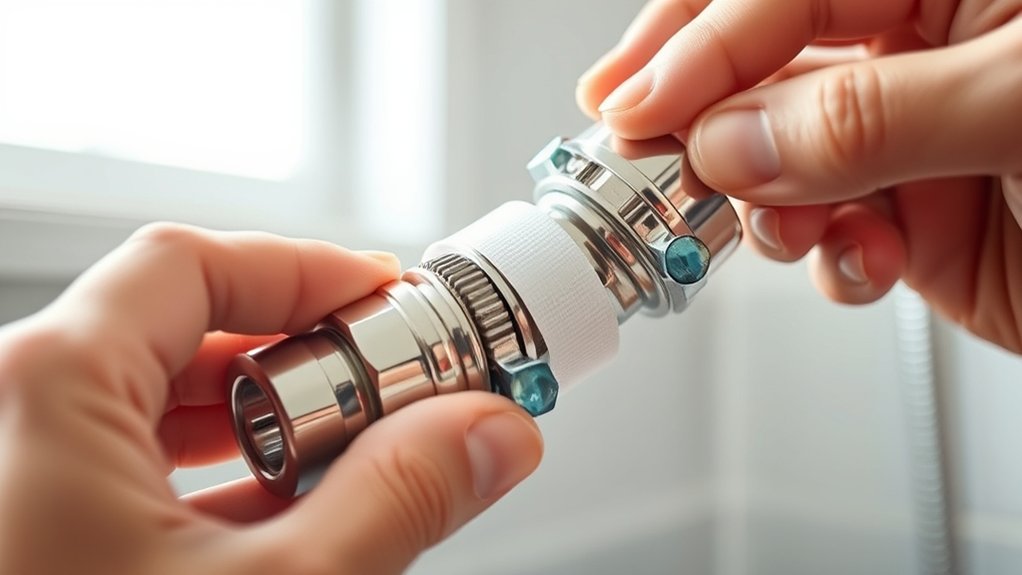
Although installing a shower head may seem straightforward, ensuring a leak-free connection requires properly applying plumber’s tape. This tape acts as a sealant, preventing water from escaping at the threaded joint, which preserves showerhead aesthetics and supports water saving tips by avoiding drips.
Properly applying plumber’s tape ensures a leak-free shower head connection, preserving its look and preventing water waste.
To use plumber’s tape effectively:
- Clean the shower arm threads to remove old residue.
- Wrap the tape clockwise around the threads 3-5 times, ensuring even coverage.
- Press the tape firmly into the threads to fill gaps.
- Screw the shower head on hand-tight, then use a wrench for a snug fit without overtightening.
Following these steps secures a watertight seal, maintains your shower’s clean appearance, and promotes efficient water use.
How to Repair or Replace a Damaged Shower Arm
If your shower arm shows signs of corrosion, leaks, or physical damage, it’s time to replace it. You’ll need a pipe wrench, plumber’s tape, and possibly penetrating oil to complete the job efficiently.
Follow a step-by-step removal process to avoid damaging the plumbing behind the wall.
Identifying Shower Arm Damage
How can you tell if your shower arm needs repair or replacement? Start by identifying showerhead issues linked to the arm. Inspect the arm closely for visible damage or corrosion that could affect performance.
Check your water pressure; inconsistent flow often signals underlying problems with the arm. Consider these signs:
- Rust or corrosion on the shower arm’s surface
- Leaks at the joint where the arm connects to the wall or showerhead
- Reduced or fluctuating water pressure during use
- Visible bends or cracks compromising structural integrity
If you notice any of these issues, it’s practical to address them promptly. Properly identifying shower arm damage ensures you maintain optimal water flow and prevent further plumbing complications.
Tools Needed For Replacement
What tools do you need to replace a damaged shower arm effectively? You’ll require a few essential items to ensure a secure fit, especially if you’re upgrading to eco friendly materials or integrating water saving features. Precision and proper tools prevent leaks and damage.
| Tool | Purpose |
|---|---|
| Adjustable wrench | Loosen and tighten nuts |
| Pipe tape (Teflon) | Seal threaded connections |
| Plumber’s tape | Additional sealing |
| Screwdriver | Remove mounting brackets |
| Rag or cloth | Clean threads before fitting |
Using these tools, you can install a replacement shower arm that supports eco friendly materials and water saving features, ensuring durability and efficiency. Proper preparation saves time and prevents costly errors.
Step-by-Step Removal Process
Where should you begin when removing a damaged shower arm? Start by shutting off the water supply to avoid leaks or changes in water temperature. Then, follow these steps:
Use a wrench to carefully loosen the shower arm’s connection at the wall, turning counterclockwise. Protect the finish by wrapping the arm with a cloth before applying the wrench.
Once loosened, unscrew the arm by hand and inspect the threading for damage. Clean the pipe threads thoroughly to ensure a secure, leak-free fit for the replacement.
This precise removal process minimizes the need for cosmetic enhancements later and ensures your new shower arm functions reliably. By following these technical steps, you’ll make repairing or replacing the shower arm straightforward and efficient.
How to Adjust Your New Shower Head for the Best Spray
Why settle for anything less than the perfect spray pattern from your new shower head? To optimize your shower experience, use the adjustment technique designed for your model.
Start by identifying the available spray patterns, commonly ranging from concentrated jets to gentle mist. Rotate the dial or lever on the shower head to cycle through these settings.
Pay attention to water pressure and coverage with each pattern, then select the one that best suits your preference and water flow. If your shower head includes a swivel ball joint, adjust the angle to target the spray precisely where you want it.
This fine-tuning ensures efficiency and comfort. Remember, proper adjustment maximizes performance without wasting water or compromising spray quality.
Common Installation Mistakes to Avoid
After adjusting your new shower head for optimum spray, the next step is ensuring it’s installed correctly to maintain performance and prevent issues. Avoid these common mistakes during installation:
Neglecting to wrap plumber’s tape around threads, causing leaks and poor water temperature control.
Over-tightening connections, which can damage fittings and complicate quick cleaning later.
Forgetting to clean the pipe threads before installation, leading to debris buildup and reduced water flow.
Installing the shower head without checking alignment, resulting in uneven spray and discomfort.
How to Troubleshoot Leaks and Poor Water Flow
How can you quickly identify and resolve leaks or poor water flow in your shower head? Begin with leak diagnosis by inspecting the connection points for loose fittings or damaged washers.
For water pressure troubleshooting, check for clogged nozzles or sediment buildup that restricts flow. Use the table below to guide your troubleshooting process effectively:
| Issue | Cause | Solution |
|---|---|---|
| Leak at connection | Loose fitting or worn washer | Tighten or replace washer |
| Poor water flow | Clogged nozzles | Clean or soak in vinegar |
| Low water pressure | Sediment buildup in pipes | Flush pipes or replace shower head |
| Leak from shower head | Cracked or damaged parts | Replace shower head |
Follow these steps to maintain optimal shower performance without hassle.
When to Call a Professional Instead of DIY
Although many shower head issues can be resolved with basic tools and some patience, you should call a professional when problems involve complex plumbing systems, persistent leaks, or require specialized equipment for repairs. You’ll want expert help if:
- Water pressure inconsistencies suggest underlying pipe damage or system faults.
- Installation affects tile guidelines, risking damage or improper sealing.
- Leaks persist despite tightening or replacing washers.
- Modifications require rerouting plumbing or upgrading valves.
Professionals ensure compliance with local codes and maintain system integrity. If you notice unusual noises, water discoloration, or suspect hidden leaks, don’t hesitate to seek expert evaluation. DIY attempts beyond basic installation can exacerbate issues, leading to costly repairs. Prioritize safety and functionality by recognizing when your skills meet their limit and calling in a professional.
Frequently Asked Questions
How Often Should I Replace My Shower Head?
Like clockwork, you should replace your shower head every six to eight months. For precise replacement frequency, regular maintenance and two word discussion ideas clogging buildup help ensure optimal water flow and hygiene standards.
Can a Shower Head Affect Water Pressure?
Yes, a showerhead can affect water pressure. You need to ensure showerhead compatibility with your plumbing system.
Using proper installation tools helps maintain optimal pressure during installation, preventing flow restrictions or leaks that reduce performance.
Are There Eco-Friendly Shower Head Options?
Yes, you’ll find eco-friendly options with water saving features like flow restrictors and aerators. These designs reduce water use without sacrificing pressure, helping you conserve resources efficiently while maintaining effective shower performance.
How Do I Clean Mineral Buildup on a Shower Head?
You’ll want to soak the shower head in vinegar to dissolve mineral buildup effectively. For precise DIY maintenance, detach it, submerge in vinegar for an hour, then scrub with a brush to restore optimal water flow.
What Materials Are Shower Heads Typically Made From?
Shower heads typically use brass, stainless steel, or ABS plastic, chosen for materials chemistry that resists corrosion. Their design aesthetics balance durability and style, ensuring effective water flow while complementing your bathroom’s look.