Can You Reglaze Floor Tile
You might not realize that you can actually reglaze floor tile instead of replacing it. This process can give worn or dull tiles a fresh, glossy finish without the mess and expense of removal. Reglazing floor tile is a cost-effective way to update your floors.
However, not every tile type or condition is suitable for reglazing, and the preparation is key to a lasting result. Understanding when and how to reglaze could save you time and money—but it requires careful steps to get it right. Proper cleaning and surface preparation are essential before applying the glaze.
Floor Tile Reglazing: What It Is and How It Works
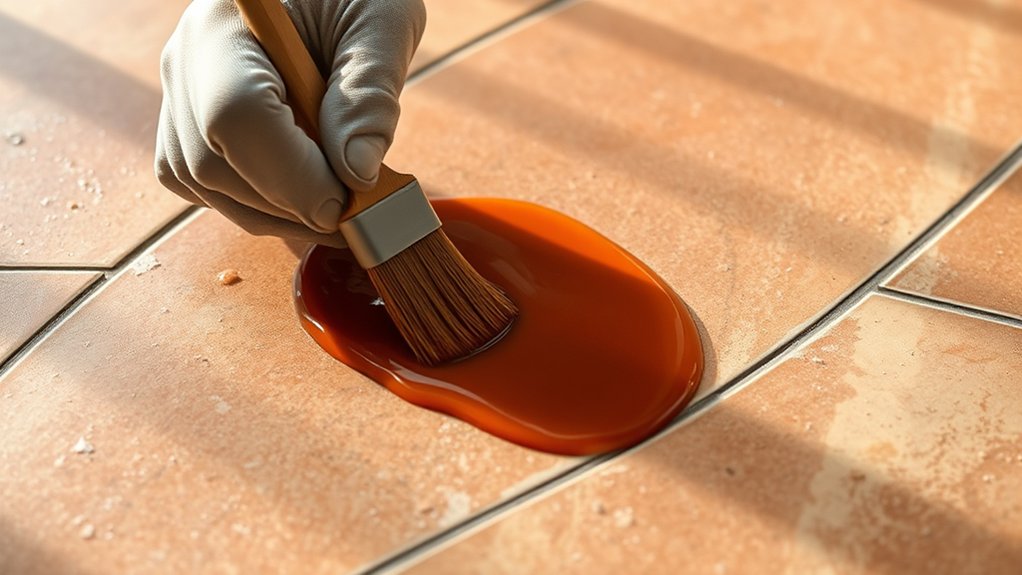
How does floor tile reglazing transform your worn surfaces? Floor tile reglazing restores the original beauty of your tiles without the need for costly replacement. This process involves cleaning the tiles thoroughly, repairing any cracks or chips, and then applying a specialized bonding agent.
After preparing the surface, a high-quality glaze or coating is evenly sprayed or brushed on. Once dried, it creates a durable, glossy finish that revives the floor’s appearance.
Understanding how it works helps you appreciate the value of floor tile reglazing. Instead of removing old tiles, reglazing enhances their look and extends their lifespan. It seals imperfections and protects against stains and wear.
Types of Floor Tiles Suitable for Reglazing
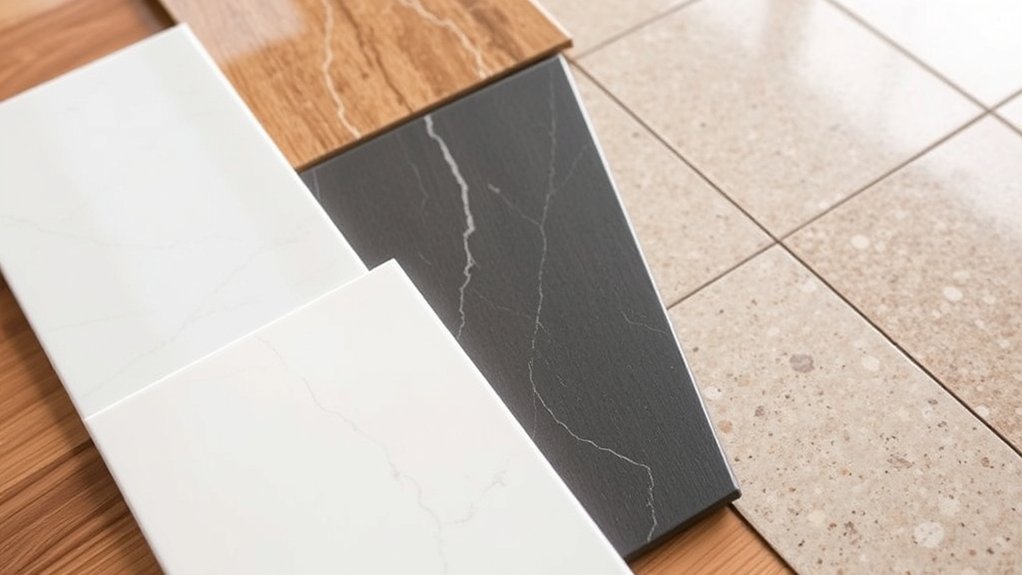
Which types of floor tiles can you successfully reglaze to achieve a lasting finish? Generally, ceramic and porcelain tiles respond well to reglazing because their surfaces bond effectively with glaze coatings.
Quarry tile, known for its porous and unglazed nature, can also be reglazed but requires thorough cleaning and priming. Recycled glass tiles present a challenge due to their smooth, non-porous surfaces, making adhesion difficult, so reglazing is less recommended.
Here’s a quick overview:
| Tile Type | Reglazing Suitability |
|---|---|
| Ceramic | Excellent smooth, porous glaze |
| Quarry Tile | Good needs prep for adhesion |
| Recycled Glass | Poor slippery surface |
Understanding these differences helps you choose the right tiles for reglazing, ensuring durability and aesthetic improvement. Always prepare the tile correctly to maximize the finish’s longevity.
When to Consider Reglazing Your Floor Tiles
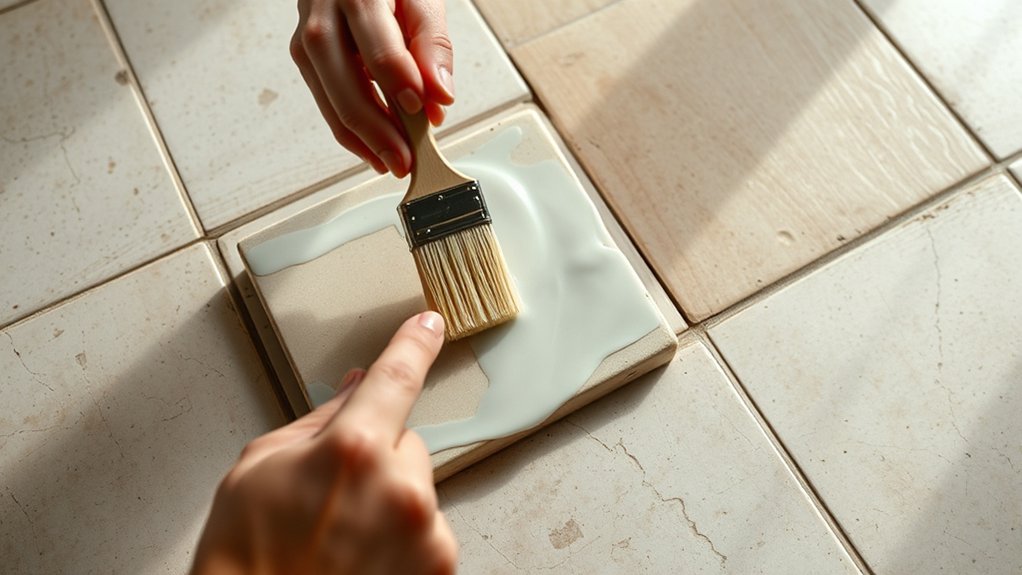
Even if your floor tiles aren’t severely damaged, you might want to contemplate reglazing when their surface shows signs of wear like dullness, minor scratches, or staining that regular cleaning can’t fix. Reglazing breathes new life into tired tiles without the cost and hassle of removal.
Consider reglazing to refresh worn tiles showing dullness, scratches, or stains without costly removal.
You should consider reglazing when you want a cost-effective refresh, especially if the tiles are structurally sound. However, be mindful of tile resurfacing challenges such as ensuring proper adhesion and addressing porous surfaces, which can affect the final result.
Choosing between reglazing vs replacement hinges on the extent of damage: deep cracks and loose tiles usually require replacement, while surface imperfections lend themselves well to reglazing. If you’re aiming to preserve existing tile patterns or avoid demolition mess, reglazing is often the practical choice.
Ultimately, assess the condition carefully to decide if reglazing will restore appearance effectively without hidden issues.
Pros and Cons of Reglazing vs. Replacing Floor Tiles
Deciding between reglazing and replacing your floor tiles depends largely on your goals, budget, and the tiles’ condition. Reglazing offers a cost-effective glazing alternative that refreshes worn or outdated tiles without the hassle of tile removal. It saves time, reduces mess, and is ideal if your tiles are structurally sound but need aesthetic improvement.
However, reglazing may not address deep damage or severe wear, and the finish can wear down over time, requiring reapplication.
On the other hand, replacing floor tiles through tile removal provides a permanent solution. It allows you to completely change the style, color, or layout, increasing your floor’s longevity.
But this process is labor-intensive, costly, and disruptive. You’ll need to factor in disposal of old tiles and potential subfloor repairs.
Ultimately, if your tiles are in good shape and you want a quick refresh, reglazing is efficient. If damage or style overhaul is your priority, replacement is the better choice.
How to Prepare Your Floor Tiles for Reglazing
Before you start reglazing, make sure your floor tiles are thoroughly cleaned and degreased to ensure proper adhesion.
Inspect the tiles carefully and repair any cracks or chips to create a smooth, even surface. Proper preparation is key to achieving a durable and professional finish.
Cleaning And Degreasing
Start by thoroughly cleaning and degreasing your floor tiles to ensure the new glaze adheres properly. Begin with a sweeping or vacuuming to remove dust and loose debris.
Then, use a strong, pH-neutral cleaner combined with warm water to scrub the tiles, focusing on areas with built-up grime. Next, apply a degreasing agent specifically designed for floor maintenance to break down oils and residues that regular cleaning might miss.
Rinse the surface thoroughly to eliminate any chemical traces that could interfere with adhesion. Allow the tiles to dry completely before moving forward.
Proper cleaning and degreasing are essential steps that ensure the glaze bonds securely, preventing peeling or bubbling later. Skipping this process compromises the longevity and appearance of your reglazed floor tiles.
Repairing Cracks And Chips
How do you guarantee your floor tiles are ready for a flawless reglaze? Start by addressing any imperfections through proper crack repair and chip filling. This step ensures a smooth, even surface for the new glaze to adhere properly.
Follow these key actions:
- Inspect tiles carefully for cracks and chips.
- Use a high-quality epoxy or filler designed for tile repair.
- Apply filler evenly, pressing it firmly into cracks and chips.
- Allow sufficient drying time before sanding smooth.
- Clean the repaired areas thoroughly to remove dust and debris.
The Floor Tile Reglazing Process: What to Expect
You’ll start by thoroughly cleaning and sanding the tile surface to ensure proper adhesion. Next, the reglazing material is carefully applied using specific techniques to create a smooth, even finish.
Understanding these steps helps you know what to expect and prepare for a successful outcome.
Surface Preparation Steps
Before applying any glaze, thoroughly preparing the floor tile surface guarantees the best adhesion and a flawless finish. Surface prep is crucial, and you’ll want to follow specific safety steps to protect yourself and ensure a smooth process.
Start by cleaning the tiles to remove dirt, grease, and grime. Next, lightly sand the tile surface to create a rough texture for better glaze bonding. Repair any cracks or chips with an appropriate filler. Finally, wipe the tiles down with a damp cloth to remove dust and debris.
- Wear gloves, goggles, and a mask during prep
- Use a non-abrasive cleaner for initial washing
- Sand tiles evenly with fine-grit sandpaper
- Fill imperfections and let dry completely
- Clean dust thoroughly before glazing
These steps set the foundation for a lasting, professional-looking finish.
Application Techniques Explained
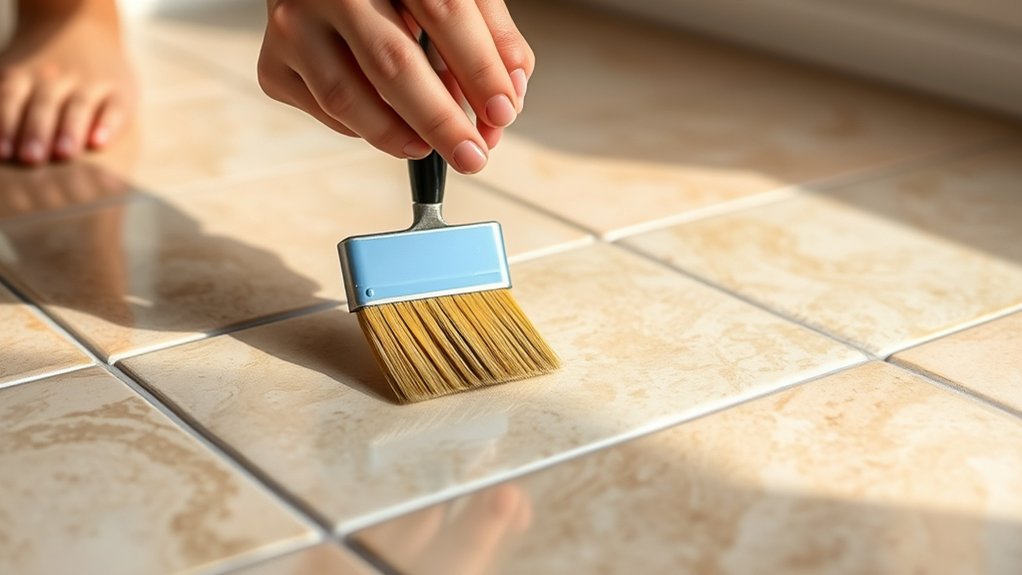
Once the tiles are properly prepared, applying the glaze carefully guarantees a smooth, even coating that lasts. Start by using a high-quality brush or roller designed for floor tile surfaces to spread the glaze uniformly.
Work in small sections, moving in consistent strokes to avoid drips or uneven patches. Allow each layer to dry fully before applying the next, as multiple thin coats enhance durability.
Pay close attention to grout lines, ensuring they receive an even finish. This step maximizes the reglazing benefits, such as improved appearance and added protection.
Proper ventilation and temperature control during application are also critical to optimal results. By following these precise techniques, you’ll restore your floor tile’s look efficiently, extending its lifespan without replacement.
Frequently Asked Questions
How Long Does Reglazed Floor Tile Typically Last?
Like shadows lengthen at dusk, reglazed floor tile typically lasts 10-15 years. Your longevity factors include foot traffic, cleaning habits, and product quality.
Keep these discussion ideas in mind to maximize your floor’s lifespan.
Can Reglazing Be Done on Outdoor Floor Tiles?
Yes, you can reglaze outdoor tiles, but you need to choose products designed for outdoor tile durability. Reglazing outdoor tiles requires weather-resistant coatings to withstand moisture, sunlight, and temperature changes for lasting protection and appearance.
Is Reglazing Safe for Households With Pets?
You want pet safety, you want odor concerns minimized, and you want durable results. Reglazing is generally safe if you use low-VOC products, ensure proper ventilation, and keep pets away during application and curing for their well-being.
How Much Does Professional Floor Tile Reglazing Cost?
You’ll typically pay $3 to $7 per square foot for professional floor tile reglazing. This cost covers enhanced reglazing durability and a variety of tile color options, ensuring your floors look fresh and last longer.
Can I Change the Tile Color During Reglazing?
Yes, you can change the tile color during reglazing. Don’t worry about limited options. Professionals offer a wide range of durable finishes.
You’ll refresh your floors with a new, vibrant look that lasts for years.