Are You Supposed to Caulk Around Shower Fixtures
If you notice water pooling behind your shower handle or around the tub spout, chances are you need to address the caulking around shower fixtures.
Caulking in these areas isn’t just about appearance—it’s essential for preventing water damage and mold growth.
However, not every fixture requires the same approach.
Using the wrong caulk or technique can lead to more problems.
Understanding when and how to apply caulk correctly can save you from costly repairs down the line.
Key Takeaways
- Caulk around shower fixtures where gaps exist to prevent water infiltration and mold growth.
- Use mildew-resistant silicone caulk designed for wet environments for durability.
- Avoid caulking fixtures with built-in seals or tight fittings like fixed showerheads and valve covers.
- Remove old caulk and clean surfaces thoroughly before applying new caulk for a strong, lasting seal.
- Regularly inspect and replace deteriorated caulk to maintain waterproofing and prevent structural damage.
Are You Supposed to Caulk Around Shower Fixtures?
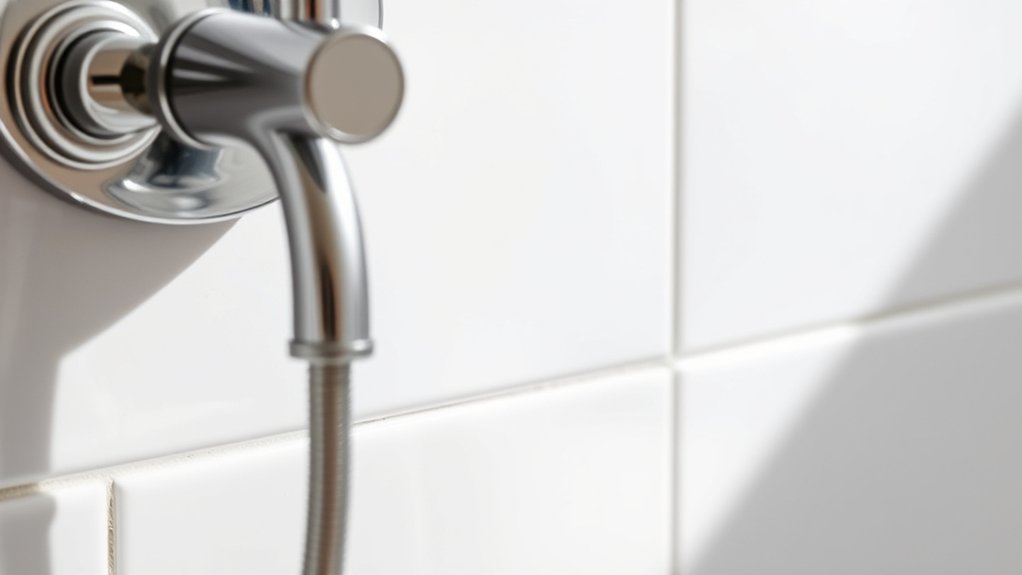
When should you caulk around shower fixtures? You should apply caulk where the fixture meets the wall or tub surface to prevent water infiltration. Proper sealing is essential to avoid sealing failures that cause mold or structural damage.
However, caulking every joint isn’t always necessary. Some professionals recommend using caulk alternatives like silicone gaskets or specialized sealing washers, which provide durable, flexible barriers without messy application.
Still, if you choose traditional caulk, select a mildew-resistant, waterproof type suitable for wet areas. Make sure the surfaces are clean and dry before application to maximize adhesion.
Which Shower Fixtures Should You Caulk Around?
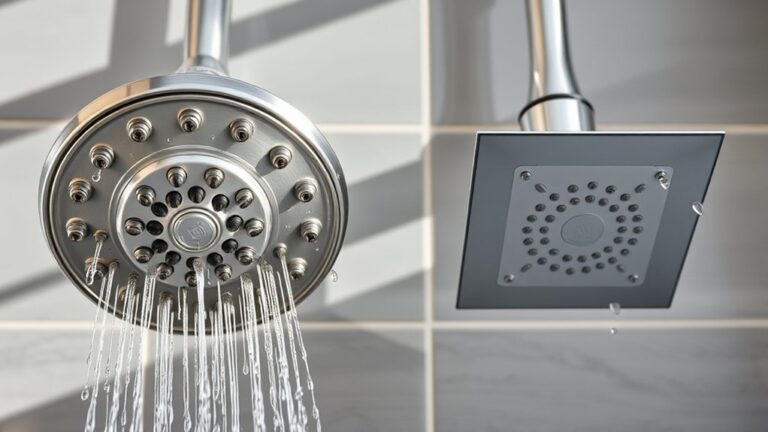
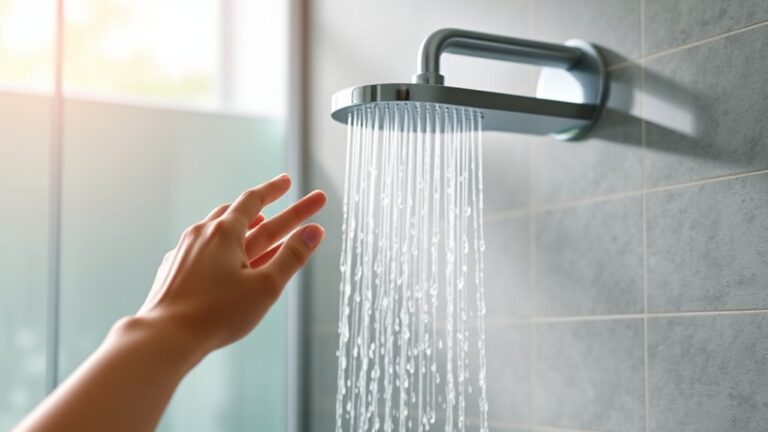
You should caulk around fixtures that have gaps between the fixture and the wall, like showerheads or faucets mounted through tile. Avoid caulking around fixtures designed with built-in seals, such as cartridge covers or escutcheons that fit tightly.
Knowing which fixtures require caulk helps prevent water leaks and mold growth effectively.
Fixtures That Need Caulking
Which shower fixtures require caulking to maintain a watertight seal? You should focus on areas where water can seep behind surfaces, such as around the shower valve trim plate, tub spout base, and the edges of handheld showerhead brackets.
These points are prone to water infiltration due to gaps or uneven surfaces. Using appropriate caulking materials, like silicone-based sealants, ensures flexibility and durability in wet environments.
Proper application prevents water from penetrating behind fixtures, which is crucial for mold prevention and structural integrity. Avoid using acrylic caulk here, as it lacks long-term waterproofing.
Fixtures Without Caulk Required
Why apply caulk around certain shower fixtures but not others? Some fixtures are designed with built-in seals or tight fittings that eliminate the need for additional caulking. Over-caulked areas can trap moisture, complicating caulk maintenance and increasing mold prevention challenges.
| Fixture Type | Caulk Needed? | Reason |
|---|---|---|
| Shower Valve Cover | No | Pre-sealed with gasket |
| Fixed Showerhead | No | Threaded connection with plumber’s tape |
| Sliding Door Tracks | No | Designed with water drainage |
Avoid caulking these fixtures to reduce moisture buildup and simplify upkeep. Focus caulk around areas prone to water intrusion instead, ensuring effective mold prevention and easier caulk maintenance.
Why You Need to Caulk Around Shower Fixtures
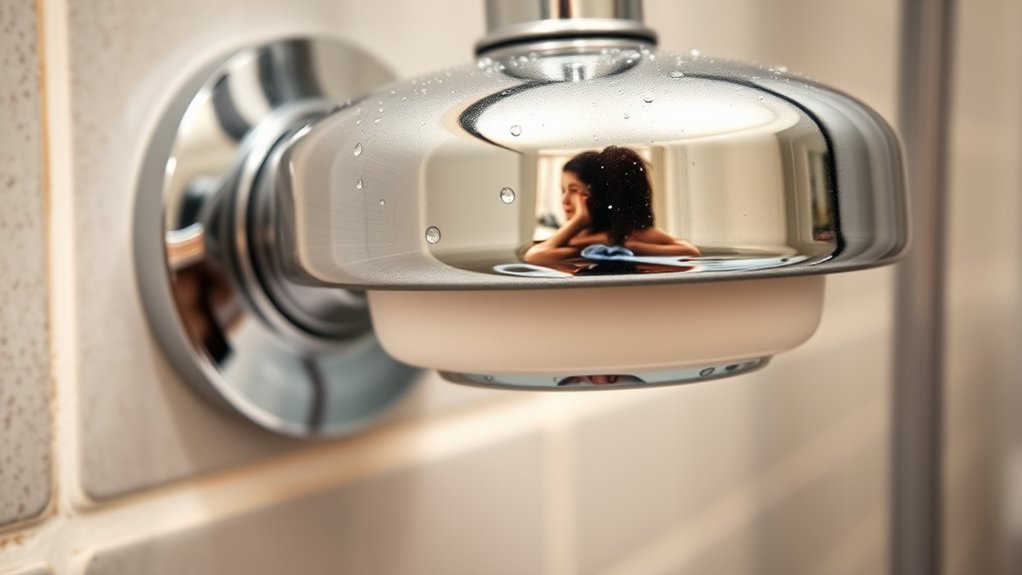
You need to caulk around shower fixtures to prevent water from seeping behind walls and causing damage. Proper caulking also helps maintain mold resistance by sealing moisture-prone gaps.
Additionally, it protects your fixtures and extends their functional lifespan.
Prevent Water Damage
How does caulking around shower fixtures protect your bathroom? By properly sealing the fixture gaps, you create a continuous barrier that prevents water from seeping into walls and substructures. The caulk scope should cover all edges where the fixture meets tile or wall surfaces, eliminating potential entry points for moisture.
Without this seal, water can penetrate behind tiles, causing wood rot, drywall damage, and mold growth. Applying caulk within the correct scope ensures durability and long-term protection, maintaining the integrity of your bathroom’s structural elements.
You need to inspect fixture gaps regularly and replace deteriorated caulk promptly to sustain effective water resistance. Precise caulking around shower fixtures is a practical step that safeguards your investment by preventing costly water damage repairs.
Maintain Mold Resistance
Beyond preventing water damage, caulking around shower fixtures plays an essential role in maintaining mold resistance. When you apply a proper sealant, you block moisture from seeping into crevices where mold thrives. This is crucial because mold not only damages surfaces but also affects indoor air quality.
Here are key points for your discussion idea one and discussion idea two:
| Concern | Effect Without Caulk | Benefit With Caulk |
|---|---|---|
| Mold Growth | Rapid proliferation | Inhibited development |
| Health Risks | Allergies, respiratory issues | Reduced exposure |
| Maintenance | Frequent cleaning required | Easier upkeep |
| Aesthetics | Unsightly stains and damage | Clean, pristine appearance |
Sealing gaps prevents mold spores from taking hold, ensuring a healthier, longer-lasting shower environment.
Enhance Fixture Longevity
Why does caulking around shower fixtures matter for their longevity? Proper caulking prevents water infiltration that can degrade fixture materials and cause premature failure. Don’t fall for common caulking myths that suggest it’s unnecessary or purely cosmetic.
When you skip or improperly apply caulk, you expose fixtures to corrosion and structural damage. Avoid DIY risks by following best practices to extend fixture life.
Here’s why you should caulk precisely:
- Seal against moisture: Stops water from seeping behind fixtures, preventing rust and rot.
- Protect structural integrity: Prevents water damage that weakens fixture mounts and walls.
- Reduce maintenance costs: Minimizes repairs caused by water-induced deterioration.
Caulking is a critical step to ensure your shower fixtures remain functional and durable.
Best Caulk Types for Shower Fixtures
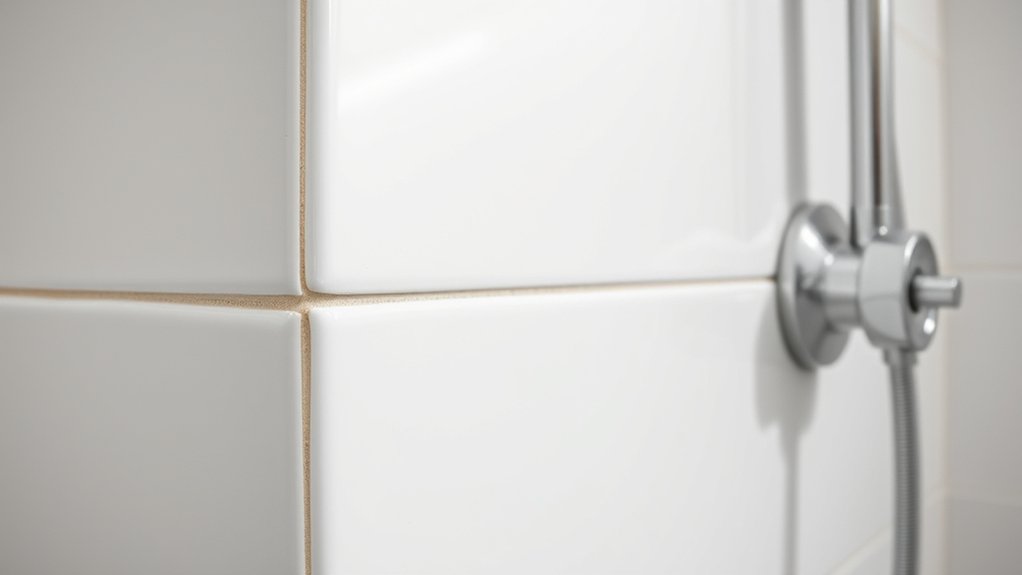
Which caulk types deliver the best seal and durability around shower fixtures? Silicone caulk is your top choice due to its superior water resistance and flexibility, essential for crack prevention in wet environments.
Opt for a 100% silicone formula specifically designed for bathrooms to ensure mold and mildew resistance. Avoid acrylic or latex caulks here; they lack the elasticity needed to handle the constant movement and moisture.
When selecting silicone, check for a mildew-resistant label and compatibility with the fixture materials, ensuring a strong bond without damage. Proper silicone selection guarantees a long-lasting seal that withstands temperature fluctuations and water exposure.
This technical approach minimizes maintenance and protects both the fixtures and surrounding surfaces effectively.
Preparing Your Shower Fixtures for Caulking
How do you guarantee a clean, effective caulking job around your shower fixtures? Start by thoroughly preparing the area to ensure optimal adhesion and mold resistance. Follow these three key steps:
- Clean the Surface: Remove old caulk, soap scum, and debris using a scraper and a mold-resistant cleaner. Ensure the surface is completely dry before proceeding.
- Select Proper Caulking Materials: Use a high-quality silicone or polyurethane caulk specifically formulated for wet environments and mold resistance.
- Protect Surrounding Areas: Apply painter’s tape around fixtures to create sharp, clean lines and prevent excess caulk from spreading onto tiles or grout.
Proper preparation minimizes future leaks and mold growth, ensuring your caulking job is durable and professional.
Step-by-Step Guide to Caulking Around Shower Fixtures
When do you know you’re ready to apply caulk around your shower fixtures? First, ensure the area is clean, dry, and free of old caulk or debris. Use painter’s tape to create precise edges, preventing excess spreading.
Cut the caulk tube tip at a 45-degree angle for controlled application. Apply steady pressure and move smoothly along the joint, filling gaps completely. Avoid relying solely on caulk for waterproofing. Understand the shortcomings of caulking, as it can degrade over time and isn’t a substitute for a proper waterproof barrier.
Finally, smooth the bead with a damp finger or tool for a uniform seal. Remember, caulk helps maintain appearance and minor sealing, but waterproofing myths shouldn’t lead you to overlook essential shower waterproofing systems.
Common Caulking Mistakes to Avoid in Showers
Why do so many caulking jobs in showers fail prematurely? Often, it’s due to avoidable errors during application. To ensure lasting results, avoid these common mistakes:
Many shower caulking failures stem from simple application errors that can be easily avoided.
- Applying caulk on damp or dirty surfaces. Moisture and debris prevent proper adhesion and cause troubleshooting aromas from mold growth.
- Using the wrong caulk type. Select a mold-resistant, mildew-proof silicone designed for wet environments to extend durability and fit your budget planning.
- Over-applying or under-applying caulk. Too much leads to uneven curing; too little leaves gaps vulnerable to water infiltration.
When to Replace Old Caulk Around Shower Fixtures
Even with perfect application, caulk around shower fixtures deteriorates over time due to constant exposure to moisture and temperature changes. You need to perform regular caulk inspection to identify cracks, gaps, or peeling edges.
If you notice any discoloration, mold growth, or soft spots, it’s time to replace the caulk. These defects compromise the waterproof seal, allowing water to infiltrate behind tiles, potentially damaging the substrate.
Additionally, if grout sealing shows signs of wear or water absorption, it often correlates with failing caulk. Replacing old caulk promptly prevents costly repairs and maintains structural integrity.
Remove the degraded caulk completely, clean the area thoroughly, and apply new caulk designed for wet environments to restore a reliable, watertight barrier around your shower fixtures.
Maintaining a Long-Lasting Caulk Seal
How can you guarantee your caulk seal remains effective over time? Proper caulking maintenance is essential to prevent leaks and mold growth around shower fixtures. To maintain a long-lasting caulk seal, follow these steps:
- Regular Inspection: Check shower sealants every 3-6 months for cracks or gaps. Early detection prevents water damage.
- Cleaning: Use a non-abrasive cleaner to remove soap scum and mildew. Avoid harsh chemicals that degrade sealants.
- Reapplication: If you notice deterioration, remove old caulk completely and apply a high-quality, mold-resistant silicone sealant designed for wet environments.
Consistent attention to these tasks ensures your shower fixtures stay watertight, prolonging the life of your caulking and protecting your bathroom’s structural integrity.
Frequently Asked Questions
Can Caulk Prevent Mold Growth in My Shower?
Think of caulk like a raincoat for your shower. Its durability seals gaps, blocking moisture entry. By incorporating caulk durability into mold prevention strategies, you actively reduce mold growth risks, keeping your shower cleaner and structurally sound longer.
How Long Does Caulk Around Shower Fixtures Typically Last?
You can expect caulk lifespan around shower fixtures to be 5 to 10 years, depending on product quality and maintenance. Using mold-resistant caulk helps maintain durability by preventing mold growth, ensuring a long-lasting, watertight seal.
Is Silicone Caulk Safe for All Shower Surfaces?
You can use silicone caulk as a waterproof sealant on most shower surfaces. Its flexible caulk material resists moisture and mold, but avoid it on natural stone, where specialized sealants work better to prevent damage.
Can I Paint Over Caulk in the Shower Area?
Painting over caulk can compromise caulk durability and moisture resistance. You shouldn’t paint silicone caulk since it repels paint.
Use paintable latex caulk instead for lasting, water-resistant seals that you can safely coat without cracking or peeling.
How Do I Remove Old Caulk Without Damaging Fixtures?
You’ll carefully soften old caulk with a caulk remover, then gently scrape it away using a plastic tool to avoid fixture removal. Maintain the waterproof seal by thoroughly cleaning shower edges before applying new caulk precisely.