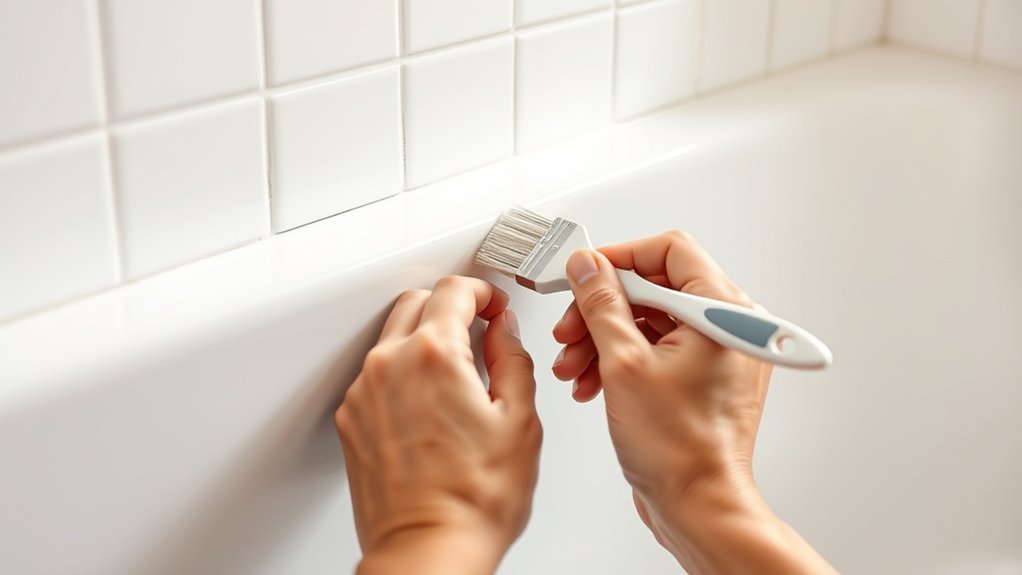
How to Seal Bathtub Grout
You might not realize that unsealed grout in your bathtub can absorb moisture and promote mold growth, even if it looks clean.
Sealing bathtub grout is essential to protect it from water damage and staining.
To effectively protect your grout, you need to start with thorough cleaning and ensure it’s completely dry before applying the right sealer.
But sealing grout isn’t just about slapping on a product; there are specific steps and timing considerations that ensure lasting results and prevent common mistakes.
Following the proper procedure will help maintain the appearance and durability of your bathtub grout for years to come.
Key Takeaways
- Clean grout thoroughly with a pH-neutral cleaner and remove all mold, dirt, and soap scum before sealing.
- Ensure grout is fully cured (at least 72 hours) and completely dry to avoid moisture entrapment before applying sealer.
- Apply grout sealer evenly using a small brush, avoiding excess on tiles to prevent discoloration.
- Allow sealer to cure for 24-48 hours before exposing grout to water or steam for optimal protection.
- Reseal grout every 6-12 months, using a water bead test to check if resealing is needed.
Why You Should Seal Your Bathtub Grout
Why should you seal your bathtub grout? Sealing grout creates a protective barrier that prevents water absorption, mold growth, and staining. This barrier maintains grout integrity by reducing porosity and minimizing moisture penetration.
Sealing grout protects against water, mold, and stains, preserving its durability and integrity.
Without sealing, grout becomes vulnerable, leading to deterioration and costly repairs. It’s important to avoid concept mismatches by focusing strictly on sealing benefits rather than irrelevant tangents like general bathroom cleaning or unrelated maintenance tasks.
Sealing also enhances grout durability, prolonging its lifespan under constant exposure to humidity and cleaning agents. By applying a sealant, you ensure consistent performance and reduce maintenance frequency.
Therefore, sealing grout is a necessary, efficient step in bathtub upkeep that safeguards structural and aesthetic qualities effectively.
How to Clean Bathtub Grout Before Sealing
Before sealing, you need to remove all dirt and mold from the grout to ensure proper adhesion. Select a cleaner that targets mold and mildew without damaging the grout material.
Apply the cleaner methodically, then rinse thoroughly and let the grout dry completely before sealing.
Removing Dirt And Mold
Effective sealing starts with thoroughly removing dirt and mold from your bathtub grout. Begin by identifying areas of dirty grout and visible mold growth. Use a stiff-bristled brush to scrub the grout lines, focusing on dislodging accumulated grime and surface mold.
Rinse the area with clean water to remove loosened debris. For persistent mold, apply a targeted treatment to break down mold colonies without damaging the grout. After treatment, scrub again to lift any remaining residues.
Finally, rinse thoroughly and allow the grout to dry completely before sealing. This methodical approach ensures that dirt and mold don’t interfere with the sealant’s adhesion, providing a clean, stable surface for effective sealing.
Choosing The Right Cleaner
How do you select the optimal cleaner to prepare bathtub grout for sealing? Start by choosing a cleaner that effectively removes soap scum, dirt, and mold without damaging the grout’s surface.
Opt for a pH-neutral or mildly alkaline cleaner designed for tile and grout; avoid harsh acids or abrasives that can erode grout lines. Ensure the formula supports mold prevention to maintain grout integrity over time.
Incorporate this cleaner into a regular cleaning schedule, ideally weekly, to minimize buildup and microbial growth before sealing. Test the cleaner on a small grout area first to confirm compatibility.
Fixing Damaged Bathtub Grout Before Sealing
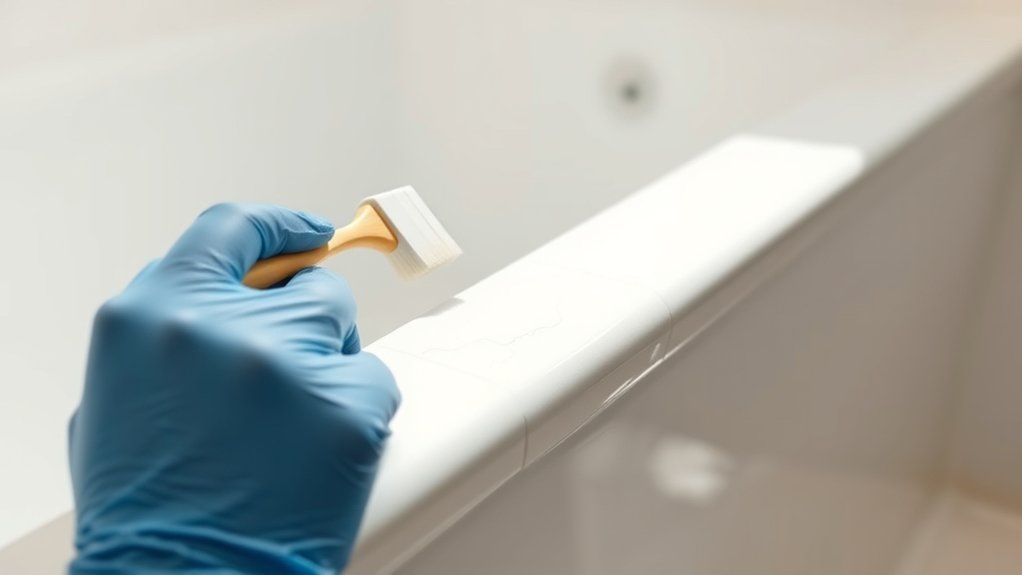
Before sealing, you need to identify any damaged grout by inspecting for cracks or gaps. Remove the old grout carefully using a grout removal tool to avoid damaging surrounding tiles.
Then, prepare the surface by cleaning and drying it thoroughly to ensure proper adhesion of the new grout.
Identifying Grout Damage
Why does grout damage matter when sealing your bathtub? Damaged grout compromises the sealant’s effectiveness, allowing water to penetrate and cause mold or structural damage. Before sealing, you must accurately identify grout damage.
Focus on these three key aspects:
1. Cracks and gaps
Inspect grout lines for visible fractures or missing sections that disrupt grout texture.
2. Loose grout
Test by gently scraping with a tool; loose grout crumbles easily, indicating deterioration.
3. Identifying slurry
Look for a powdery residue on the surface, signaling incomplete curing or degradation.
Removing Old Grout
When should you remove old grout from your bathtub? You should perform grout removal when you notice significant cracking, crumbling, or mold growth that compromises grout integrity.
Begin by selecting an appropriate removal technique, such as using a grout saw or rotary tool with a grout removal attachment, to avoid damaging adjacent tiles. Work methodically along grout lines, applying consistent pressure to extract the grout evenly.
Avoid aggressive scraping to preserve surrounding grout and tile edges. After removing the damaged grout, clean the joints thoroughly to eliminate dust and debris, ensuring optimal adhesion for new grout.
Proper removal technique is critical for grout preservation in remaining areas and prepares the surface effectively for resealing, ultimately extending the lifespan of your bathtub grout.
Preparing Surface Properly
How do you guarantee your bathtub grout is ready for sealing? Proper preparation is crucial to ensure a lasting seal and uniform grout color variation. Follow these steps:
- Inspect and Remove Damaged Grout: Use a grout removal tool to eliminate cracked or crumbling grout, ensuring a clean base.
- Clean Thoroughly: Scrub the grout lines with a mold-resistant cleaner. Make sure bathroom ventilation is adequate to accelerate drying and prevent moisture buildup.
- Repair and Level: Apply new grout to damaged areas, smoothing it evenly to match existing grout color. Allow it to cure fully according to manufacturer instructions before sealing.
Choosing the Right Sealer for Bathtub Grout
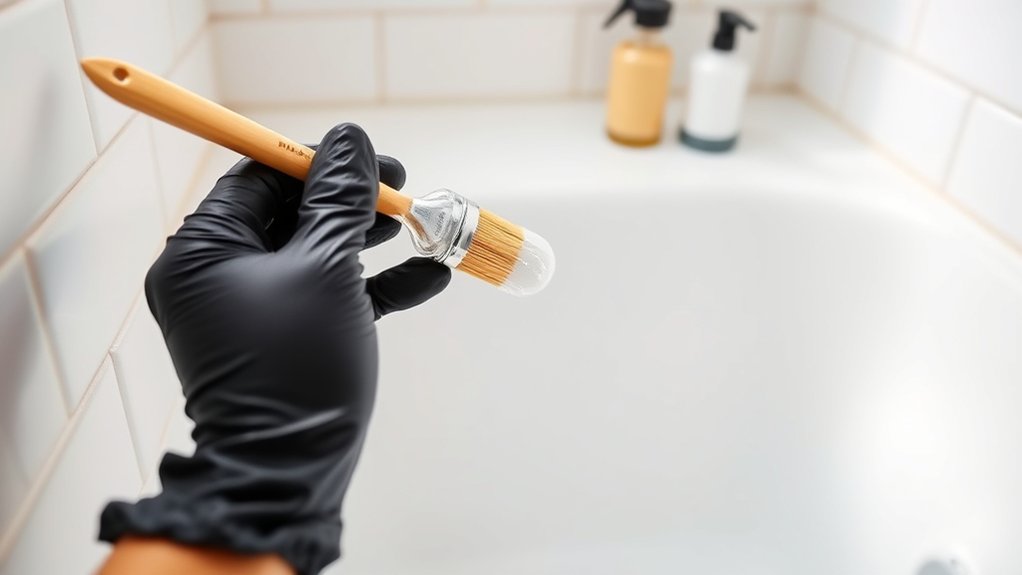
Which sealer best protects your bathtub grout depends on several factors, including the grout material, exposure to moisture, and desired durability. You must consider discoloration risks and available color options to maintain your tub’s aesthetic.
Choose a penetrating sealer for deep protection or a membrane-forming sealer for surface defense. Evaluate water resistance and ease of application to match your needs.
| Sealer Type | Emotion Evoked |
|---|---|
| Penetrating | Confidence in durability |
| Membrane-Forming | Assurance of surface defense |
| Color-Enhancing | Satisfaction with appearance |
| Natural Finish | Calm from subtlety |
Selecting the right sealer ensures longevity and preserves grout integrity under constant moisture exposure.
Step-by-Step Guide to Applying Grout Sealer
Why start sealing your bathtub grout now? Proper sealing prevents water damage and mold growth, preserving grout integrity with only minor aesthetics changes and minimal budget impact. Follow these steps:
Sealing your bathtub grout now prevents water damage and mold, protecting integrity with minimal aesthetic and budget impact.
- Clean and dry thoroughly: Remove soap scum and dirt, ensuring grout lines are completely dry to maximize sealer adhesion.
- Apply sealer evenly: Use a small brush or applicator bottle to coat grout lines precisely, avoiding excess on tiles to prevent discoloration and maintain minor aesthetics.
- Let it cure: Allow the sealer to penetrate and dry fully, typically 24-48 hours, before exposing the area to moisture.
This methodical approach ensures durable protection without costly repairs, balancing functionality with budget impact effectively.
Avoid Common Grout Sealing Mistakes to Get It Right
Applying grout sealer correctly sets the foundation for long-lasting protection, but even small errors can undermine your efforts. First, ensure the grout is completely clean and dry; residual moisture or dirt compromises sealer adhesion, reducing stain removal effectiveness and mold prevention.
Avoid applying sealer too thickly. Excess causes uneven curing and trapping of moisture. Use a high-quality applicator to evenly coat grout lines without overlapping onto tiles, which can create a slippery surface.
Don’t skip the recommended curing time. Rushing this step weakens the barrier against stains and mold. Lastly, avoid sealing grout that shows existing mold or heavy staining; properly remove these first for optimal sealer performance.
When Is the Best Time to Seal Your Grout?
When should you seal your grout to ensure maximum protection? The best time to seal is critical for durability and effectiveness. Follow these steps to determine the optimal moment:
- After Grout Curing: Wait at least 72 hours post-application before sealing. This allows grout to fully cure, ensuring proper absorption of the sealer.
- When Grout is Completely Dry: Moisture impedes sealing. Confirm grout is dry by touch and visual inspection to avoid trapping moisture.
- Before Regular Use: Seal your grout before exposing it to water or steam. This prevents premature damage and staining.
Knowing how to seal at the best time guarantees a strong, protective barrier. Timing directly affects longevity and performance of your bathtub grout sealant.
How Often to Reseal Bathtub Grout
Sealing your bathtub grout at the right time sets the foundation, but maintaining that protective barrier requires regular attention. Typically, you should reseal grout every six to twelve months, depending on water exposure and cleaning frequency.
To determine if resealing is necessary, perform a water bead test: sprinkle water on grout lines; if it absorbs quickly, resealing is due. Avoid confusing this maintenance with unrelated topics like random chat about bathroom aesthetics.
Focus strictly on the technical timing to prevent water intrusion and mold growth. Consistency in resealing preserves grout integrity and bathtub hygiene.
Establish a resealing schedule based on your bathroom’s specific conditions, ensuring you don’t overlook this critical step in grout care.
How to Maintain Sealed Bathtub Grout for Longevity
How can you ensure your sealed grout remains effective over time? Maintaining sealed bathtub grout requires consistent care and attention to detail. Follow these steps to extend its longevity:
- Regular Cleaning: Use a pH-neutral cleaner to avoid degrading the sealant scent and protect grout color integrity. Avoid harsh chemicals that can strip the sealant.
- Dry After Use: Wipe down grout lines after each shower to prevent moisture buildup, which compromises the sealant’s barrier.
- Inspect and Spot Treat: Periodically check grout for discoloration or dullness. If the grout color fades or the sealant scent diminishes, apply a thin, even layer of sealant to restore protection.
Frequently Asked Questions
Can Sealing Grout Prevent Mold Growth Permanently?
Sealing grout doesn’t prevent mold growth permanently, but it considerably reduces moisture absorption. For effective grout maintenance, you’ll need regular cleaning and resealing.
Consider these discussion ideas to develop a consistent maintenance schedule for lasting results.
Is Grout Sealing Safe for Children and Pets?
Yes, sealing safety is generally high when applied properly. You should guarantee the area is well-ventilated and keep household pets away during application and drying to prevent inhalation or contact with chemicals, minimizing health risks effectively.
Can I Use the Same Sealer for Kitchen and Bathtub Grout?
You shouldn’t use the same sealer for kitchen and bathtub grout without checking sealant compatibility. Proper surface prep varies by area, so choose a sealer designed for moisture exposure in bathtubs and food-safe use in kitchens.
Does Sealing Grout Change Its Color or Appearance?
Grout sealers typically cause minimal color change, but some penetrative types may slightly darken grout.
You should test the sealer on a small area first to ensure the color change aligns with your expectations before full application.
How Long Does It Take for Grout Sealer to Dry Completely?
You’ll need about 24 hours for grout sealer’s drying time to guarantee optimal waterproofing duration, which can last up to 5 years. Proper drying guarantees maximum protection against moisture and mold, preserving your grout’s integrity.
Conclusion
Sealing your bathtub grout is like putting a waterproof shield around each line, protecting it from water damage and mold. By thoroughly cleaning, repairing, and applying the right sealer methodically, you can ensure long-lasting durability.
Remember to let the sealer cure completely before using the bathtub again. Reapply the sealer every 6–12 months or whenever water soaks in quickly to maintain protection.
With consistent maintenance, your grout will stay resilient and clean. This process is essential for preserving your bathtub’s integrity efficiently over time by sealing your bathtub grout properly.