How Install Crown Molding on a Kitchen Cabinet
You might assume installing crown molding on kitchen cabinets is straightforward, but achieving a flawless fit requires more than just basic cutting skills.
Precision in measuring, selecting the right materials, and mastering corner joints play critical roles in installing crown molding on kitchen cabinets.
If you want your molding to enhance the cabinet’s look without gaps or misalignment, you’ll need to approach the process methodically.
Understanding these steps will help you avoid common pitfalls and guarantee a professional finish.
Pick the Best Crown Molding and Tools for Your Kitchen
Choosing the right crown molding and tools is essential for a successful installation on your kitchen cabinets. Start by selecting the best material for durability and ease of cutting. Medium-density fiberboard (MDF) and solid wood are popular choices.
MDF offers smooth surfaces and consistent dimensions, while solid wood provides a natural finish. Ensure the molding’s profile complements your cabinet style for seamless integration.
Next, focus on achieving a precise shade match between the molding and cabinet finish. Sample paint or stain on molding scraps to verify color compatibility under your kitchen’s lighting conditions.
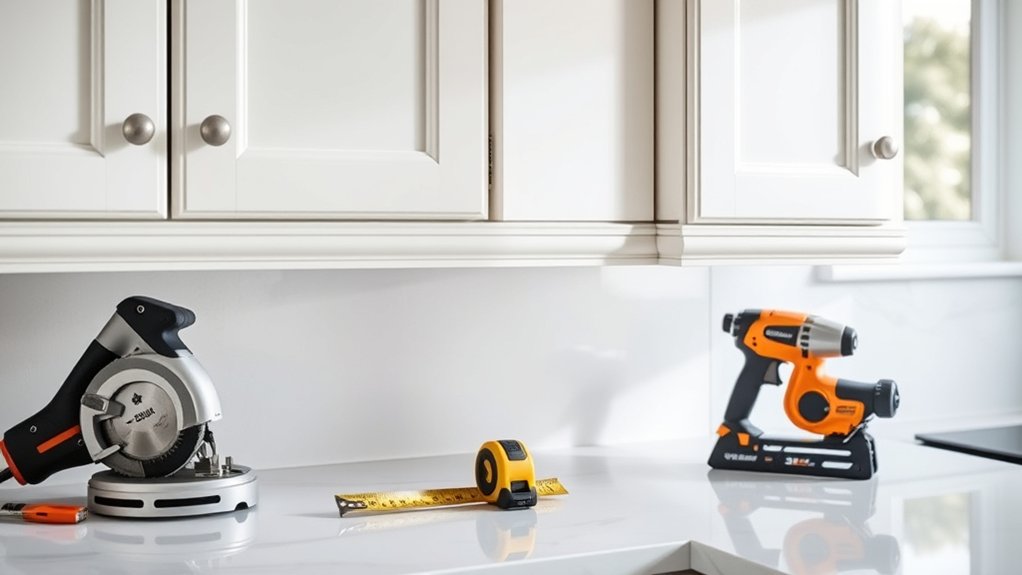
For tools, equip yourself with a miter saw for accurate angled cuts, a coping saw for intricate joints, and a nail gun for secure fastening. Additionally, use a measuring tape, carpenter’s square, and wood filler to ensure tight joints and a polished final appearance.
Selecting the right materials and tools lays the foundation for a professional-grade crown molding installation.
Measure and Prepare Kitchen Cabinets for Crown Molding
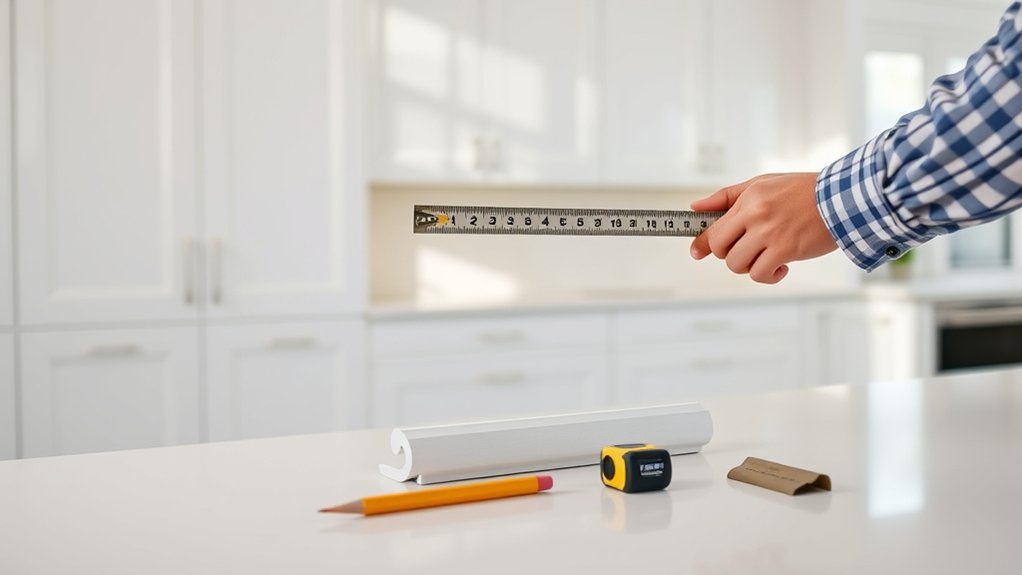
Start by thoroughly measuring the dimensions of your kitchen cabinets, including height, width, and depth, to guarantee the crown molding fits perfectly. Use a reliable tape measure and double-check for measuring accuracy, as even minor errors can cause fitting issues later.
Measure your kitchen cabinets carefully—height, width, and depth—to ensure perfect crown molding fit.
Next, assess cabinet clearance, ensuring there’s enough space above cabinets for the molding without obstructing doors or hardware. Check shelving alignment inside the cabinets to verify molding installation won’t interfere with shelf movement or placement.
Also, note any irregularities in cabinet edges or surfaces that may require sanding or filling before attachment. Before proceeding, plan for paint matching: record or sample the cabinet’s finish to match the molding color seamlessly, ensuring a uniform look after installation.
Preparing your cabinets with these precise measurements and clearances will streamline the molding installation, prevent fitment problems, and result in a professional, clean finish.
Cut Crown Molding for Perfect Fits and Corners
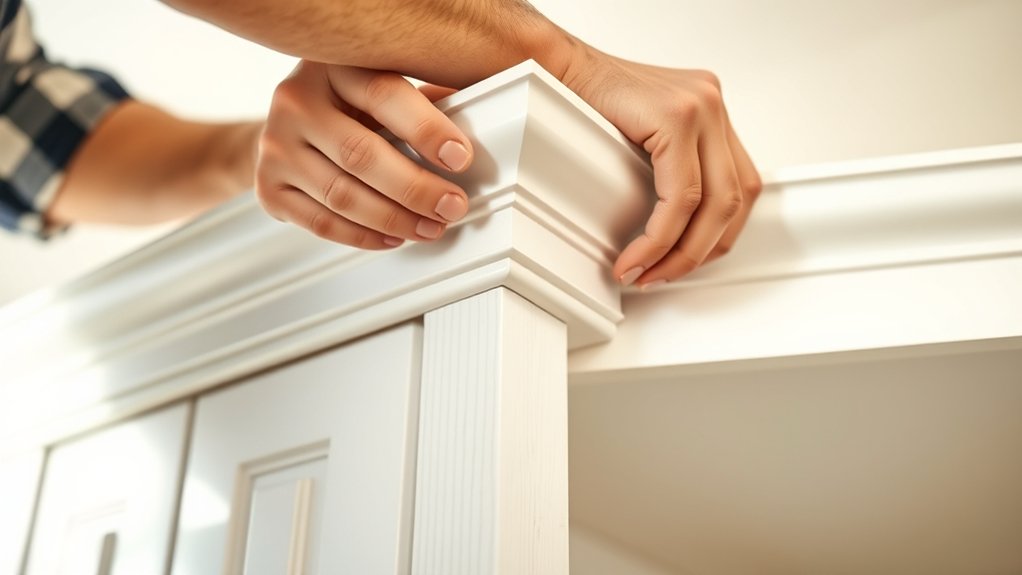
With accurate measurements and proper cabinet preparation complete, you can move on to cutting the crown molding to fit precisely. Start by setting your miter saw to the correct angle, typically 45 degrees for inside and outside corner joints.
Use a coping saw for inside corners to achieve a tight, seamless fit. Precision cutting is essential; double-check angles and lengths before making each cut to avoid gaps or misalignment. Mark each piece clearly to match the cabinet layout.
When cutting corner joints, remember that the molding’s orientation affects the saw angle, so position the molding upside down and backward on the saw for accurate cuts. Test-fit all pieces before finalizing cuts to ensure perfect alignment.
This methodical approach minimizes errors and ensures that your crown molding fits snugly against the cabinet edges, creating clean, professional-looking corner joints. Accurate cutting lays the foundation for a flawless installation.
Attach Crown Molding to Kitchen Cabinets
How do you securely attach crown molding to kitchen cabinets without damaging the surfaces? First, confirm your crown molding selection matches the cabinet installation style and dimensions. Use a pneumatic brad nailer with 1 ¼-inch nails to avoid splitting the molding or cabinet frame.
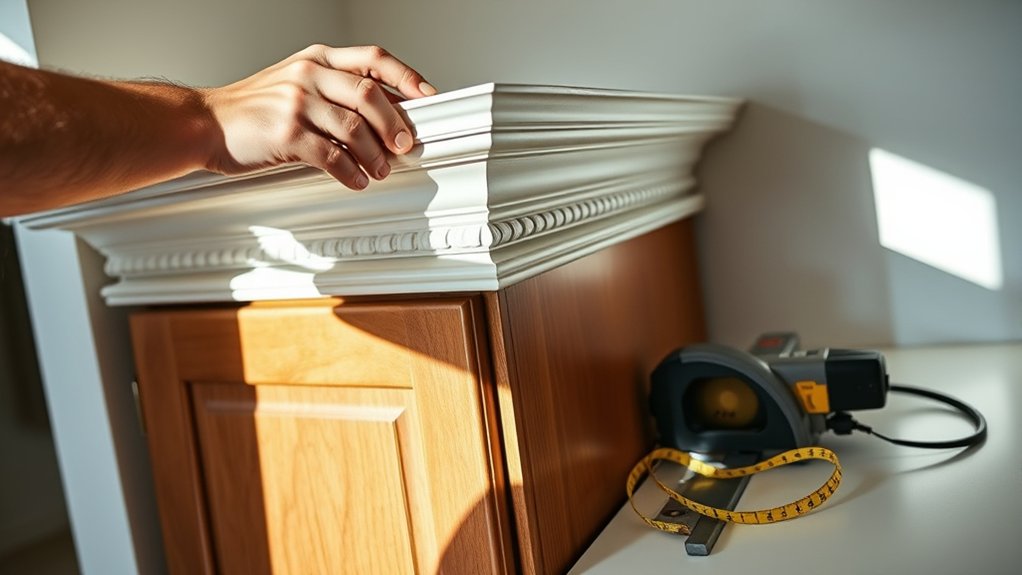
Position the molding on the cabinet’s top edge, ensuring alignment with previous cuts and corners. Hold the molding firmly in place and drive nails at a 45-degree angle into the cabinet face frame, not just the door or panel, to guarantee stability.
If the cabinet installation includes filler panels, attach molding to those as well for a seamless appearance. Avoid excessive force that could dent or crack the molding. Check for gaps or misalignment immediately, adjusting as needed before nailing fully.
This method keeps your crown molding secure and preserves the structural integrity of your cabinets throughout the installation process.
Finish and Touch Up Crown Molding
Why is finishing and touching up crown molding critical after installation? Proper finish touchups ensure a seamless, professional look and protect the molding from moisture and damage.
After securing the crown molding, inspect all joints and nail holes closely. Use wood filler or caulk to fill gaps and imperfections, then sand these areas smooth to create an even surface.
Next, carefully apply paint or stain that perfectly matches the existing cabinet finish to maintain uniformity. Achieving a precise paint match is essential to avoid noticeable color discrepancies.
Use a small brush for detailed areas, feathering edges to blend the touchups seamlessly with the surrounding surface. Allow adequate drying time before handling the cabinetry.
Frequently Asked Questions
Can Crown Molding Be Installed on Existing Cabinets Without Removal?
Yes, you can install crown molding on existing cabinets without removal. You’ll need precise measurements, careful cutting, and secure fastening to ensure a seamless fit while avoiding damage to your cabinets during the installation process.
What Types of Paint Work Best on Crown Molding?
Perfect paint finishes for crown molding prioritize durability and detail. Satin or semi-gloss shine suits moisture-prone spots, while color choices should complement cabinetry.
Choose paint that resists wear, ensuring your molding maintains its magnificent, meticulous look.
How Do I Repair Damaged Crown Molding After Installation?
You’ll use repair tips like filling cracks with wood filler, sanding smoothly, and applying finish touch ups with matching paint or stain. This guarantees seamless blending and restores your crown molding’s professional appearance efficiently.
Is Crown Molding Suitable for All Kitchen Cabinet Styles?
Crown molding suitability depends on cabinet style compatibility; it works best with traditional or transitional cabinets, enhancing elegance.
Modern, minimalist styles may clash, so you should evaluate design coherence before adding crown molding to ensure visual harmony.
Can I Install Crown Molding in a Kitchen With Uneven Walls?
You can gracefully manage uneven walls by using flexible crown molding or adjusting cut angles during cabinet installation. Careful measuring and shimming ensure a seamless fit, turning challenges into a polished, professional finish.