How Do You Remove a Delta Kitchen Faucet
When you need to remove a Delta kitchen faucet, start by shutting off the water supply and relieving any pressure in the lines. This initial step is crucial to prevent water from spilling during the removal process.
Next, disconnect the supply lines and remove the mounting hardware beneath the sink. It’s important to handle each step carefully to avoid damaging your plumbing or sink surface.
Knowing the correct order and tools makes the process smoother, but there’s more to contemplated before you lift the faucet free. Taking your time ensures a safe and efficient removal.
Gather Tools for Removing a Delta Faucet
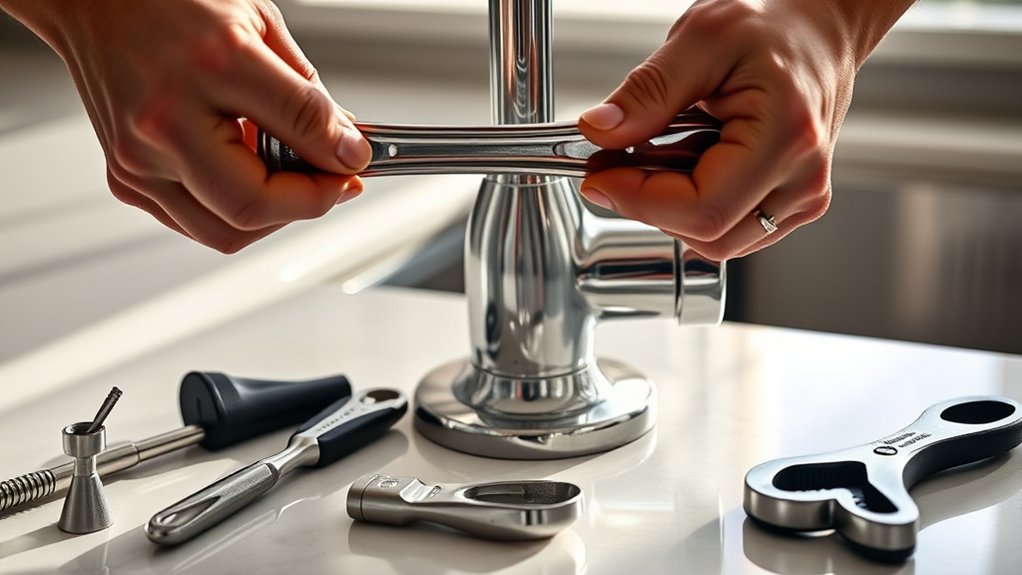
Where should you begin when removing a Delta kitchen faucet? Start by gathering the necessary tools to ensure a smooth process. You’ll need an adjustable wrench, a basin wrench, a screwdriver set, and pliers.
These tools allow you to loosen mounting nuts and disconnect water lines effectively. Before disassembly, prepare for gasket inspection to check for wear or damage once the faucet is removed. Having a flashlight on hand helps illuminate tight spaces under the sink, which is crucial for verifying valve alignment during reinstallation.
Additionally, keep a bucket nearby to catch any residual water. Organize your workspace to avoid misplacing small parts. By assembling these tools and being ready for gasket inspection and valve alignment, you’ll streamline the removal process and prevent mistakes that could lead to leaks or misaligned components later.
Proper preparation is key; don’t skip this initial step if you want an efficient, damage-free faucet removal.
How to Turn Off the Water Supply Safely
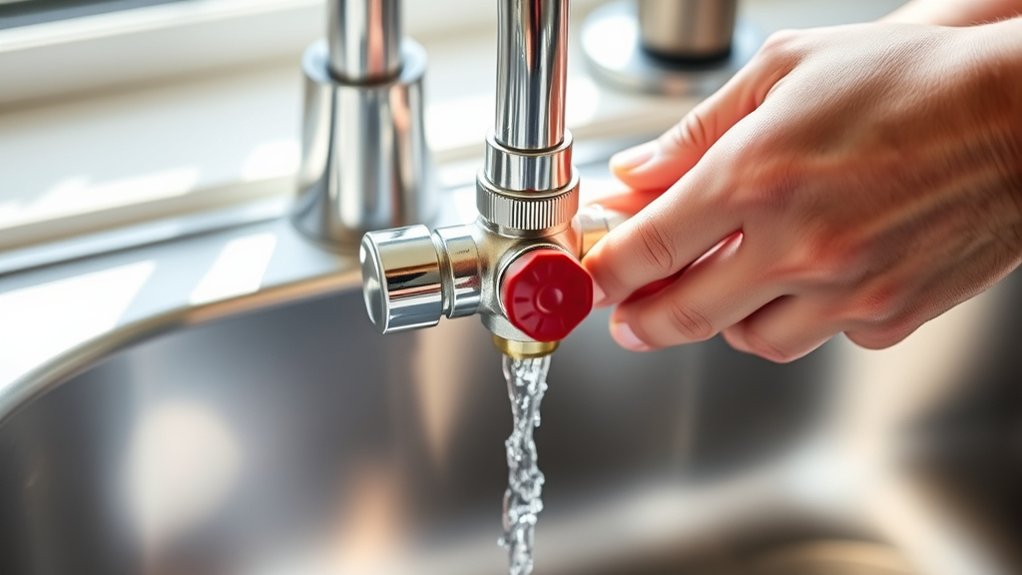
How exactly do you guarantee the water supply is safely turned off before removing your Delta kitchen faucet? Begin by locating the shutoff valves under the sink; these control the hot and cold water lines independently. Turn each valve clockwise until it stops. This action closes the water flow.
Locate and turn the shutoff valves under the sink clockwise to safely stop water flow before faucet removal.
If your valves are old or stuck, apply gentle force or use an adjustable wrench to avoid damage. Next, open the faucet to release any remaining water pressure and drain residual water from the lines. This step confirms the valves are fully closed and prevents leaks during removal.
Always follow safety precautions: wear gloves and keep a towel handy for unexpected drips. Avoid turning off the main water supply unless necessary, as it affects the entire house. This two word discussion ideas, “water shutoff,” guides you through the safe, precise process.
Confirming these safety precautions ensures a smooth, leak-free faucet removal without causing water damage.
How to Disconnect Water Lines From Your Delta Faucet
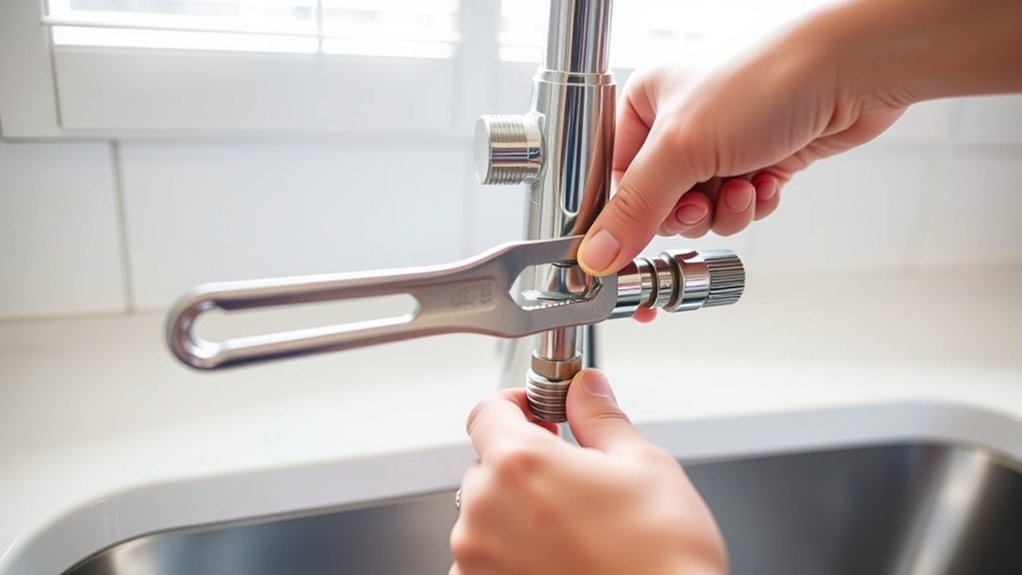
Start by loosening the nuts that connect the water supply lines to your Delta faucet using an adjustable wrench or basin wrench. Turn the nuts counterclockwise until they detach from the faucet’s threaded connectors. Keep a small bucket or towel handy to catch residual water.
Once loosened, carefully pull the supply lines away from the faucet to avoid damaging the connectors or nearby plumbing. If your faucet includes an alternative airflow feature, ensure that the disconnect doesn’t disrupt any integrated ventilation pathways. This prevents pressure imbalances during faucet removal.
After detaching the water lines, inspect the exposed connectors for mineral buildup or damage. Cleaning these areas supports effective cosmetic restoration if you plan to reinstall or replace the faucet. Avoid twisting or forcing the supply lines, as this can cause leaks or damage seals.
With the water lines disconnected, you’re now ready to proceed to the next step of faucet removal.
How to Remove Mounting Hardware From Your Delta Faucet
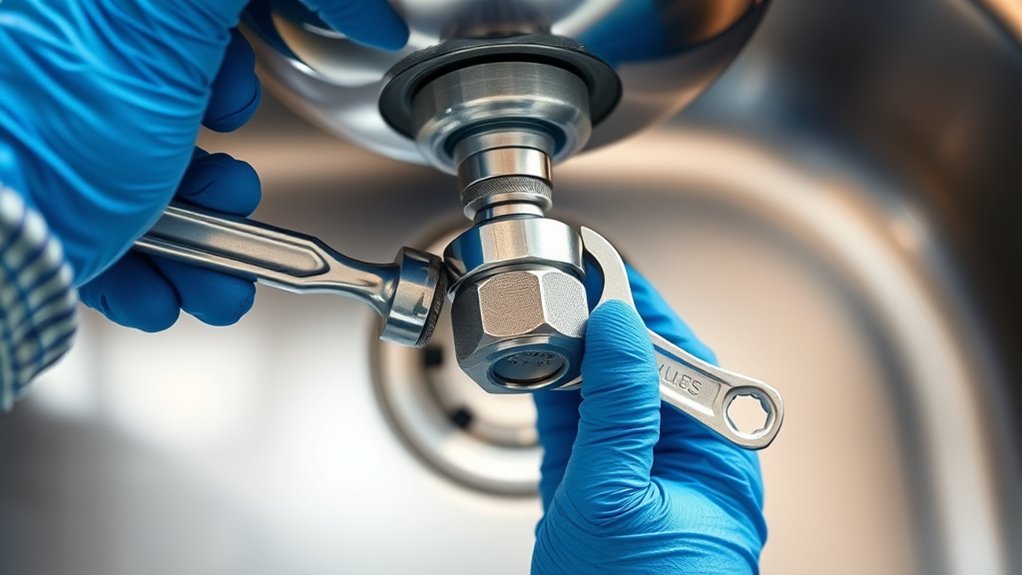
With the water supply lines safely disconnected, you can now focus on removing the mounting hardware securing your Delta faucet to the sink. Start by locating the mounting nuts underneath the sink, directly below the faucet base. Use a basin wrench or adjustable wrench to loosen these nuts by turning them counterclockwise.
Be careful not to confuse this step with any unrelated topic like disconnecting water lines again or engaging in off topic discussion about faucet styles. Keep your work area clear to avoid distractions.
Stay focused on the task and keep your workspace tidy to prevent distractions.
Once the nuts are loose, remove any washers or plates that help hold the faucet in place. If corrosion or debris complicates removal, apply a penetrating lubricant and let it sit briefly before trying again.
Avoid forcing the nuts, as this can damage the sink or faucet. Removing the mounting hardware precisely ensures a smooth next step without involving off topic discussion or unrelated topic elements.
How to Lift Your Delta Faucet Off the Sink
Once you’ve loosened and removed the mounting hardware, you can carefully lift your Delta faucet off the sink. This process requires steady, controlled movements to avoid damaging the faucet or sink surface. Follow these two word ideas for a smooth lift-off:
- Gentle Lift: Grasp the faucet firmly at its base. Avoid pulling by the spout or handle to prevent damage.
- Twisting Motion: Slightly twist the faucet if it resists lifting. This helps break any remaining seal or buildup securing it.
- Clear Obstructions: Check for any debris or residual caulk that may hinder removal. Use a putty knife or similar tool to loosen it carefully.
Handling Stubborn or Corroded Parts During Removal
When you encounter corrosion or stubborn parts during removal, first inspect for rust, mineral buildup, or discoloration. Apply a penetrating lubricant to loosen seized components and let it sit for several minutes.
Use the correct tools, such as adjustable wrenches or basin wrenches, to avoid damaging fittings while turning them.
Identifying Corrosion Signs
How can you quickly spot corrosion on your Delta kitchen faucet before removal? Identifying corrosion is crucial for effective faucet maintenance and ensures you handle parts properly during disassembly. Look closely for these signs:
- Discoloration: Greenish or white powdery deposits around joints or base indicate mineral buildup and oxidation.
- Surface Pitting: Small holes or rough texture on metal surfaces reveal corrosion weakening metal integrity.
- Stiff Movement: Stubborn handles or spouts that resist turning often result from internal corrosion affecting moving parts.
Applying Penetrating Lubricants
Recognizing corrosion signs helps you anticipate areas where parts may seize or resist movement during removal. Apply a penetrating lubricant to these stubborn or corroded components to ease disassembly.
Avoid lubricants that contain incorrect materials, as they can worsen corrosion and potentially void a faulty warranty. Let the lubricant penetrate for at least 10-15 minutes before attempting removal.
| Situation | Recommended Action |
|---|---|
| Corroded nuts or bolts | Apply penetrating oil, wait 15m |
| Stuck faucet components | Reapply lubricant if needed |
| Signs of incorrect materials | Consult warranty terms |
Using proper lubricants protects parts and preserves warranty validity, ensuring smooth removal without damage.
Using Proper Removal Tools
Why struggle with stubborn or corroded faucet parts when the right tools can make removal straightforward? When dealing with a Delta kitchen faucet, especially with alternative mounting configurations, you’ll need specific tools to avoid damage and speed up the process.
Start by removing the faucet aerator with a specialized aerator key or adjustable wrench to prevent scratching. Next, use a basin wrench to reach and loosen hard-to-access mounting nuts beneath the sink.
Finally, apply a pair of locking pliers for seized or corroded connectors, ensuring steady grip without deforming parts. These tools provide leverage and control, making removal efficient while preserving components for reinstallation or replacement.
Always pair them with penetrating lubricant for best results on corroded areas.
How to Stop and Fix Leaks During Faucet Removal
Before removing your Delta kitchen faucet, shut off the water supply completely and open the faucet to drain any remaining water.
Inspect the faucet components closely to identify worn or damaged washers causing leaks. Replace these washers promptly to prevent water leakage during and after removal.
Shut Off Water Supply
How do you prevent water damage when removing your Delta kitchen faucet? First, ensure water safety by completely shutting off the main water supply valve. This step is crucial to avoid accidental leaks or flooding.
Next, prepare your workspace focusing on tool ergonomics; select wrenches or pliers that fit comfortably and provide a secure grip to prevent slippage. Finally, verify the supply is off by turning on the faucet and checking for any residual flow.
- Locate and turn off the main water supply valve under the sink or at the home’s main line.
- Use ergonomically designed tools to loosen supply line connectors safely.
- Confirm water flow has stopped by opening the faucet handles.
Following these steps ensures a controlled, leak-free faucet removal process.
Drain Remaining Water
After shutting off the water supply and confirming no flow, the next step is to drain any remaining water from the faucet and supply lines. Open the faucet handles fully to allow trapped water to drain out completely.
Place a bucket or towel beneath the faucet to catch residual water. Once the flow stops, gently disconnect the supply lines using an adjustable wrench. As you remove these lines, be prepared to drain water still inside them.
Inspect the connections and surrounding area for any debris or buildup; remove debris to prevent contamination or clogging during reinstallation. Draining water and clearing debris ensures a clean, dry environment, reducing the risk of leaks and facilitating a smoother faucet removal process.
This step is crucial before proceeding to disassemble the faucet components.
Identify and Replace Washers
Where do leaks usually originate when removing a Delta kitchen faucet? Most often, leaks stem from worn or damaged washers inside the faucet assembly. To stop and fix leaks during faucet removal, focus on washer replacement.
First, ensure proper wrench selection to avoid damaging nuts or fittings. Use an adjustable wrench or basin wrench designed for faucet work. Next, carefully disassemble the faucet to expose the washers.
Inspect each washer for cracks, flattening, or wear. Finally, replace all faulty washers with exact matches to restore a proper seal. Follow these steps for effective washer replacement:
- Choose the correct wrench to loosen connections without damage.
- Remove and inspect washers thoroughly.
- Install new washers precisely and reassemble.
This process prevents leaks and ensures a secure faucet reinstallation.
Cleaning the Sink Area After Removing Your Delta Faucet
Why is it essential to clean the sink area thoroughly once you remove your Delta faucet? Proper cleaning sink procedures ensure no debris, mineral deposits, or old sealant remains that could interfere with the installation of a new faucet or cause leaks.
Start your post removal cleanup by wiping down the sink surface with a damp cloth to remove loose dirt. Next, apply a mild, non-abrasive cleaner to eliminate mineral buildup around the faucet holes and edges. Use a soft brush or sponge to scrub gently, avoiding damage to the sink finish.
Rinse the area thoroughly with clean water to remove all cleaning residues. Finally, dry the sink area completely with a microfiber cloth to prevent water spots and ensure a clean, dry surface ready for the new faucet installation. Following these steps guarantees a clean, functional workspace and helps maintain the integrity of your sink.
How to Dispose of or Recycle Your Old Delta Faucet
Anyone replacing a Delta kitchen faucet should properly dispose of or recycle the old unit to minimize environmental impact. To manage disposal, first identify local disposal options, as some municipalities accept metal fixtures at designated drop-off points.
Properly dispose of or recycle your old Delta kitchen faucet to reduce environmental impact and follow local guidelines.
Next, explore recycling programs that specifically handle metal and plumbing components to recover valuable materials like brass and stainless steel. Lastly, avoid placing the faucet in general waste to prevent landfill accumulation.
Follow these steps:
- Contact your local waste management facility to confirm accepted disposal options for plumbing fixtures.
- Locate nearby recycling programs or scrap metal centers that accept faucets and related hardware.
- Prepare the faucet by removing non-metal parts, such as rubber gaskets or plastic handles, to streamline recycling.
Getting Ready to Install a New Delta Faucet
How do you guarantee a smooth installation for your new Delta faucet? First, ensure the water supply is completely shut off and the valve bypass is properly engaged to prevent backflow during installation.
Next, disconnect the water lines from the old faucet, taking care to avoid damaging the valve bypass assembly. If you have a waste disposal unit, unplug it before proceeding to prevent electrical hazards.
Remove any mounting hardware securing the old faucet, then clean the sink surface thoroughly to remove debris or old sealant. Before placing the new Delta faucet, verify that all components, including gaskets and mounting brackets, are present and in good condition.
Position the faucet carefully, aligning it with the sink holes. Secure it from underneath, tightening mounting nuts evenly to prevent leaks.
Finally, reconnect the water supply lines and waste disposal unit, then slowly open the valve bypass to restore water flow and check for leaks.
Frequently Asked Questions
What Are the Common Signs My Delta Faucet Needs Replacement?
You’ll know your Delta faucet needs replacement when leaks persist despite repairs, water flow weakens, or corrosion appears. Faucet aesthetics degrade, and installation budgeting becomes essential to avoid costly damage or inefficiency in your plumbing system.
Can I Remove a Delta Faucet Without Professional Help?
Yes, you can remove a Delta faucet yourself by turning off the water supply, disconnecting supply lines, loosening mounting nuts under the sink, and carefully lifting the faucet. Use proper tools for safety and avoid damage.
How Long Does It Typically Take to Remove a Delta Faucet?
Removing a Delta faucet typically takes 30 to 60 minutes. With proper removing tools like a basin wrench and adjustable pliers, you can efficiently disconnect water lines and mounting nuts.
This ensures optimal replacement timing without delays.
Are Delta Faucets Compatible With All Sink Types?
About 80% of Delta faucets fit standard faucet mounting holes. You’ll find sink compatibility depends on mounting hole count and spacing, so check your sink’s specs carefully to assure a proper Delta faucet fit and secure installation.
What Warranty Covers My Delta Faucet Removal or Replacement?
Your Delta faucet’s warranty scope typically covers defects in materials and workmanship, not removal.
Check your service eligibility by reviewing the warranty terms and contacting Delta’s customer service for precise replacement or repair coverage details.