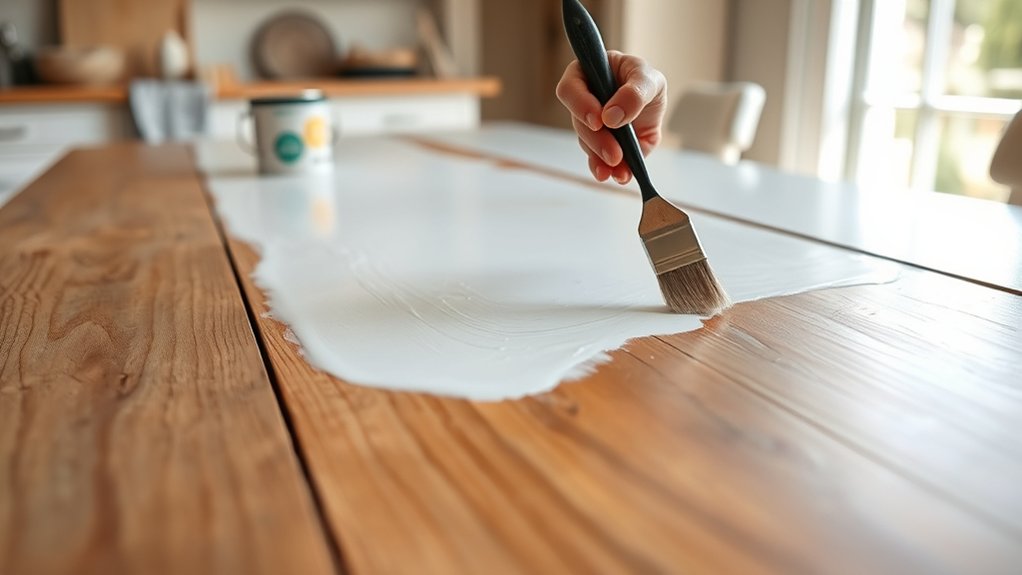
How Do You Paint a Kitchen Table
You might think painting a kitchen table is just about applying color, but the reality involves careful preparation and technique to guarantee durability and a smooth finish.
Painting a kitchen table requires more than just picking a paint and brushing it on; it’s a process that demands attention to detail.
Skipping steps like sanding or choosing the wrong paint can lead to peeling or uneven coverage.
Understanding the precise materials and methods used can make a significant difference in the final result.
So, it’s worth exploring how to approach each stage properly before you begin.
Taking the time to prepare and follow the right steps will help ensure your kitchen table looks great and lasts for years to come.
Gather Tools and Materials for Painting Your Kitchen Table
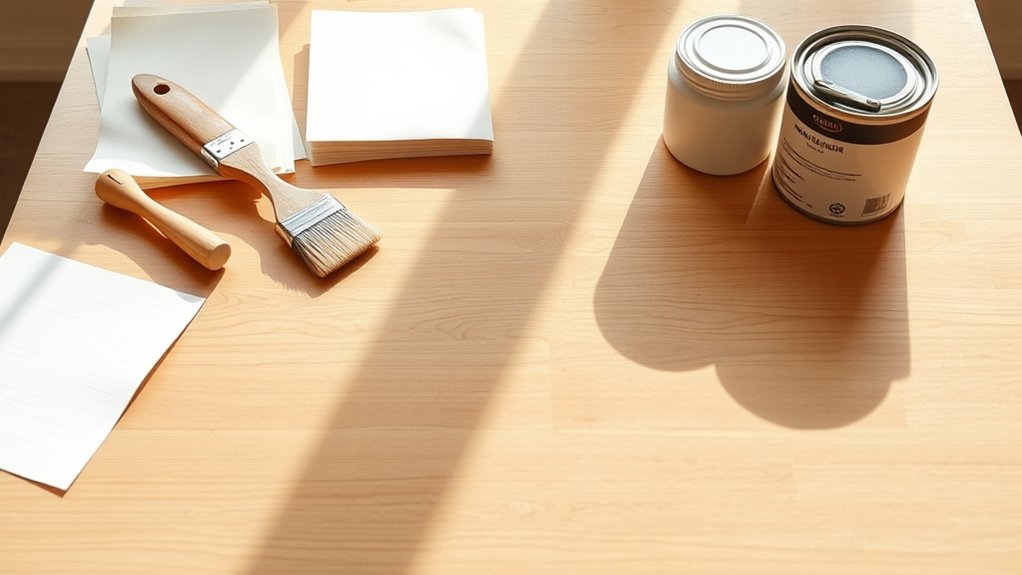
Before you begin painting your kitchen table, gather all the necessary tools and materials to guarantee a smooth workflow. Start by listing essential items: sandpaper with varying grits (80, 120, 220), a quality primer, brushes or foam rollers, painter’s tape, drop cloths, and a clean, lint-free cloth for dust removal.
Incorporate a color swatch or chip to assist with precise color matching, ensuring the final paint complements your kitchen’s palette. For budget planning, research costs of each item, including paint and protective finishes, to avoid overspending.
You might also consider investing in a paint sprayer if you aim for a flawless, even coat but weigh this against your budget constraints. Having all materials on hand before you start prevents interruptions and maintains project efficiency.
Finally, prepare a well-ventilated workspace with protective coverings to safeguard surfaces and facilitate a professional-quality finish.
Choose the Right Paint for Your Kitchen Table
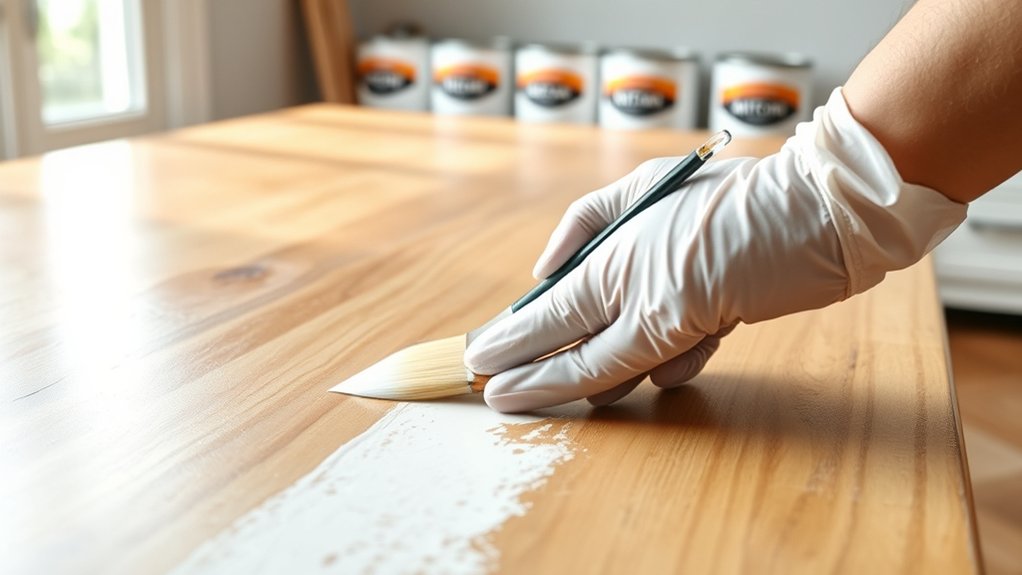
You’ll want to select paint specifically formulated for furniture, such as acrylic latex or oil-based enamel, to ensure proper adhesion and durability.
Consider a finish that resists scratches and moisture, like satin or semi-gloss, for long-lasting protection. Choosing the right combination will give your kitchen table both a smooth appearance and a tough, resilient surface.
Types Of Suitable Paint
Several types of paint work well for kitchen tables, but selecting the right one depends on durability, finish, and ease of maintenance. You’ll want to consider color matching and sheen selection carefully to ensure your table complements your kitchen while enduring daily use.
Here are four suitable paint types:
- Acrylic Latex Paint: Offers excellent adhesion and easy cleanup; ideal for precise color matching.
- Chalk Paint: Provides a matte finish with minimal prep; great for a vintage look.
- Oil-Based Paint: Highly durable with a smooth finish; requires mineral spirits for cleanup.
- Enamel Paint: Hard, glossy finish that resists scratches and stains; perfect for high-traffic tables.
Each paint type serves different needs, so choose based on your kitchen’s style and how much wear your table will face.
Durable Finish Options
A durable finish protects your kitchen table from daily wear, moisture, and stains, ensuring the paint job lasts longer and stays vibrant. To achieve this, select a finish that complements your chosen paint type and style.
For a classic look, vintage finishes paired with oil-based polyurethane provide robust protection and a slight sheen that enhances character. If you prefer a subtler effect, matte sealants offer excellent durability while maintaining a non-reflective surface, ideal for modern or rustic aesthetics.
Apply two to three thin coats of your selected sealant, allowing proper drying time between layers, to build a resilient barrier. Remember, proper surface preparation and curing time significantly impact the finish’s longevity and resistance to chipping or peeling.
Choose wisely to balance aesthetics with functional durability.
Prepare Your Kitchen Table for Painting
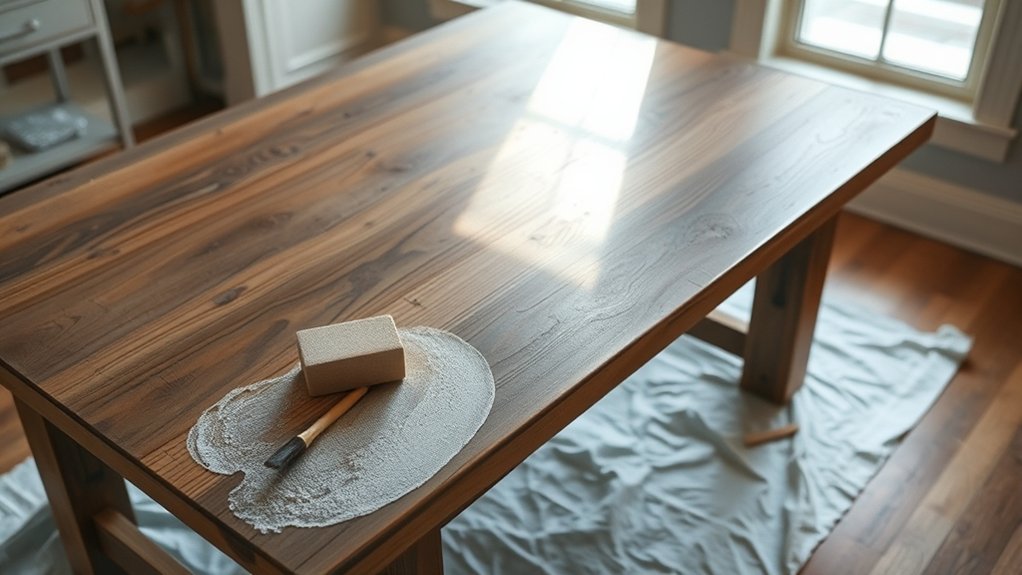
Before applying any paint, thoroughly clean the kitchen table to remove grease, dirt, and dust that could interfere with adhesion. Start by wiping the surface with a degreasing agent, then rinse with clean water and dry completely.
Clean thoroughly with a degreaser, rinse, and dry to ensure paint sticks properly.
Next, inspect the table for imperfections. Sand the surface using fine-grit sandpaper (220 grit) to create a smooth, even base and promote paint adherence. If your kitchen table has any old varnish or paint, use a chemical stripper or sanding to remove it entirely.
Address any cracks or holes with wood filler and sand again once dried. Remember to remove all sanding dust with a tack cloth to avoid texture irregularities.
Detach any hardware or accessories to prevent paint stains. Organize your tools and materials in craft storage areas, keeping them accessible.
Stay updated on furniture trends to select appropriate finishes and colors that complement your space and ensure a contemporary look. This preparation guarantees a professional, lasting paint job.
Step-by-Step Guide to Painting Your Kitchen Table
You’ll start by thoroughly preparing the table surface to ensure proper paint adhesion.
Next, select a paint formulated for furniture that suits your table’s material and use.
Finally, apply the paint evenly with controlled strokes to avoid drips and achieve a smooth finish.
Preparing The Table Surface
How exactly do you prepare your kitchen table surface to guarantee the paint adheres properly and lasts? Start by creating a budget-friendly foundation that ensures durability and a cozy ambiance. First, clean the table thoroughly with a mild detergent to remove grease and dirt.
Next, sand the surface using medium-grit sandpaper to eliminate old finish and roughen it for better paint grip. Then, wipe away dust with a damp cloth to prevent imperfections.
Finally, apply a high-quality primer compatible with your table’s material to seal the surface and improve paint adhesion.
Remove all hardware and clean surface
Sand with 120-150 grit sandpaper evenly
Use tack cloth to eliminate dust particles
Apply a bonding primer for superior adherence
Choosing The Right Paint
Where do you begin when selecting the right paint for your kitchen table to guarantee durability and a professional finish? First, focus on a paint formulated for furniture, typically an acrylic latex or enamel paint. These offer strong adhesion, resistance to chipping, and easy cleanup.
Avoid unrelated topic distractions like choosing wall paint or irrelevant discussion about spray paints not suited for wood surfaces. Consider the finish: satin or semi-gloss provides a balance between aesthetics and durability, while matte finishes tend to stain easily.
Also, ensure the paint is compatible with your primer to avoid peeling. Skip oil-based paints for ease and environmental reasons unless you require extreme durability. By prioritizing technical specifications specific to furniture, you’ll ensure your kitchen table paint job lasts and looks professional.
Applying Paint Evenly
Start by preparing your workspace and tools to ensure a smooth and even paint application. To apply paint evenly on your kitchen table, focus on technique and tool choice. Use a high-quality brush or foam roller designed for smooth finishes to avoid streaks.
Apply thin layers, allowing each to dry before the next, ensuring an even coat and consistent coverage. Maintain a wet edge to prevent lap marks and uneven texture. Key steps include:
- Load your brush or roller evenly without over-saturating.
- Use long, smooth strokes following the grain of the wood.
- Rotate the table or your position to maintain control and perspective.
- Inspect the surface under good lighting for missed spots or uneven layers.
This method guarantees a professional, durable finish with flawless coverage.
Add Finishing Touches and Protect Your Paint Job
Why settle for a paint job that fades or chips quickly? To ensure durability, add finishing touches that protect your kitchen table. Start by sanding lightly between coats to create a smooth surface for adhesion.
Then, apply a clear protective topcoat, polyurethane or water-based polycrylic, to shield against moisture and wear.
Consider the environmental impact when choosing your protective finish. Water-based products reduce VOC emissions, aligning with eco-friendly storytelling concepts that emphasize sustainability.
| Protective Finish | Advantages |
|---|---|
| Polyurethane (Oil-based) | Superior durability, glossy finish |
| Polycrylic (Water-based) | Low odor, eco-friendly, clear finish |
| Wax Finish | Natural look, easy touch-ups |
Apply two to three thin, even coats, allowing drying time between each. This method ensures peak protection without obscuring your paint’s texture or color, preserving your work’s integrity and longevity.
Fix Common Painting Mistakes
Even with careful sanding and multiple protective coats, mistakes can happen during the painting process that affect your kitchen table’s finish. Addressing these painting mistakes promptly ensures a flawless result. For example, uneven color mixing can create inconsistent shades; always stir thoroughly before application.
Mistakes happen during painting, but prompt fixes ensure your kitchen table’s finish stays flawless.
If you notice drips or runs, lightly sand the affected area once dry, then reapply a thin coat. Bubbles in the paint often result from applying it too thickly or in humid conditions; sanding and recoating in a controlled environment helps.
Lastly, peeling paint usually indicates inadequate surface preparation or insufficient drying time between coats. Strip peeling layers, sand, and repaint.
- Correct uneven color mixing by thorough stirring before use
- Sand and recoat to fix drips, runs, or bubbles
- Ensure proper surface prep to prevent peeling
- Maintain optimal drying conditions between coats
Customize Your Kitchen Table With Stencils, Distressing, and Color Blocking
A well-executed customization can transform your kitchen table into a unique centerpiece that reflects your personal style. Begin by choosing stencil patterns that complement your room’s decor; secure the stencil firmly to avoid paint bleed. Apply thin, even coats using a stencil brush or sponge, ensuring the paint is dry between layers for sharp, defined edges.
For distressing, sand edges and raised surfaces lightly after painting to reveal underlying layers or wood, creating an aged, textured effect. Use fine-grit sandpaper for controlled abrasion.
Color blocking offers a modern twist. Select contrasting colors and tape off precise sections with painter’s tape. Paint each block separately, allowing full drying before removing tape to maintain clean lines.
Combining stencil patterns with color blocking enhances visual interest, while distressing adds depth and character. This technical approach demands patience and accuracy but results in a sophisticated, customized kitchen table that stands out.
When and How to Repaint or Refresh Your Painted Table
After customizing your kitchen table with techniques like stenciling, distressing, or color blocking, maintaining its appearance requires timely repainting or refreshing. You should assess wear, color fading, or surface damage every 12 to 18 months to determine when to act. Proper sanding techniques are crucial to remove imperfections and ensure paint adhesion.
Regularly inspect and refresh your customized kitchen table every 12 to 18 months to maintain its beauty and durability.
Use fine-grit sandpaper for a smooth finish without stripping previous layers entirely. Consider color psychology when choosing your refresh color, as it influences the kitchen’s mood and perceived space. For a successful repaint or refresh:
Clean the surface thoroughly to eliminate grease and dust. Sand lightly to promote primer and paint bonding. Apply a suitable primer to enhance durability. Use quality paint designed for furniture to resist scratches and stains.
Following this technical approach ensures your kitchen table remains visually appealing and functional over time.
Frequently Asked Questions
Can I Paint a Kitchen Table Made of Glass or Metal?
You can paint glass or metal tables, but prep is essential. Choose gloss for durability or matte for style, considering durability concerns like chipping.
Use primers suited for non-porous surfaces to guarantee proper adhesion and longevity.
How Long Does the Paint Need to Cure Before Use?
You absolutely must let the paint cure for at least 72 hours to avoid disaster! Following proper care tips and safety considerations ensures a durable, smooth finish that resists scratches and toxins before you start using your table.
Is It Safe to Use Painted Tables for Food Preparation?
You can safely use painted tables for food prep if you apply safe finishes like food-grade polyurethane.
Clean regularly with mild soap and avoid harsh chemicals to maintain the finish’s integrity and guarantee hygienic surfaces.
Can I Use Spray Paint Instead of Brush-On Paint?
Spray paint isn’t just a brush alternative; it offers even coverage and smooth finishes, but you’ll need proper ventilation and multiple light coats.
It’s not a one-size-fits-all, so prep and technique make all the difference.
How Do I Remove Old Paint From a Kitchen Table?
You’ll start removing finishes by sanding the table with coarse grit, then finer grits for smoothness. Use chemical strippers carefully for stubborn layers.
These refinishing techniques assure a clean surface ready for repainting or sealing.