How Do You Paint Old Kitchen Cabinets
You might not realize that the key to a flawless finish when you paint old kitchen cabinets lies in the preparation stage, not just the paint itself.
Skipping proper cleaning, sanding, and priming can cause your new paint to peel or chip quickly.
Getting these steps right ensures durability and a smooth surface that highlights your chosen color.
Understanding the right tools and techniques can make all the difference in transforming your cabinets professionally.
How to Choose the Right Paint for Kitchen Cabinets
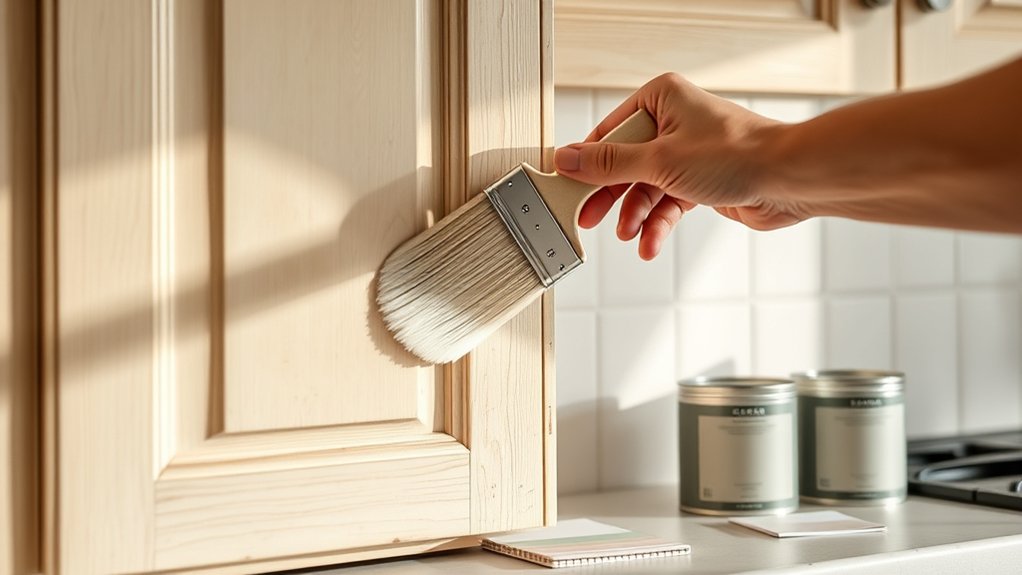
When selecting paint for your kitchen cabinets, what factors should you prioritize to ensure durability and a flawless finish? First, focus on paint formulated specifically for cabinetry or trim. These options offer superior adhesion and durability compared to standard wall paints.
Prioritize cabinet-specific paint for superior adhesion and durability over standard wall paints.
Semi-gloss or high-gloss finishes resist moisture and stains better, making them ideal for frequent cabinet use. Avoid irrelevant discussion about color alone; while aesthetics matter, the paint’s composition and finish impact longevity and ease of cabinet maintenance more significantly.
Look for paints labeled as washable and scrubbable to withstand regular cleaning without damage. Oil-based paints provide a hard, durable surface but require longer drying times and strong ventilation, whereas water-based acrylic enamels dry faster and emit fewer fumes.
Ultimately, choosing the right paint ensures your cabinets withstand daily wear, maintain their appearance, and simplify upkeep, so you won’t face frequent repainting or costly repairs down the line.
Tools You’ll Need to Paint Kitchen Cabinets Like a Pro
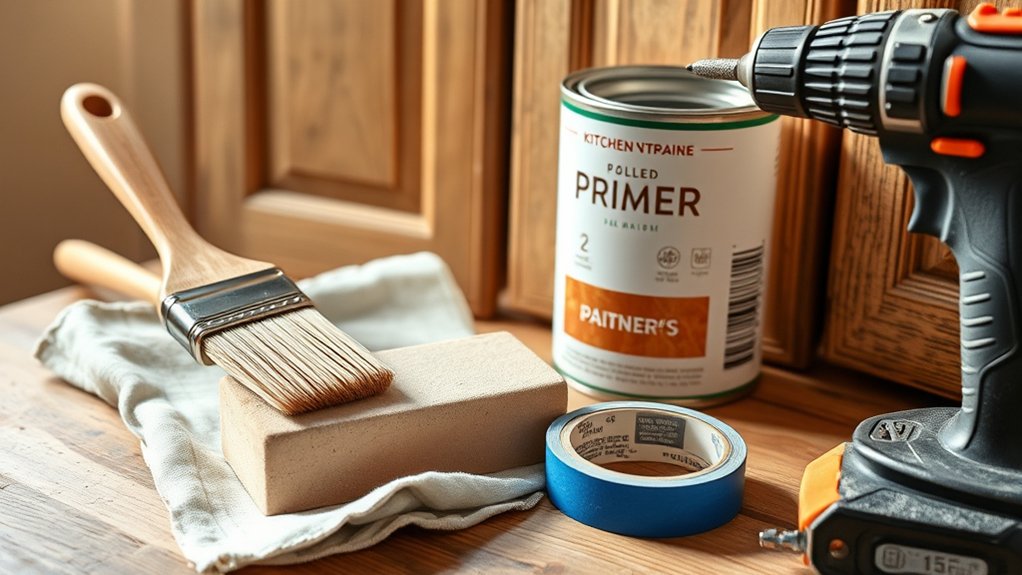
To achieve a professional-looking paint job on your kitchen cabinets, you’ll need a specific set of tools that guarantee smooth application and lasting results. Before you start, factor these tools into your budget planning to avoid surprises and align with your project’s topic ideas. Precision and quality tools make all the difference.
Here’s what you’ll need:
- High-quality angled brushes for cutting in around edges and corners.
- Foam rollers designed for smooth finishes on flat cabinet surfaces.
- Screwdrivers and a drill to remove hardware and cabinet doors efficiently.
- Sandpaper or a sanding block (fine grit) to smooth surfaces between coats.
- Painter’s tape and drop cloths to protect adjacent areas and ensure clean lines.
Investing in the right tools upfront saves time and enhances the final look. Keep this list handy as you plan your project, ensuring you cover all essentials for a flawless kitchen cabinet transformation.
How to Prepare Kitchen Cabinets for Painting
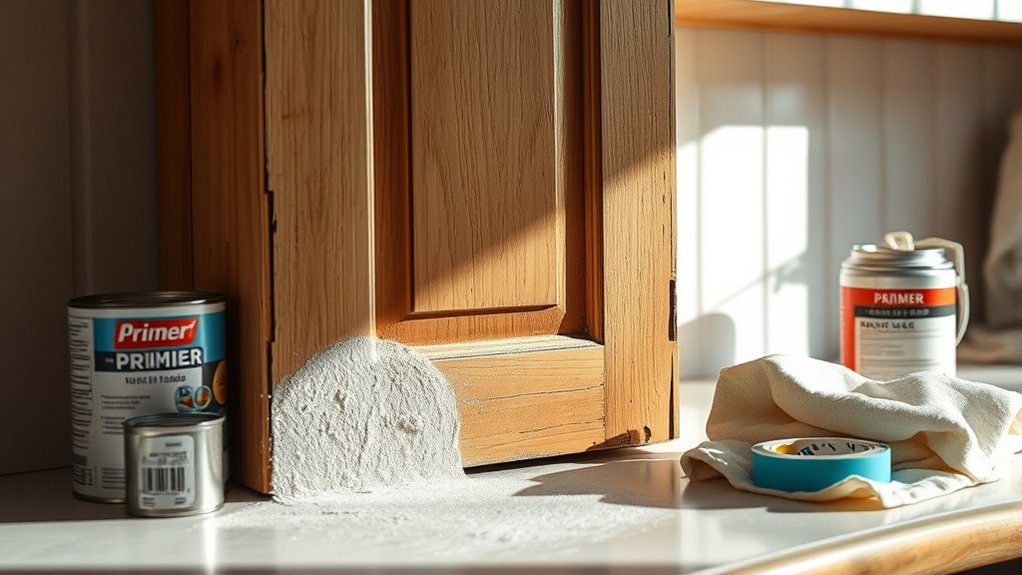
Start by thoroughly cleaning and degreasing your cabinets to remove any buildup that could affect paint adhesion.
Next, take off all hardware and cabinet doors to give yourself full access to every surface.
Finally, sand the cabinets smoothly to create the perfect base for a flawless paint finish.
Cleaning and Degreasing Cabinets
Why is cleaning and degreasing your kitchen cabinets essential before painting? Proper cleaning ensures paint adhesion and a smooth finish. Oils, grease, and dirt can prevent paint from sticking, causing peeling or bubbling later.
To prepare effectively, follow these cleaning routines:
- Use a degreaser or trisodium phosphate (TSP) solution to break down buildup.
- Wipe cabinets thoroughly with a damp cloth to remove residue.
- Rinse with clean water and dry completely to avoid trapping moisture.
- Address odor control by ventilating the area and using mild cleaning agents.
- Avoid harsh chemicals that can damage cabinet surfaces.
Removing Hardware and Doors
How do you ensure a smooth and professional finish when painting your kitchen cabinets? Start by carefully removing all hardware and cabinet doors. This step prevents paint from accumulating unevenly and avoids damage to hinges, handles, and knobs.
Use a screwdriver to unscrew hardware systematically, keeping screws and pieces organized in labeled containers. Removing doors also gives you better access to edges and frames, ensuring complete coverage.
Skipping this can lead to common remodeling mistakes like uneven paint and stuck hinges. If you’re aiming for budget friendly hacks, this method saves you time and frustration, reducing the need for costly touch-ups later.
Sanding Surfaces Smoothly
Once you’ve removed the hardware and doors, your cabinets are ready for sanding. Sanding is a key step to ensure paint adheres properly. Start by selecting the right sanding accessories: fine-grit sandpaper (220 grit) for smoothing surfaces and a sanding block or orbital sander for even pressure.
Maintain effective dust control by working in a well-ventilated area and using a vacuum attachment or tack cloth to collect debris as you sand. Follow these steps for smooth results:
- Lightly sand all cabinet surfaces to remove old finish and rough spots
- Focus on edges and corners where paint tends to peel
- Use sanding accessories designed for detail work on trim and moldings
- Wipe surfaces clean to eliminate dust before priming
- Inspect for imperfections and resand if necessary
Proper sanding ensures a flawless, long-lasting paint finish.
How to Remove Old Paint and Clean Your Cabinets
Start by removing any loose or peeling paint from your cabinets using a scraper or putty knife, taking care not to damage the wood underneath. Next, detach cabinet hinges and bottle gaskets carefully to avoid paint buildup in tight areas.
Use a chemical paint stripper or sanding sponge for stubborn paint spots, working in a well-ventilated area. After paint removal, clean the surfaces thoroughly with a degreaser to eliminate residue and oils that could affect paint adhesion.
| Step | Tool/Material | Purpose |
|---|---|---|
| 1 | Scraper/Putty Knife | Remove loose paint |
| 2 | Screwdriver | Remove cabinet hinges & gaskets |
| 3 | Paint Stripper | Remove stubborn paint layers |
| 4 | Degreaser | Clean grease and residue |
| 5 | Soft Cloth | Wipe down surfaces |
This method ensures your cabinets’ surfaces are prepped and primed for a smooth, lasting finish.
How to Repair and Sand Kitchen Cabinets for Painting
Before you start painting, carefully assess your cabinets for any damage like cracks or dents that need fixing. Choose the right sanding method, whether hand sanding or using a power sander, to smooth surfaces without causing harm.
Properly preparing the surfaces ensures the paint adheres evenly and lasts longer.
Assess Cabinet Damage
How can you determine the extent of damage to your kitchen cabinets before painting? Begin by carefully inspecting every surface and component. Avoid getting distracted by irrelevant topics or unrelated concepts that don’t impact your cabinets’ condition. Focus on these key areas:
- Check for peeling or chipped paint that needs stripping.
- Look for water damage causing warping or swelling.
- Identify any cracks, dents, or holes in the wood.
- Examine hinges and hardware for rust or looseness.
- Assess the cabinet doors’ alignment and overall stability.
Choose Sanding Techniques
Selecting the right sanding technique is essential for preparing your kitchen cabinets to achieve a smooth, durable finish. You’ll want to choose from various sanding techniques based on cabinet material and damage level.
For instance, hand sanding provides control for delicate areas, while orbital sanders speed up the process on flat surfaces. Below, you’ll find two word discussion ideas outlining common sanding methods, grit choices, and appropriate uses.
| Technique | Grit Range | Best Use |
|---|---|---|
| Hand Sanding | 120-220 | Detail work, edges |
| Orbital Sander | 100-150 | Large flat surfaces |
| Sanding Sponge | 150-220 | Curves, uneven surfaces |
| Power Sander | 80-120 | Heavy paint removal |
| Detail Sander | 150-220 | Tight corners |
Choose your sanding techniques carefully to ensure proper adhesion and a flawless paint job.
Prepare Surfaces Properly
A well-prepared surface is essential for achieving a professional-looking paint job on your kitchen cabinets. Before painting, you need to carefully repair and sand all surfaces to ensure paint adheres properly. Don’t get distracted by irrelevant topics or unrelated concepts. Focus strictly on surface prep steps:
- Remove all cabinet hardware and clean surfaces with a degreaser.
- Fill dents, holes, and scratches using wood filler; let it dry completely.
- Sand the entire surface with medium-grit sandpaper to remove old finishes.
- Smooth rough areas with fine-grit sandpaper for an even texture.
- Wipe down with a tack cloth to eliminate dust before priming.
Following these steps guarantees a smooth, durable paint finish that transforms your kitchen cabinets beautifully.
How to Prime Kitchen Cabinets Step-by-Step
Why is priming your kitchen cabinets a crucial step before painting? Priming creates a smooth, adhesive base that helps paint stick better and last longer, preventing peeling and uneven coverage.
Start by cleaning the cabinets thoroughly to remove grease and dust. Lightly sand the surfaces to ensure the primer adheres properly, then wipe away sanding dust with a damp cloth.
Choose a high-quality primer suited to your cabinet material. Oil-based primers work well on wood, while shellac primers handle stains and odors effectively.
Apply the primer with a brush for corners and detailed areas, and use a foam roller for flat surfaces to avoid brush marks. Allow the primer to dry completely, usually a few hours, before sanding lightly to eliminate any raised grain or imperfections.
This step ensures your paint will go on smoothly, setting the stage for a durable finish. Avoid two word ideas like “quick fix” or unrelated topic discussions here; focus solely on precise priming techniques.
How to Apply Paint for a Durable, Even Finish
How exactly do you achieve a durable, even finish when painting your kitchen cabinets? Start by applying thin, consistent coats of paint rather than thick layers that can drip or peel. Avoid rushing. Let each coat dry fully before adding the next. Focus on techniques that directly impact the paint’s durability and appearance, steering clear of irrelevant topics or unrelated concepts like color theory debates.
To ensure a flawless finish:
To ensure a flawless finish, use quality tools, maintain a wet edge, and sand lightly between coats.
- Use a high-quality synthetic brush for smooth edges.
- Employ a mini foam roller for flat surfaces to prevent brush marks.
- Maintain a wet edge to avoid lap marks.
- Lightly sand between coats with fine-grit sandpaper.
- Apply at least two to three coats for optimal coverage and durability.
Tips for Painting Kitchen Cabinet Doors and Drawers
Before you start painting your kitchen cabinet doors and drawers, make sure to thoroughly clean and sand each surface for proper adhesion.
Choose a high-quality, durable paint designed for cabinetry to ensure a smooth, lasting finish. Use consistent brush or roller strokes, and apply thin, even coats to avoid drips and achieve professional results.
Surface Preparation Steps
Where do you begin when preparing kitchen cabinet doors and drawers for painting? Start by removing all hardware carefully to prevent damage. Hardware care is essential.
Next, clean surfaces thoroughly to remove grease and grime. Apply proper sanding techniques: use medium-grit sandpaper to smooth surfaces and remove the old finish, then fine-grit for a flawless base.
Wipe away dust with a tack cloth to guarantee a clean surface before painting. Finally, fill any dents or holes with wood filler and sand smooth once dry.
These steps guarantee your paint adheres properly and lasts longer.
- Remove and label hardware
- Clean with degreaser
- Sand using medium, then fine grit
- Wipe dust with tack cloth
- Fill imperfections and sand smooth
Choosing The Right Paint
Why does choosing the right paint matter so much for your kitchen cabinets? Using the proper paint ensures durability, smooth coverage, and a finish that complements your kitchen’s style. It also enhances color matching, essential for a cohesive look, especially if you plan faux finishes.
Selecting paint with good adhesion and resistance to moisture and stains is critical for cabinet doors and drawers.
| Paint Type | Finish Options | Best For |
|---|---|---|
| Acrylic Latex | Satin, Semi-gloss | Easy cleanup, durable |
| Alkyd (Oil-based) | Gloss, Semi-gloss | Smooth finish, excellent adhesion |
| Chalk Paint | Matte | Ideal for faux finishes, vintage |
| Enamel Paint | Glossy | High durability, glossy look |
| Milk Paint | Matte, Chalky | Natural look, works well with faux finishes |
Choose wisely to ensure a professional, long-lasting result.
Application Techniques Tips
How should you approach painting kitchen cabinet doors and drawers to achieve a smooth, professional finish? First, ensure your workspace is free of dusty countertops that can settle on wet paint. Good lighting, preferably natural or soft neon lighting, helps spot imperfections early.
Use these application techniques:
- Sand surfaces lightly between coats for smoothness
- Apply thin, even layers with a high-quality brush or foam roller
- Paint in the direction of the wood grain to avoid streaks
- Let each coat dry fully before adding the next to prevent tackiness
- Remove hardware and paint doors flat on a clean, dust-free surface
How to Reassemble Cabinets Without Damaging Paint
When reassembling your painted kitchen cabinets, what steps can you take to preserve the fresh finish? First, allow the paint to cure fully before handling, typically 24-48 hours. Use soft cloths or foam pads to protect surfaces from scratches during the process.
When reinstalling metal hardware, handle screws and tools carefully to avoid chipping the paint. Tighten screws just enough to secure hardware without overdriving them, which can crack the finish.
Pay special attention to tricky spots like under sink cabinets, where moisture and tight spaces increase the risk of damage. Consider temporarily removing doors or drawers to access these areas more easily, minimizing contact with painted surfaces.
Work methodically, reassembling one section at a time to maintain control and reduce accidental bumps. By following these detailed steps, you’ll ensure your cabinets look impeccable and that your fresh paint job remains flawless throughout the reassembly process.
Tips to Maintain and Protect Painted Kitchen Cabinets
Although painted kitchen cabinets add a fresh, stylish look to your space, maintaining their appearance requires consistent care and attention. To protect the paint and keep your cabinets looking their best, you’ll need to adopt practical habits that go beyond random chatter about unrelated topics.
Here are five essential tips to maintain and protect your painted cabinets:
- Clean spills promptly with a soft, damp cloth to prevent stains and water damage.
- Avoid abrasive cleaners or scrubbers that can scratch or dull the paint finish.
- Use gentle, pH-neutral soap solutions for regular cleaning to preserve the paint’s integrity.
- Apply a clear protective wax or polyurethane coating periodically to enhance durability.
- Be mindful when cooking; steam and grease buildup can degrade paint, so use ventilation effectively.
Frequently Asked Questions
How Long Does It Take for Painted Cabinets to Fully Cure?
Think of painted cabinets as a seed growing. How long does it take to fully cure? Typically, 7 days.
Yes, humidity can affect drying, causing cabinet paint to slow, so keep the air dry and well-ventilated for best results.
Can I Change Cabinet Hardware Without Repainting?
Yes, you can change cabinet hardware without repainting. Just ensure the new finishes complement your existing look.
If you’re unsure about matching styles or installation, consider hiring professionals to achieve a flawless, cohesive result.
What Are the Best Paint Colors for Small Kitchens?
Colors like soft blues, warm whites, and pale greens can open your space, using color psychology to boost calm and freshness.
Combine these with proper lighting effects to make your small kitchen feel bright, airy, and inviting.
Is Painting Cabinets Better Than Replacing Them?
Painting cabinets is often better since you save money and reduce waste. Just ensure proper cabinet ventilation while painting, and choose a durable paint sheen like semi-gloss or satin for easy cleaning and lasting finish in your kitchen.
How Do Humidity Levels Affect Cabinet Paint Drying?
Humidity impacts paint drying by slowing evaporation, so you’ll notice extended curing timelines in high humidity.
You’ll want to control moisture levels to guarantee even drying, preventing tackiness or peeling for durable cabinet finishes.