How Do You Replace a Kitchen Sink Faucet
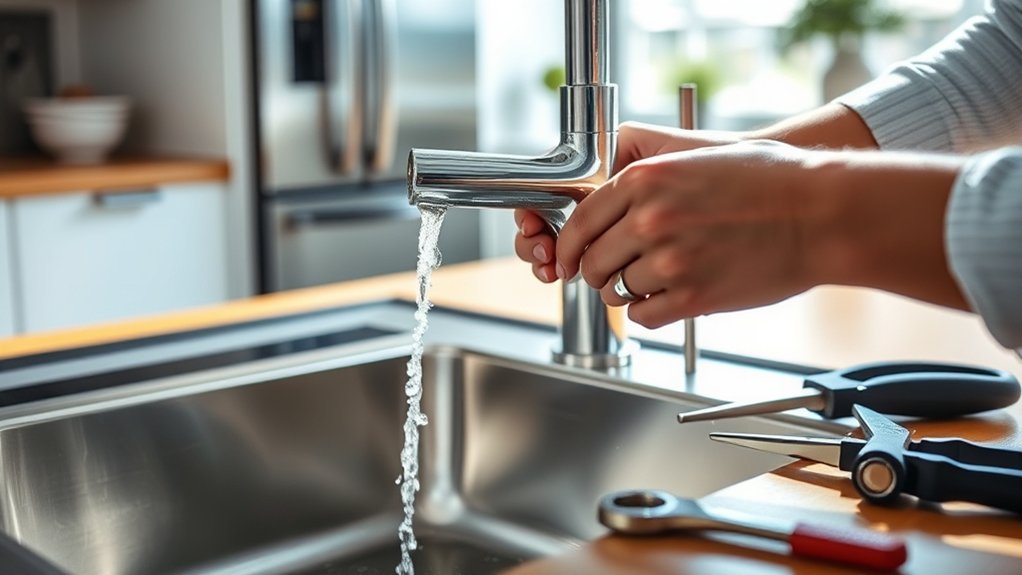
You might not realize that simply turning off your kitchen sink faucet water valves is just the start of a precise process. Before you remove your old faucet, you’ll need specific tools and steps to avoid leaks or damage.
Understanding the correct sequence—from shutting off water to securely mounting the new fixture—can save you time and frustration. Let’s walk through what it takes to replace your kitchen sink faucet the right way.
How to Turn Off Your Kitchen Sink Faucet Water Supply
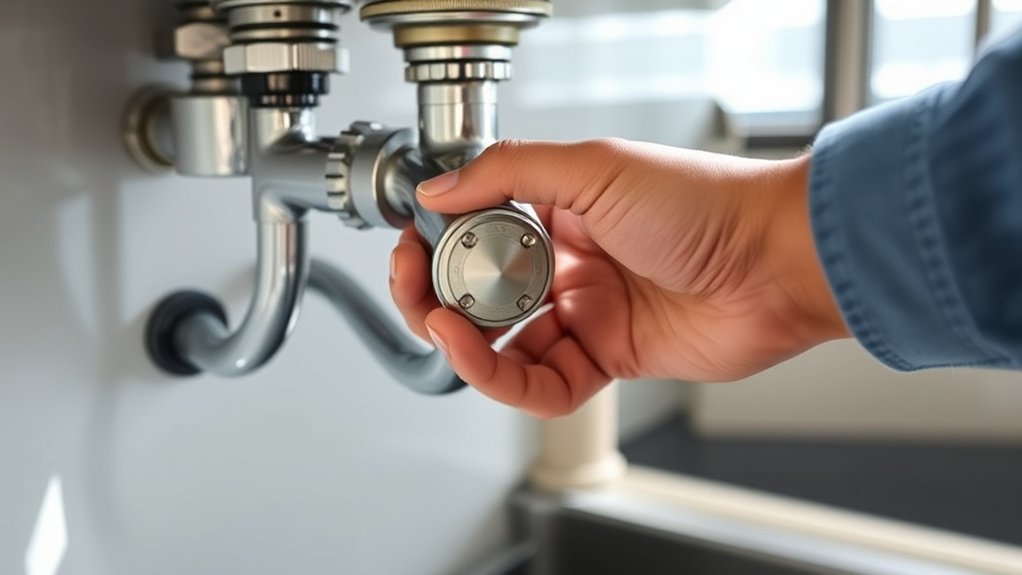
Before you begin replacing your kitchen sink faucet, you need to turn off the water supply to prevent leaks and water damage. Start by locating the shutoff valves under the sink. There’s typically one for hot water and one for cold.
Turn each valve clockwise until it stops; this action cuts off the water flow to the faucet. If you don’t find individual shutoff valves, you’ll need to turn off the main water supply to your home. After shutting off the water, open the faucet to drain any remaining water in the lines, ensuring no pressure remains.
This step is vital not only for safety but also for maintaining faucet aesthetics. A leak during replacement can damage cabinet surfaces and fixtures. Additionally, controlling water flow aligns with water conservation practices, preventing unnecessary waste.
With the water supply off, you’re set to proceed confidently with your faucet replacement.
Gather the Tools Needed for Faucet Replacement
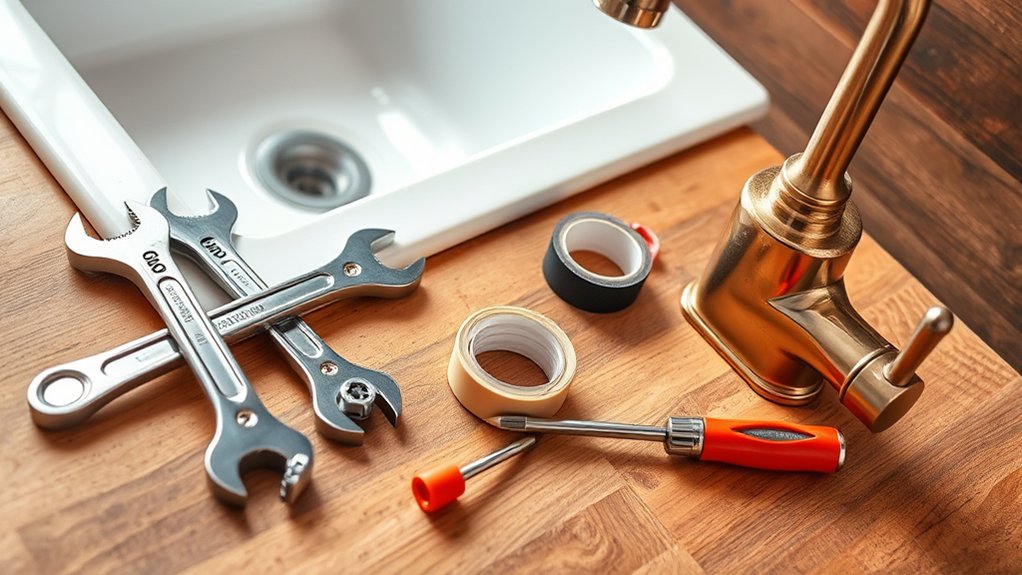
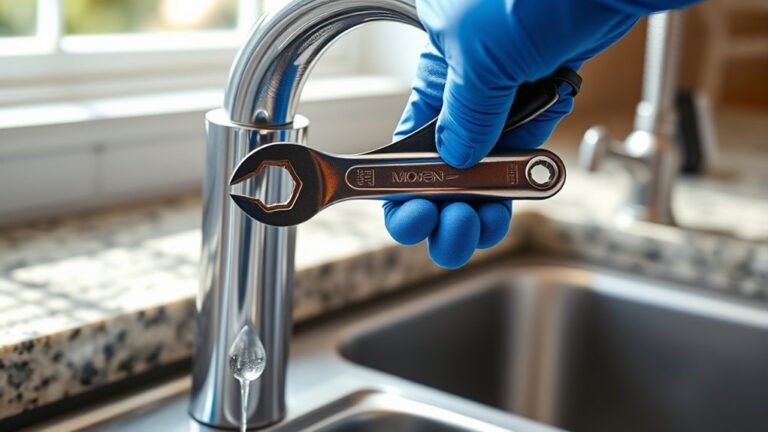
A well-prepared toolkit guarantees your faucet replacement goes smoothly and efficiently. Before starting, ensure you have the correct tools to handle the job precisely, especially considering gasket compatibility and thread standardization.
1. Adjustable Wrench
Essential for loosening and tightening nuts and bolts, ensuring a secure fit without damaging fittings.
2. Basin Wrench
Designed to reach tight spaces under the sink, it allows you to access and remove mounting nuts easily.
3. Plumber’s Tape (Teflon Tape)
Vital for sealing threaded connections to prevent leaks, respecting thread standardization for a tight seal.
4. Replacement Gaskets
Confirm gasket compatibility with your new faucet model to avoid leaks and maintain a proper seal.
Having these tools ready prevents delays and guarantees your new faucet installs correctly without compromising plumbing integrity.
How to Remove Your Old Kitchen Sink Faucet Step by Step
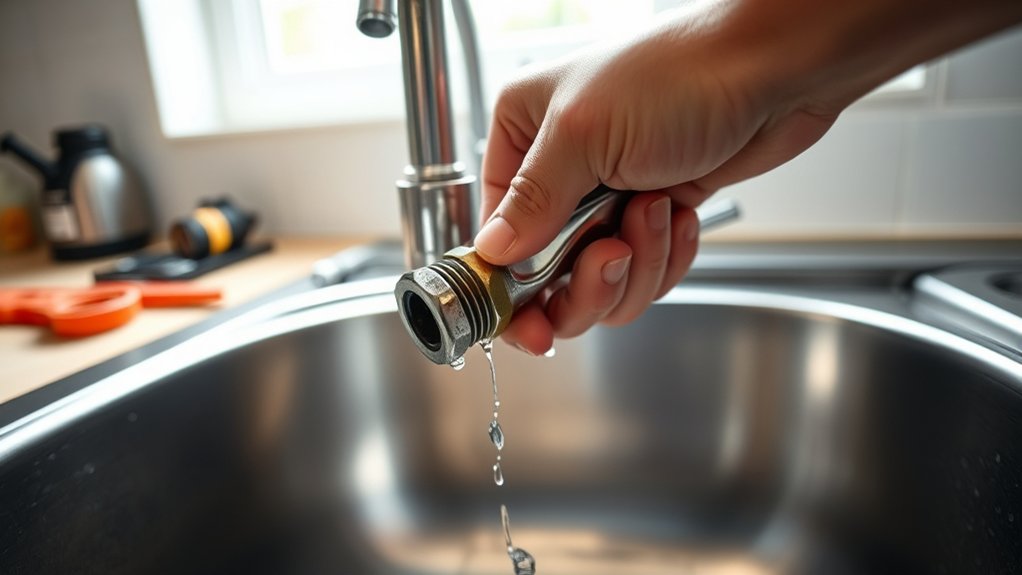
First, shut off the water supply valves beneath the sink to prevent leaks. Next, use a wrench to disconnect the water lines from the faucet connections carefully.
Once the connections are loose, you can proceed to remove the mounting hardware securing the faucet.
Turn Off Water Supply
Shut off the water supply to prevent leaks and water damage during faucet removal. Proper turning off water ensures a safe and efficient replacement process. Follow these steps:
- Locate the shut-off valves under the sink; there’s typically one for hot and one for cold water.
- Turn each valve clockwise until fully closed. If valves are stiff, apply valve maintenance techniques like lubricating with silicone grease to avoid damage.
- Open the faucet to drain any remaining water in the lines, relieving pressure.
- Double-check by attempting to run water; no flow confirms a successful shut-off.
This precise approach minimizes risks and prepares the workspace for faucet disconnection and removal.
Disconnect Faucet Connections
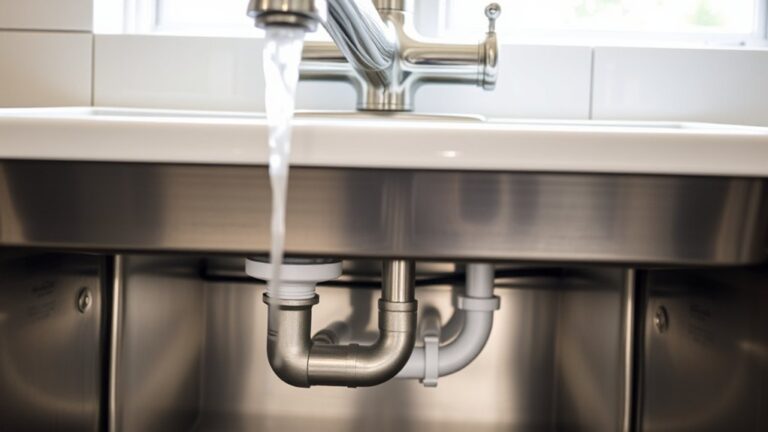
How exactly do you disconnect the faucet connections without causing damage or leaks? First, ensure the water supply is fully shut off to avoid supply issues. Place a bucket or towel under the sink to catch any residual water.
Use an adjustable wrench to carefully loosen the nuts securing the supply lines to the faucet. Turn counterclockwise until they are free. If the connections are stuck, apply penetrating oil and wait a few minutes before trying again.
Next, disconnect the supply lines from the shutoff valves by loosening those nuts as well. Once all connections are free, gently lift the faucet from the sink. Take care not to damage the sink surface or plumbing components during removal.
Properly disconnecting faucet connections prevents leaks and supply issues during installation.
Installing Your New Kitchen Sink Faucet
Start by clearing and drying the work area to guarantee a clean installation surface.
Next, connect the water supply lines carefully, making sure to tighten all fittings without overtightening.
Finally, secure the faucet firmly to the sink to prevent leaks and ensure stability.
Preparing The Work Area
Where should you begin when preparing to install your new kitchen sink faucet? Start by prepping your workspace to ensure a smooth installation process. Follow these cleanliness tips and setup steps:
- Clear the area under the sink and on the countertop to provide ample room for tools and parts.
- Lay down a waterproof mat or towel to protect surfaces from water spills and scratches.
- Gather all necessary tools and parts nearby to avoid interruptions during installation.
- Shut off the water supply valves and open the faucet to drain remaining water, preventing leaks while you work.
Connecting Water Supply Lines
Begin by attaching the water supply lines to the faucet’s inlet valves, ensuring you match the hot and cold lines correctly. Use a wrench to tighten connections just enough to avoid leaks. Overtightening can damage fittings.
Check your disposal guidelines to ensure the faucet’s water lines don’t interfere with the garbage disposal setup. Proper connection also supports effective drain cleaning later.
| Step | Action | Result |
|---|---|---|
| 1 | Match hot/cold lines | Correct water flow |
| 2 | Attach supply lines securely | Leak prevention |
| 3 | Follow disposal guidelines | Avoid equipment damage |
| 4 | Check for kinks | Maintain water pressure |
| 5 | Test water flow | Confirm proper setup |
This method ensures your faucet operates smoothly without compromising your sink’s plumbing integrity.
Securing The Faucet Properly
How do you guarantee your new kitchen sink faucet stays securely in place? Properly securing the faucet is critical to prevent leaks and wobbling. Follow these steps for precise mounting hardware alignment:
- Position the faucet in the sink’s mounting holes, ensuring it sits flush against the surface.
- From underneath, thread the mounting nuts onto the faucet shanks by hand, verifying even alignment.
- Use a basin wrench to tighten each mounting nut securely, alternating sides to maintain balanced pressure.
- Double-check the faucet’s stability by gently rocking it; if movement exists, retighten the mounting hardware for firm attachment.
Sealing and Testing Your New Faucet
Once you’ve secured the faucet in place, you’ll need to apply a sealant to prevent leaks and guarantee stability. Use approved sealing methods like plumber’s putty or silicone caulk around the base of the faucet. Ensure the surface is clean and dry before applying the sealant evenly to create a watertight barrier.
Avoid excess sealant that could squeeze out when tightening.
After sealing, proceed with the testing procedures. Turn the water supply back on slowly and check for leaks at all connection points, including supply lines and the faucet base. Operate both hot and cold handles to ensure proper water flow and pressure.
Inspect underneath the sink with a flashlight to identify any drips or moisture. If you detect leaks, tighten connections carefully without over-torquing. Conduct multiple cycles of opening and closing the faucet to confirm consistent performance and sealing integrity.
This meticulous approach ensures your new faucet functions reliably without water damage risks.
Troubleshooting Common Kitchen Faucet Replacement Issues
After sealing and testing your new faucet, you may still encounter issues that affect its performance or installation. Addressing these promptly ensures longevity and functionality.
Promptly addressing faucet issues after installation ensures optimal performance and long-lasting use.
- Leaks at the Base: Check if the gasket sits properly. If the original gasket doesn’t fit, consider gasket alternatives like silicone seals or rubber washers to improve the seal.
- Loose Mounting: Verify mounting compatibility. If the mounting hardware doesn’t align with your sink holes, use an adapter plate or adjustable mounting brackets to secure the faucet firmly.
- Low Water Pressure: Clean aerators and supply lines. Debris or sediment buildup often causes flow restrictions.
- Handle Stiffness or Dripping: Inspect cartridge installation. Improper placement can cause difficulty in operation or leaks; ensure cartridges match the faucet model precisely.
Frequently Asked Questions
What Types of Kitchen Sink Faucets Are Available?
You’ll find types of faucets like single-handle, double-handle, pull-out, and touchless models. Ensure finishes compatibility with your sink and decor, choosing from chrome, brushed nickel, or oil-rubbed bronze for durability and style.
How Do I Choose the Right Faucet Finish?
You’ll choose the right faucet finish by evaluating finishes compatibility with your kitchen decor and plumbing. Consider durability and ease of cleaning.
Follow maintenance tips like regular wiping to prevent water spots and preserve your finish’s appearance.
Can I Install a Faucet Without Professional Help?
Installing DIY feels like piecing together a puzzle; yes, you can do it. Just ensure you follow safety considerations: turn off water, check connections, and use proper tools to secure a leak-free, efficient faucet replacement without professional help.
What Is the Average Cost of a Kitchen Faucet?
You’ll find economy faucets typically range from $50 to $150, while models with smart features can cost $200 to $500.
Choose based on budget, functionality, and installation complexity to ensure optimal performance and value.
How Often Should I Replace My Kitchen Faucet?
You should replace your kitchen faucet every 10-15 years, aligning with a maintenance schedule that monitors leaks, corrosion, and performance.
Adjust your replacement timing based on lifespan considerations and how frequently you use and maintain the faucet.